WD My Passport Essential 500GB USB 3.0 External Hard Drive Review
The My Passport Backup Software

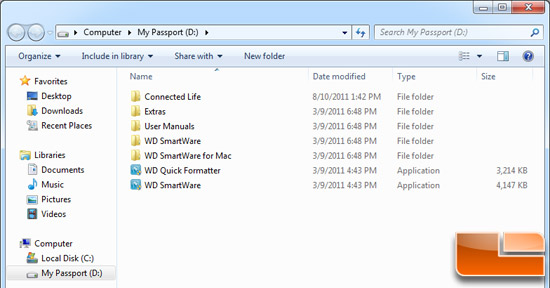
The first time you install the WD My Passport Essential 500GB drive into a USB port it will be automatically detected by your PC just like a traditional flash drive and you can open it up and look at the contents. On the drive WD already has five folders and two applications that you can run if you wanted to or you can format the drive and use it how you see fit. The folder titled ‘User Manuals’ has PDF files in numerous languages
that have a 75 page user manual that goes into great detail on how to
use the My Passport.

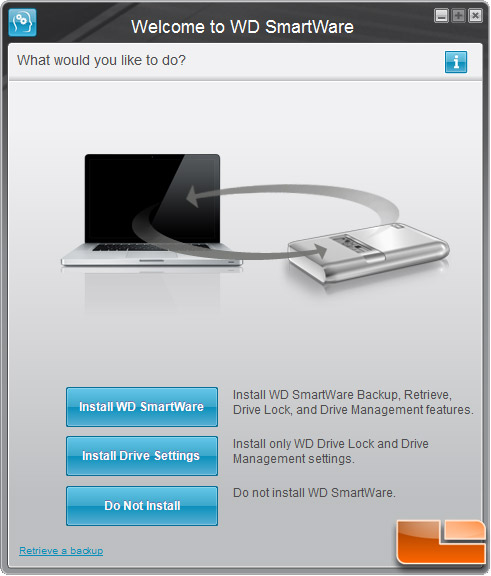
I double clicked the WD SmartWare application icon and after that happens you’ll get a install screen that allows you to install WD SmartWare or just basic drive settings. The basic drive settings let you place a password on the drive and check out the drive health and run basic diagnostic tests on the drive. Since I wanted to check out the WD SmartWare backup software I ran the full install.

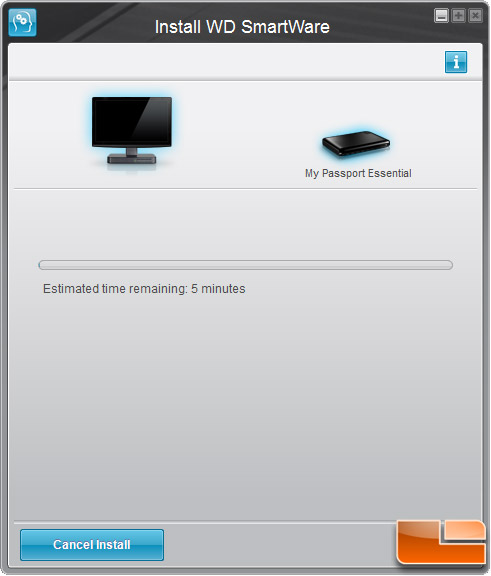
The next menu that pops up says that it will take about five minutes to install, but that wasn’t the case on our test system running a Solid-State Drive (SSD).

Once the install is complete the WD SmartWare utility go straight into categorizing your system files that are on your storage drive. Once that is complete you can click to either skip the backup or to start it. So, literally it is that easy to backup your data. If you have a notebook or a desktop PC with less than 500GB of data on it all you’d need to do is click start backup and let it make a copy of all of your files. It is important to note that the WD My Passport Essential doesn’t backup your operating system or installed software/games and you can’t select specific folders to backup. If you wanted to do a complete file structure backup or be able to select what folders you wanted to backup you’d have to purchase a 3rd party solution for that. The included WD SmartWare utility is aimed at backing up your general day to day items.

The software program places your files with certain extensions into one of six general categories when backed up. They are documents, mail, music, movies, pictures and other.

Once you have your data backed up you can continue to the next menu, which is setting a password on the portable drive. This is a really good idea as it will keep people from easily accessing your personal and private data.

You can also register your product from this menu page by clicking the registration tab. The WD My Passport comes backed by a two year warranty and registering your drive the first time you use it is always a good idea and could save you some issues down the line.

Once you click continue after setting your password and registering your backup drive you’ll see the home menu for the very first time. Here you can check your free space and also go to the backup, retrieve and settings tabs for more information in those areas.

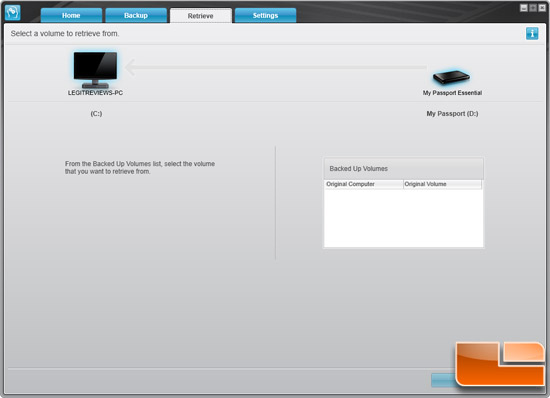
The screen you don’t want to ever find yourself on is the the retrieve screen, which is where you go when you need to get files from a backup.

Comments are closed.