WD My Passport Edge 500GB Portable Hard Drive Review
The My Passport Backup Software
The first time you install the WD My Passport Edge 500GB drive into a USB port it will be automatically detected by your PC just like a traditional flash drive and you can open it up and look at the contents.
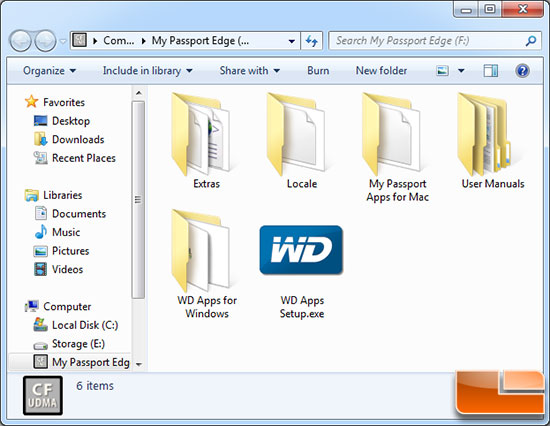
On the drive WD already has five folders and an application that you can run to setup the supplied WD software. The folder titled ‘User Manuals’ has PDF files in numerous languages that have a 77 page user manual that goes into great detail on how to use the My Passport. If you don’t want to use any of the WD software you can delete the 176MB worth of files and use the drive how you see fit.
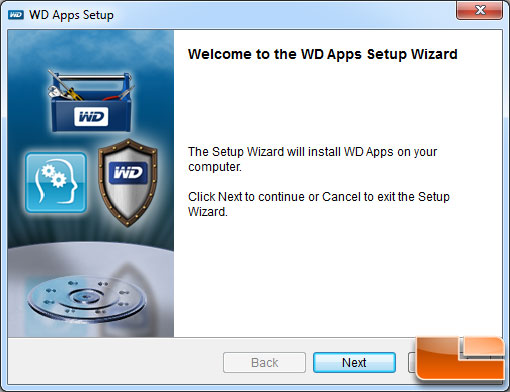
If you run the WD Apps Setup executable, you’ll begin installing all the WD Software.
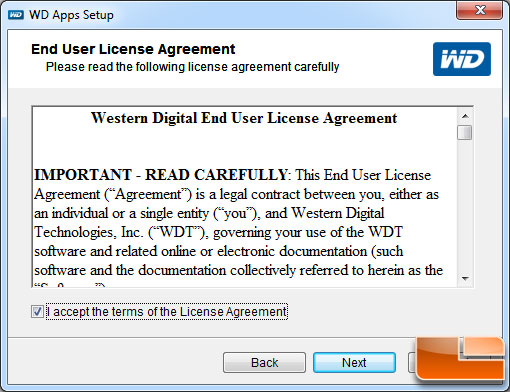
You have to accept the EULA.
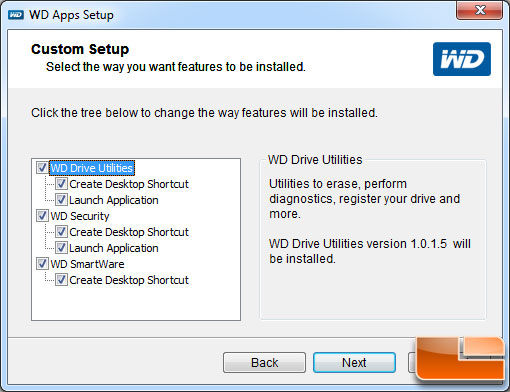
After you accept the license agreement you get to select which of the three software features that you wish to install. By default WD has them all set to install. The WD Drive Utilities is a program that allows you do erase, perform diagnostics and also a registration page to register your device. WD security allows you to place passwords and to encrypt your files. WD SmartWare is needed for automatic and continuous backup of all your files.
We’ve installed all of these utilities before, but for this review we will focus on just the WD SmartWare utility. You might only need this as well if you never plan on taking the My Passport out of the house, so no passwords are needed. Sure, someone could break in and steal it and gain access to our data, but that risk might be worth it to some. Some people buy a small portable drive like this to easily fit inside a wall safe or a special hiding spot.
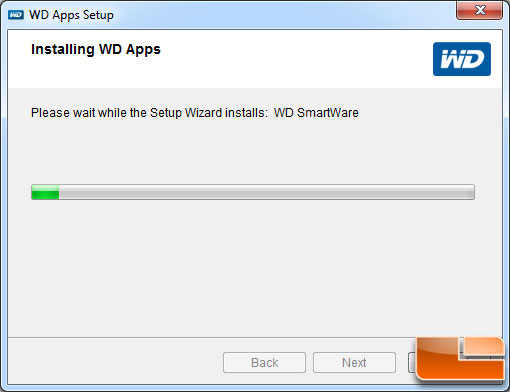
The installer will then install the selected software to the primary drive on the system you are using.
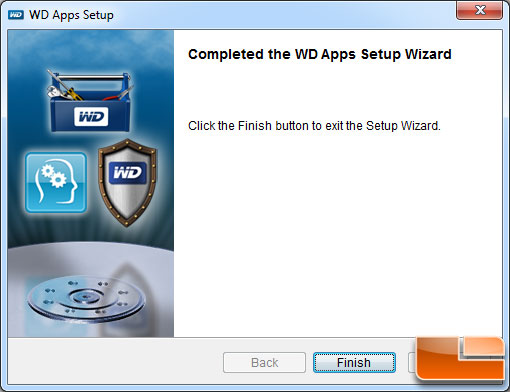
After that the setup wizard is complete, but don’t think you are having your data backed up as you just installed the application and didn’t actually setup the backup software.
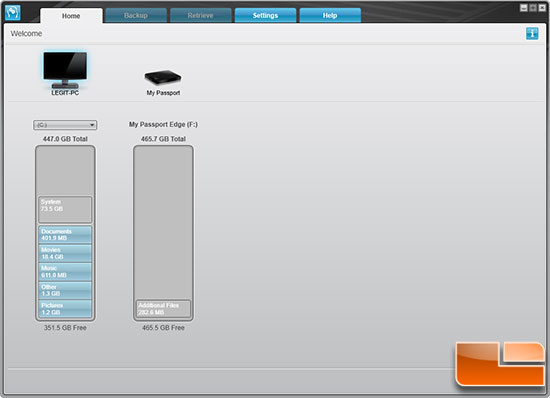
Now that the WD SmartWare application is installed you can open it and when you do you’ll see the GUI above pop open. You must click on the My Passport drive in order to get to the backup menu.
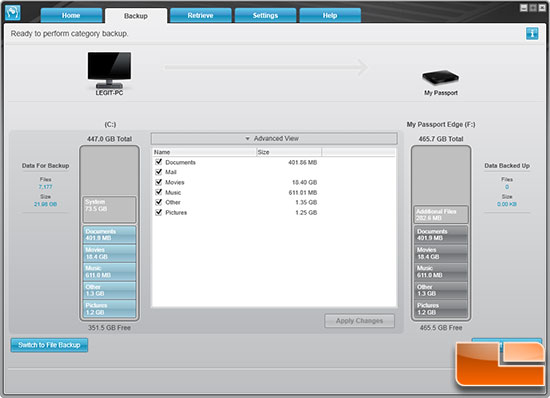
Once you highlight the My Passport Edge, you can then click the backup tab and do a category backup. It will automatically backup your key files or you can click on advanced view you can enable and disable the six categories if you don’t
want to back them all up for some reason. The software program places your files with certain extensions into one
of six general categories when backed up. They are documents, mail,
music, movies, pictures and other.

It is important to note that the WD My Passport Essential doesn’t
backup your operating system or installed software/games and you can’t
select specific folders to backup. If you wanted to do a complete file
structure backup or be able to select what folders you wanted to backup
you’d have to purchase a 3rd party solution for that. The included WD
SmartWare utility is aimed at backing up your general day to day items.
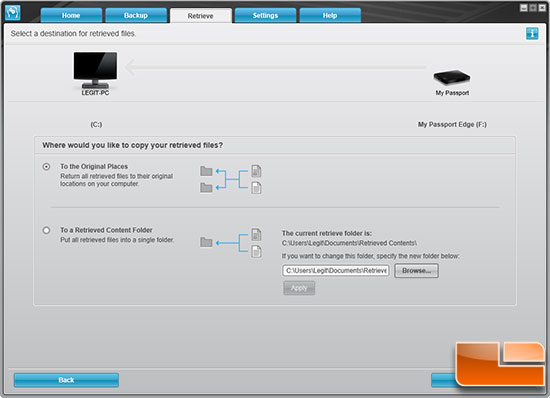
The screen you don’t want to ever find yourself on is the the retrieve screen, which is where you go when you need to get files from a backup.
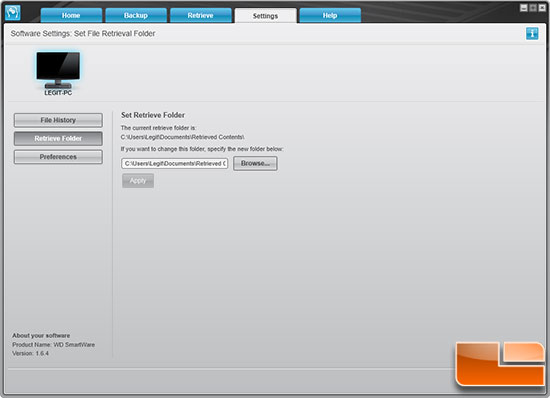
You can change the retrieve folder by going under the settings tab. You can also change the number of backup versions to keep for each file under file history (default is 5) and the preferences. Our drive came with WD SmartWare version 1.6.2 and we were able to automatically update to version 1.6.4 by allowing the utility to check for updates.
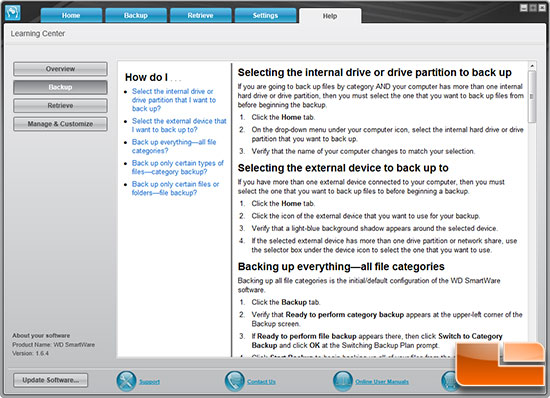
The final tab is ‘help’ and there you can find the answers to most of your basic questions on how the utility works. Now that we know what the software looks like we can get to testing.

Comments are closed.