WD My Cloud EX2 2-Bay Personal Cloud NAS Review
Inside The WD My Cloud EX2
We cracked up the case to take a look at the build quality and to see what components were being sourced for the WD My Cloud EX2.

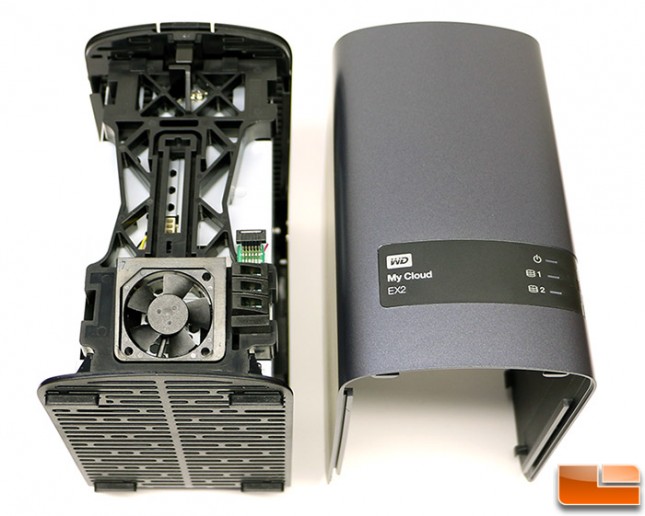
With the plastic rounded cover removed we were able to take a look inside the WD My Cloud EX2. The layout is rather interesting as there is a metal tray inside that is attached to the outer plastic housing. Pretty much every single metal part that touches the plastic is isolated with rubber grommets. The My Cloud EX2 is active cooled with a small fan sitting behind the front cover at the very bottom of the unit as shown in the image above.

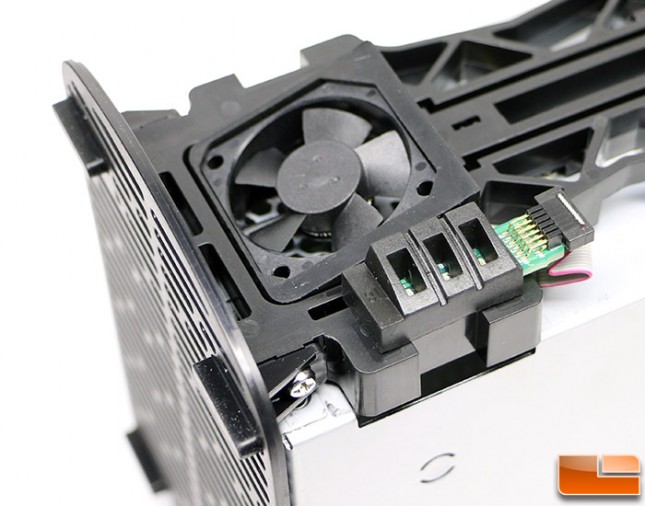
Here is a shot at the front 40mm case fan and the circuit board that has the three blue LED notification lights. Notice that both have rubber sleeves around them. We suspect that the rubber around the fan is to keep noise down and that the rubber around the LEDs is to ensure that just right part is lit on the front panel. It should be noted that there are just two wires inside the EX2; one for the front LEDs and the other for the front cooling fan.

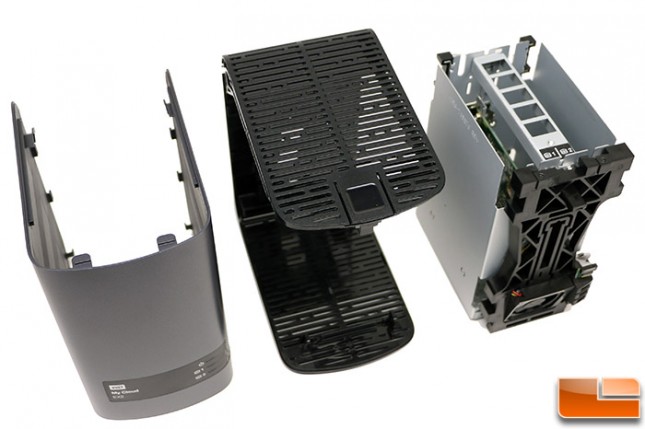
Here is a quick look with both plastic case halves removed from the WD My Cloud EX2.

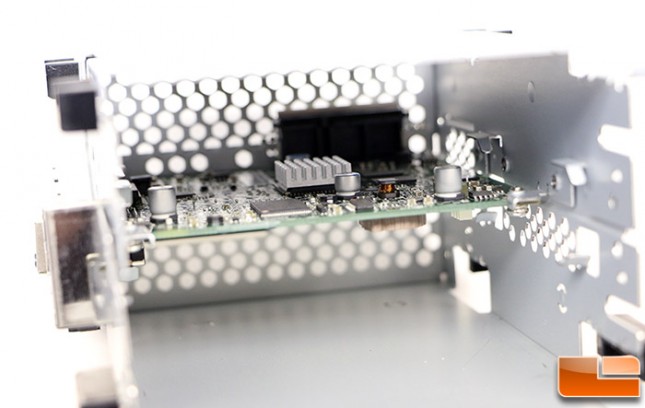
We tried to strip down the inner metal drive cage, but WD used a couple clips on the SATA ports that weren’t exactly easy to get off, so we stopped short of removing the motherboard. We snapped the above image though to show that the Marvell A370 1.2GHz single-core SoC was passively cooled. We could also see that . The bottom of the board has a pair of Nanya DDR3 memory chips and SKHynix NAND Flash chip.
Now that we know what the WD My Cloud EX2 is and what is inside of it, we can move along and setup the NAS server!
