WD My Book World Edition II External 2TB NAS Drive
Installation and Drive Mapping
Turn on your computer and wait for the operating system to fully load. Insert the WD software CD into your disc drive and wait for AutoPlay to detect the disc.
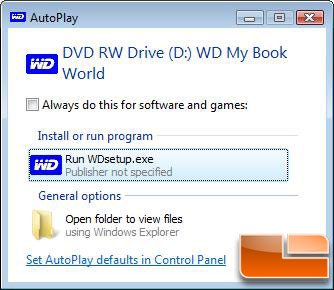
If AutoPlay is disabled on your computer, you must manually install the utilities. Click Start -> Computer and then double-click setup.exe in the root directory of the CD. If you are running Windows Vista you can just click on Run WDsetup.exe like shown above and move on.
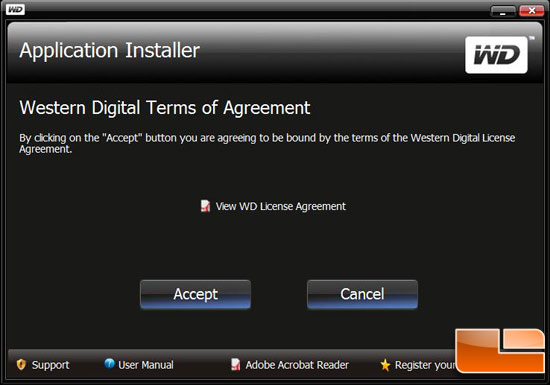
Once the application installer fires up you’ll see the Western Digital terms of agreement, which you must accept to move forward.
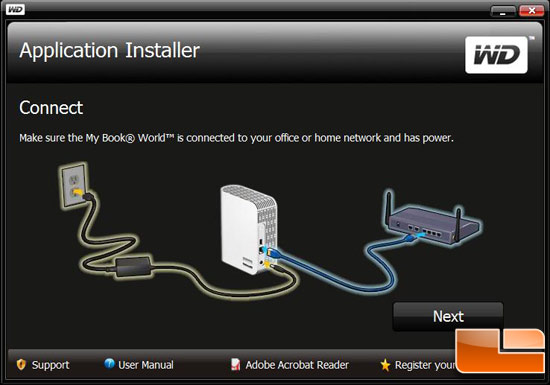
The next step makes sure that you’ve correctly wired up your My Book World Edition II NAS to your office or home network. If it is connected like shown in the image above you can click next.
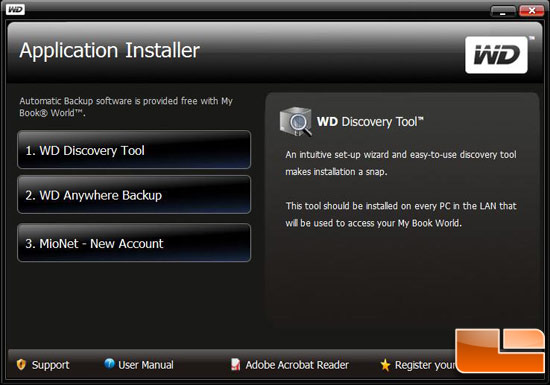
The next step of the application installer allows you to choose between a few different options. You’ll want to run the WD Discovery Tool, which is an intuitive set-up wizard that will discover the drives on the network for you.
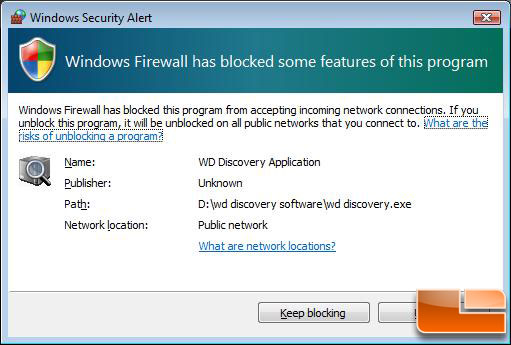
On our test system running Windows Vista 64-bit we got a Windows Firewall pop-up saying that some of the features of the WD Discovery Application had been blocked. Go ahead and unblock the program.
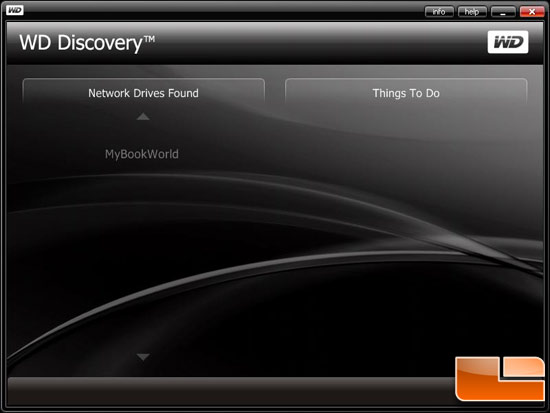
The next screen shows that a network drive called ‘MyBookWorld’ was discovered. Go ahead and click on ‘MyBookWorld’ and we can move to the next installation step.
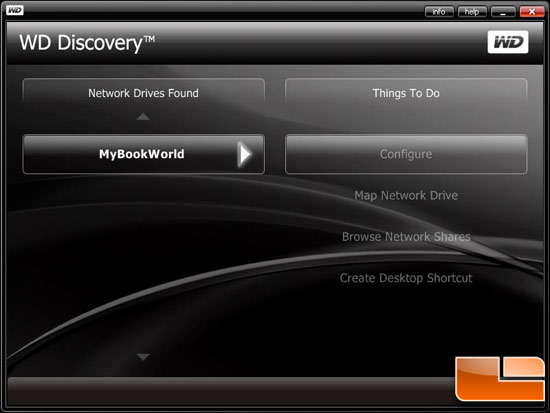
Click ‘Map Network Drive’ in the ‘Things to Do list’ in order to begin mapping the drive automatically. If you like to do things manually you can click on ‘Configure’ and type ‘admin’ in both the name and password fields and then hit connect. From here you can change the date, configure the raid array, and other advanced settings. The WD My Book World Edition II comes configured out of the box to operate as a RAID 1 array for data security. If you’d like to change the RAID array to RAID 0 for better performance, but no redundancy, this is the time to make those changes.
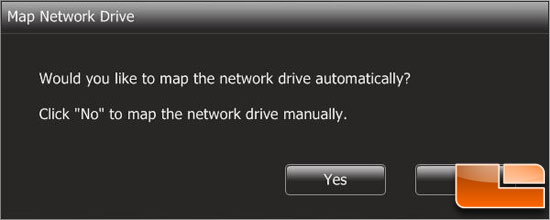
Another window will pop-up asking if you are sure that you would like to map the network drive automatically. You can click ‘yes’ if you want the utility to do it for you or no if you’d like to manually map the drive and change the drive letters to your wishes.
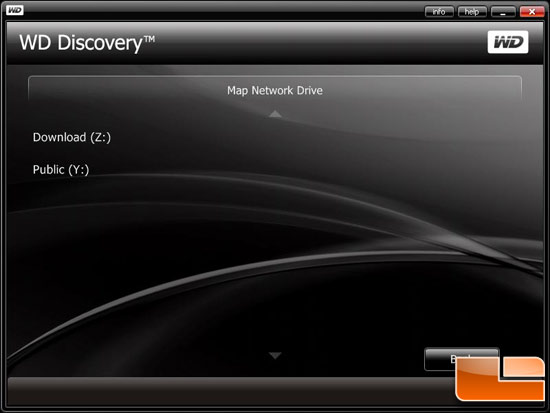
After clicking ‘Yes’ all of the pre-installed folders will be mapped as network drives automatically. Available drive letters are assigned backwards from Z, but you can click on the network drives on this screen to change the drive letters if needed.
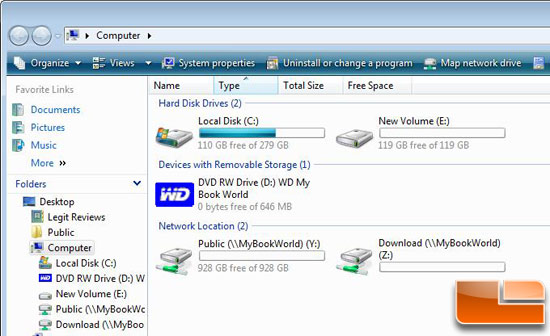
Once the drives are mapped you can go ahead and go to Computer/My Computer and the network drives should now be fully mapped and ready to go. You can now drag and drop files into the network drive folders and use the drives. Notice our 2TB My Book World Edition II has an actual useable space of 928GB since it’s a RAID 1 array and the drives are mirroring each other.
Now that the 2TB My Book World Edition II is ready to go we can install the backup software.

Comments are closed.