Transcend JetDrive Go 300 Review – iOS Mobile Storage
Transcend JetDrive Go 300 Drive/App Use
It’s quite simple to use and for seasoned tech savvy users, a read of the manual may be a bit superfluous. Those less technically inclined will want to review the PDF documentation (found on the drive and Transcend’s site) to get the most out of using the app. Of course, the companion app in the Apple app store called “JetDrive Go” is needed to access the full functionality of the drive and once it’s installed, everything is ready to go.
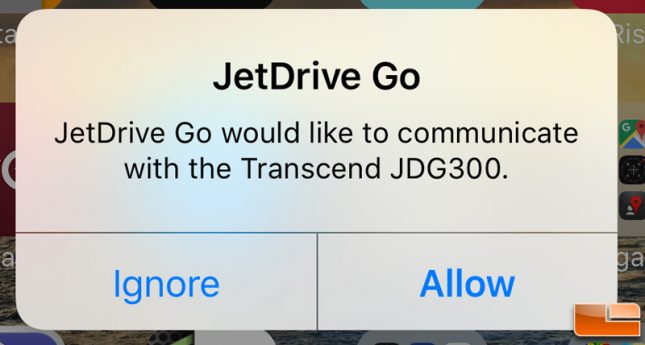
Upon every connection of the JetDrive G0 300 to the Apple device using the Lightning port will bring up a prompt to let the user to choose to allow communication between the drive and the app. It’s a little bit of an annoyance to answer this every time but that’s an iOS security feature and is similar to the prompt you get when connecting any iOS device to a Mac or PC.
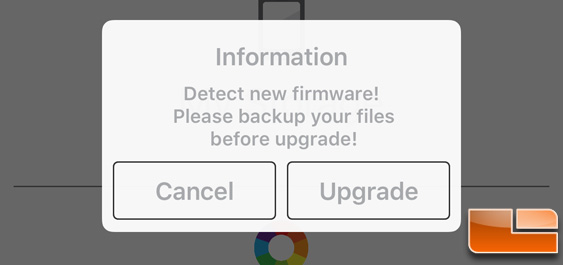
When I first connected, I was informed that there was new firmware available so I did the upgrade without incident. I had read that the last few minor updates to iOS was causing issues with some users in terms of the device recognizing the JetDrive Go. I don’t know what the firmware upgrade was comprised of but I wouldn’t be surprised if there was an update in there to address this. At no time did I have connection problems with my iPhone or iPad Pro – both running iOS 9.3.4 during testing.
Before we get deep into the actual use, it’s a good time to see what file types are actually supported by the drive. It’s a pretty broad array and covers nearly all of the mainstream formats – especially for iOS/Mac OS users. I copied several video files of various formats into a new folder on the JetDrive Go and was able to play them back without a hitch from the drive itself. No stuttering or long load times which means the data transfer rate is up to snuff. This is great if you want to take a bunch of movies to watch on a trip but don’t have room on the Apple device to put them. That said, due to copyright restrictions, JetDrive Go cant store any music, videos or audio books purchased from iTunes so be mindful of that. Another note on media files – the drive comes formatted in FAT32 which limits file sizes to 4GB. For larger files, you can format as exFAT (NTFS is not supported). For more information about formatting the drive, check Transcend’s site here. Before doing so, make sure you back up the drive as this will erase any data you have stored on there as drive formats always do.
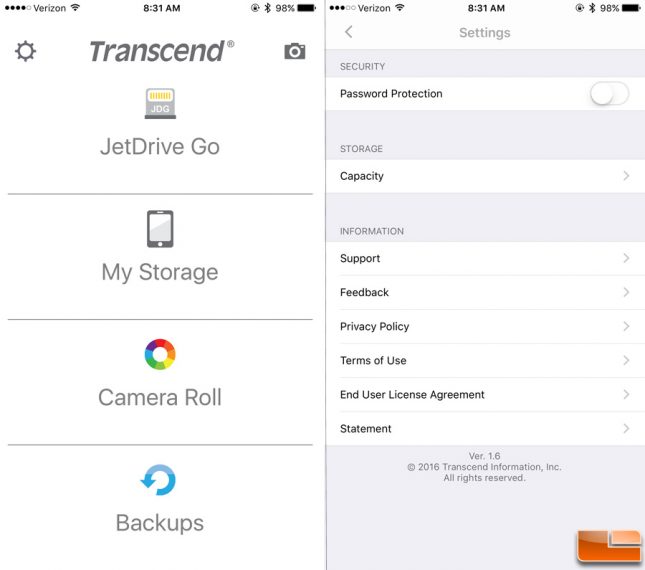
Once inserted and the app is running, you get the screen on the above left showing the four areas of use. You can click on the camera icon in the top right hand corner to access the camera to store images directly to the JetDrive. You can also click on the cog icon in the top left hand corner to pull up the settings screen which is shown on the right side of the image above. Here you can set a password for the drive, get support, give feedback, and read the various legal mumbo-jumbo that we all love to ignore and skip over though admittedly it’s a bad practice in general to not be aware of what you are agreeing to. I didn’t find anything nefarious in the disclosures so you’re safe for now.
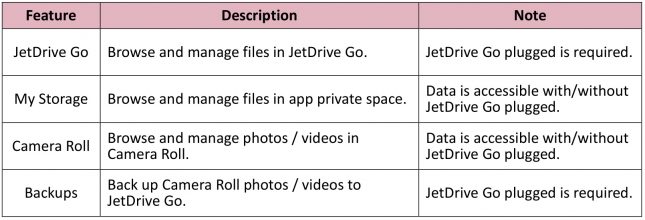 The aforementioned four areas of use are also outlined above with a brief description on what they are though most are self-explanatory from the naming alone. As indicated in the table, the ‘My Storage’ folder and ‘Camera Roll’ are accessible without the JetDrive plugged in as data will be temporarily stored locally on your Apple device.
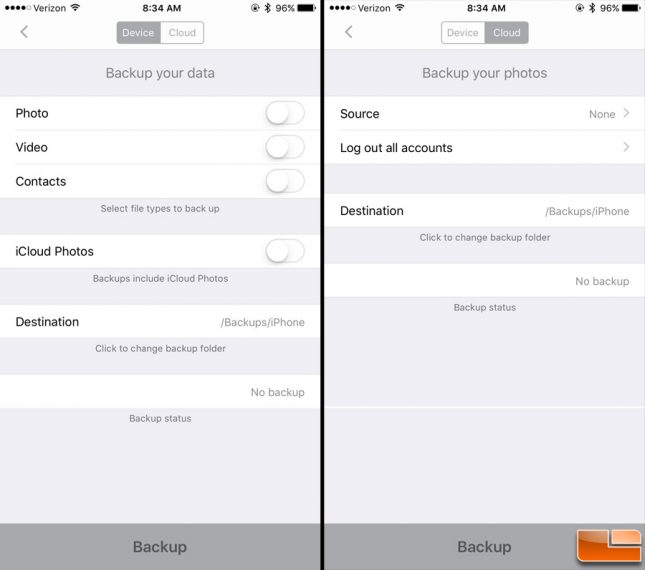
Backing up the data is very customizable as you can choose between which files you want to back up, the destination and even include iCloud photos. It’s straightforward and easy to do and really saves the time of going to a computer, logging in, pulling up iTunes (or similiar) and going through the process. If you are traveling or just on the go in general, it’s really
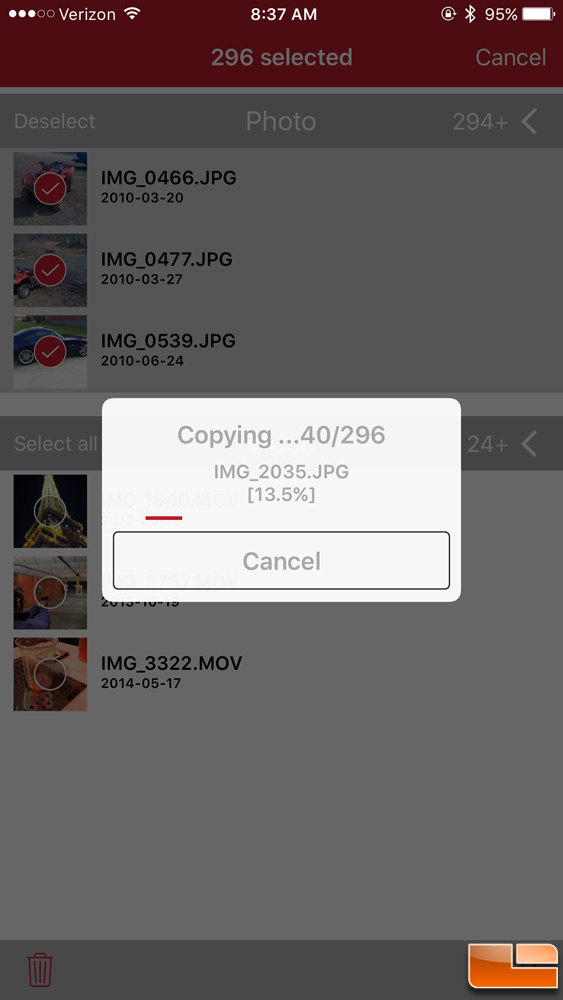
Jumping the gun a on performance observations here a bit but the Lightning connection for the JetDrive Go 300 is supposed to yield data rates of up to 20MB/s. There’s really no application that can be easily used to measure this between the phone and the drive. However, I did clock some data transfers to get a feel for the speed and backed up a mix of 324 photo/videos representing 2.07GB of data and it took only a hair under 4:30 minutes. I really expected it to take a lot longer so definitely a plus. It’s important to note that all slo-mo and time-lapse videos as well as “live” photos remained intact when backed up so when played on my Macbook, they still performed the way they did on the phone. This does not happen when I plug it into a PC and copy the files over from the internal iPhone folder so that’s great! More performance metrics on the next page…

