Thermaltake Core X71 Full-Tower Chassis Review
Core X71 Interior Impressions
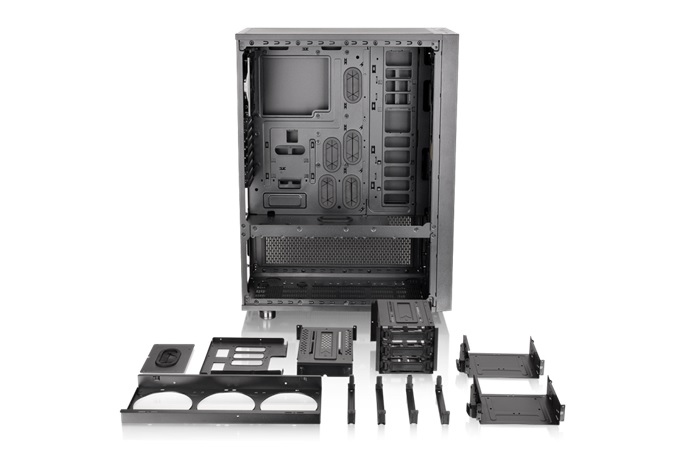
The inside of the Core X71 is fully modular, meaning that you can rip out just about any part inside to make room for various components.
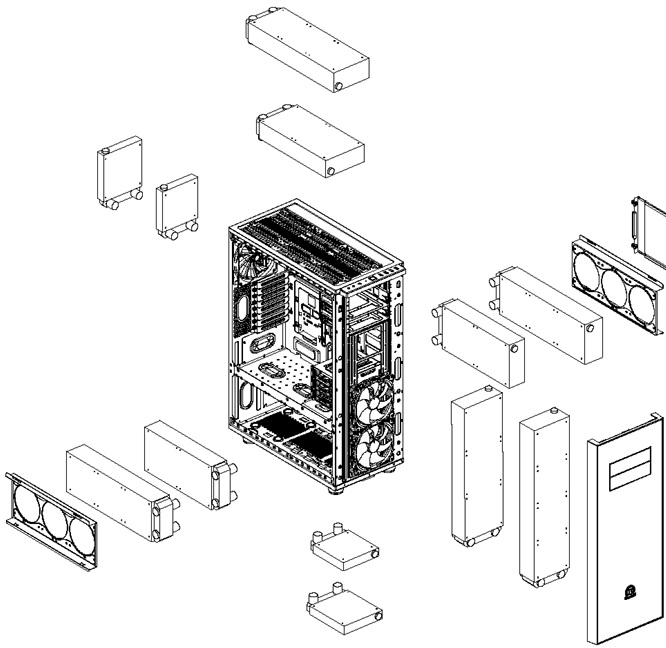
Also like its siblings in the Core X line, the X71 has a massive amount of flexibility when it comes to cooling configuration. You can fit as small as a 120mm radiator or all the way up to a 480mm, so you can begin to see the options. You arent limited to just a single radiator in this case, either, rather you could theoretically put up to four different radiators inside this case with ease. See the exploded view below for the various configurations that you could do.
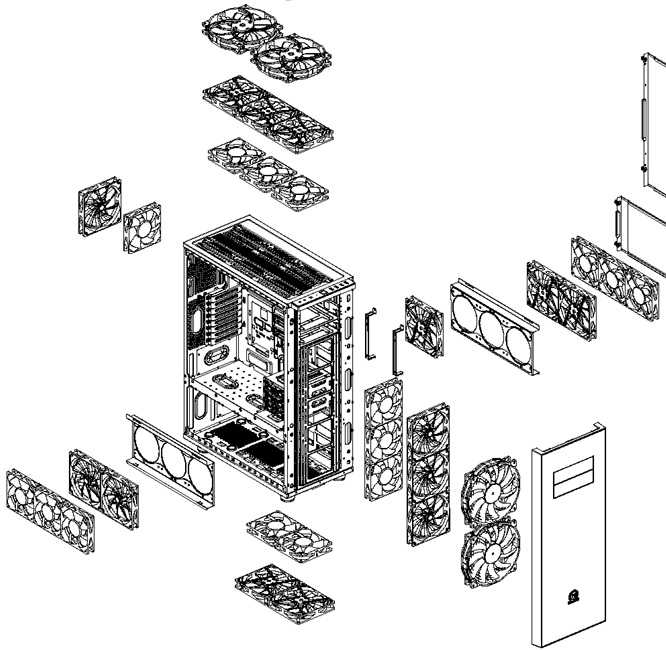
Not only do you have a lot of options for liquid cooling, there are tons of options for installing fans inside, as well. See the below diagram for the various sizes and configurations that you could use. Also note, though it is not displayed on the below picture, youre limited to a 180mm height on your CPU cooler.
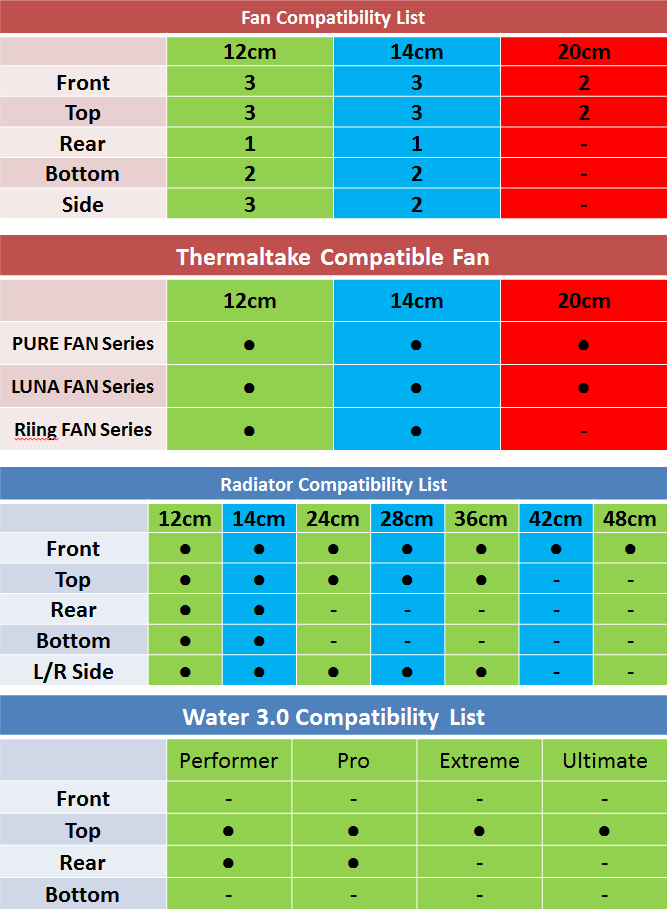
The below chart list shows you the fan and radiator compatibility with the Core X71.
With as big as the X71 is, you will find that it only fits up to an ATX-sized board, which fortunately shouldnt be an issue with a vast majority of people. The standoffs for ATX or mATX are pre-installed, cutting out at least one item that you need to do.
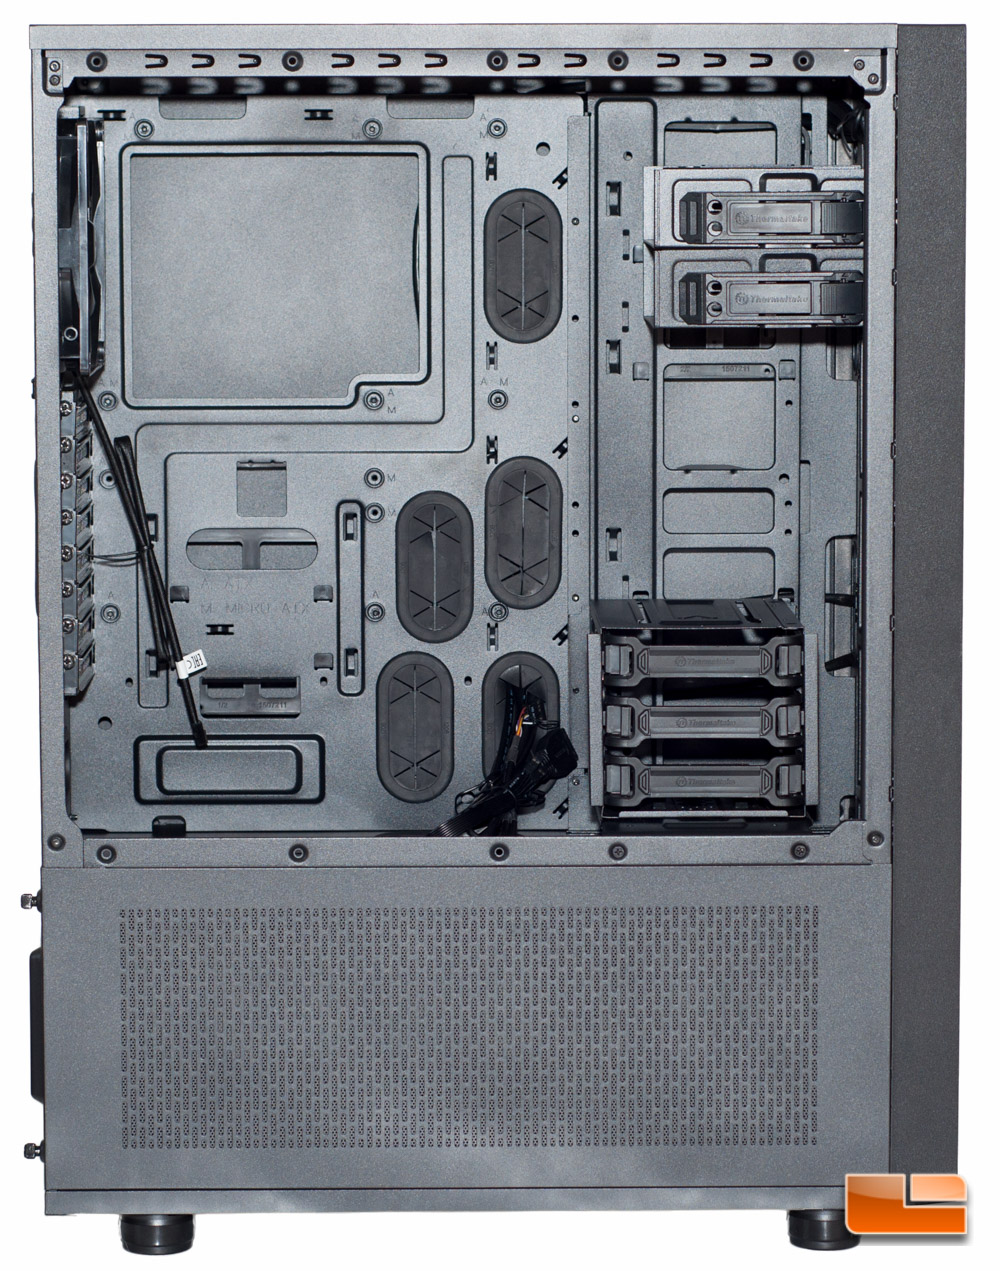
Removing the lower door on the left side we expose how cooling will attach to the bottom via the included bracket. You will be able to install either a 240mm or 360mm radiator in this space, along with your PSU hiding behind it, or you can mount 3x 120mm fans on the bracket. Should you reconfigure how this is laid out, you can also install fans or a radiator to the bottom of the chassis (consult the chart and pictures above).
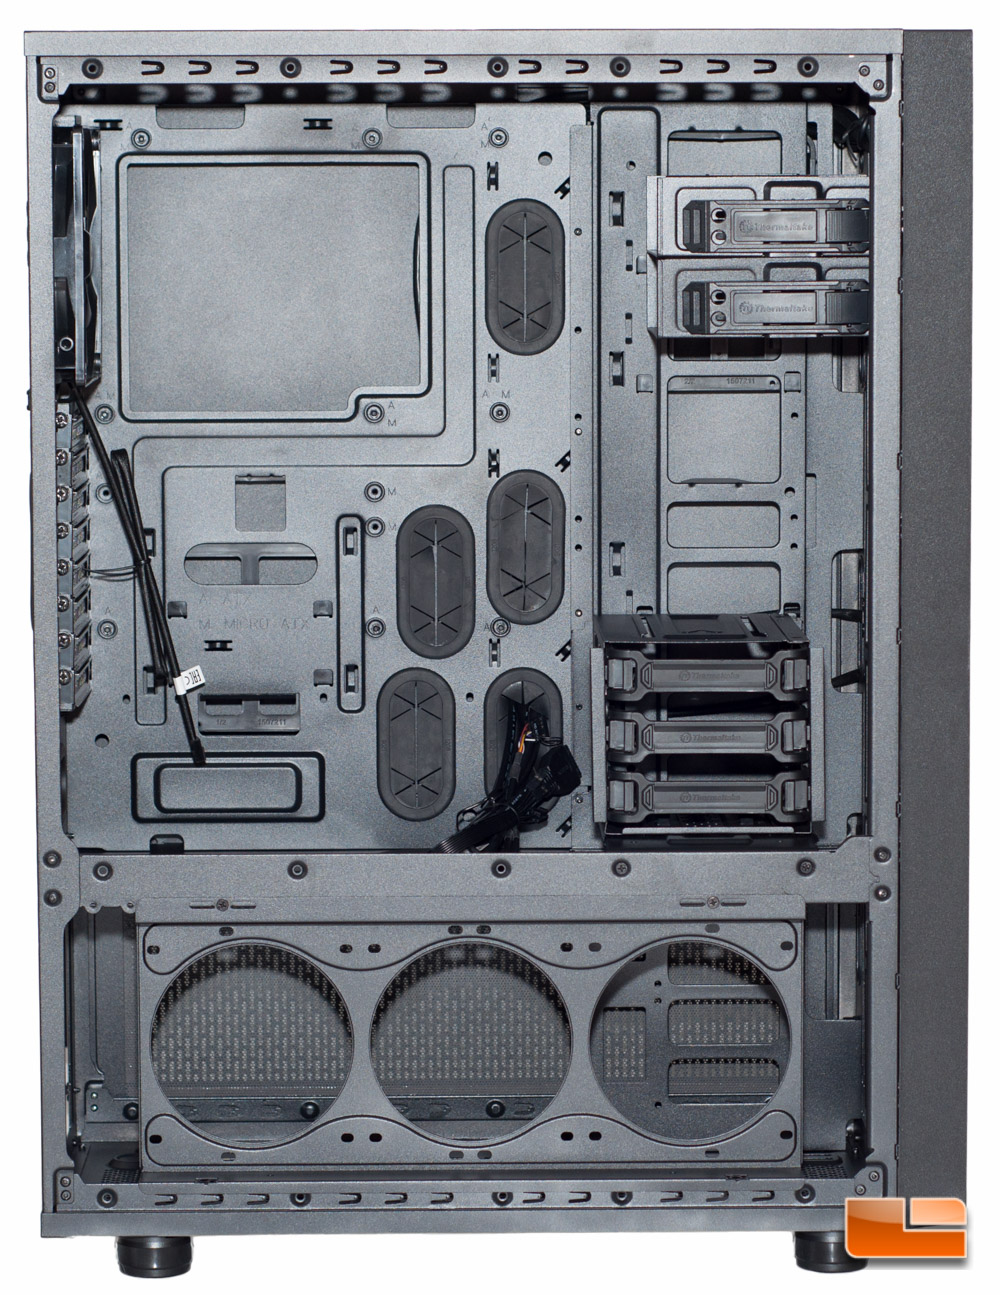
The radiator/fan mounting bracket is removable completely or you can swap it to be on the other side of the case.
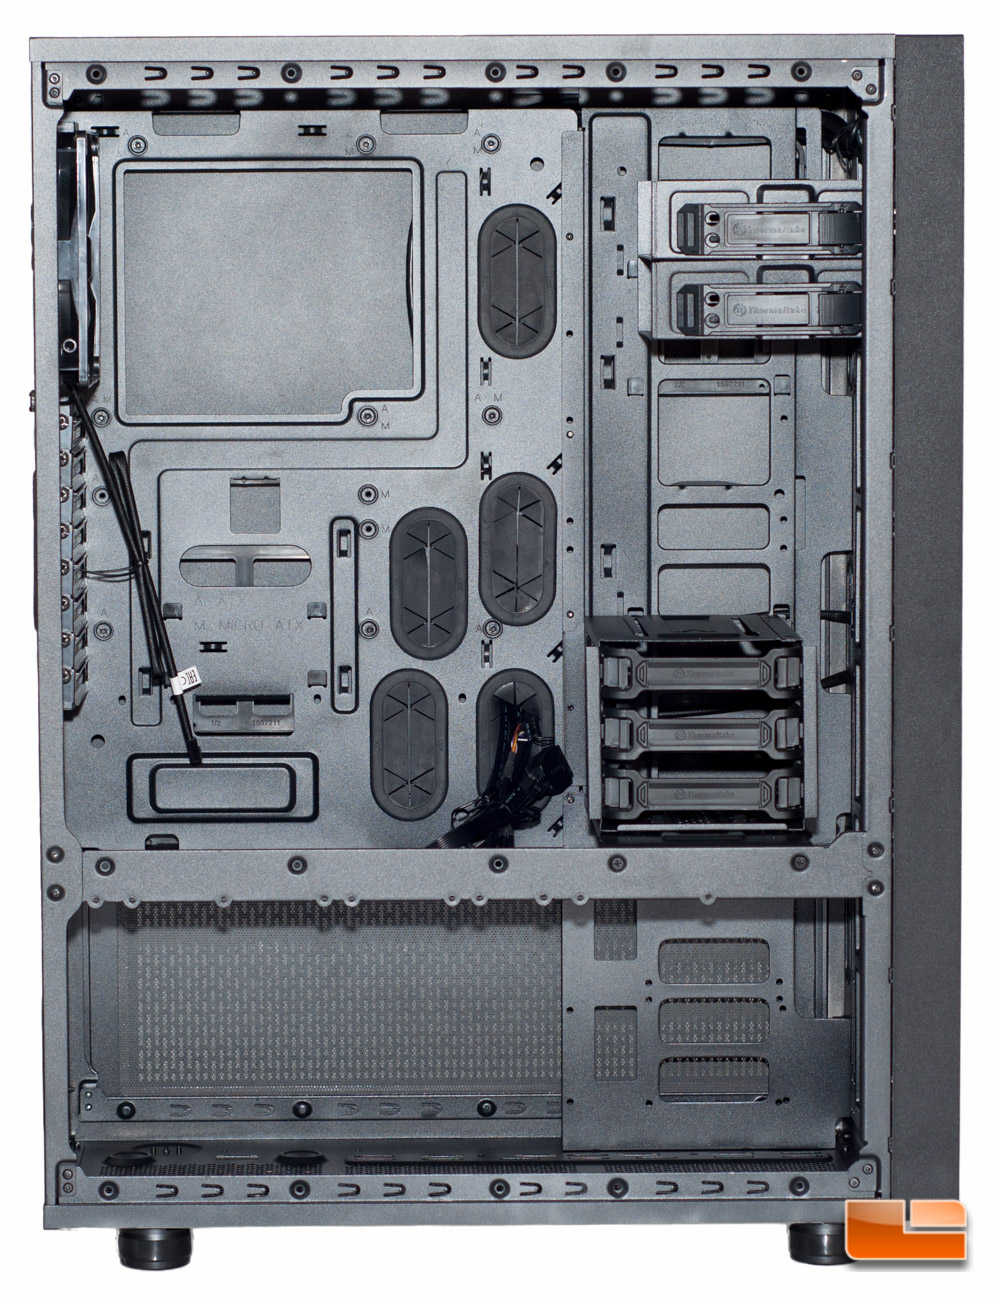
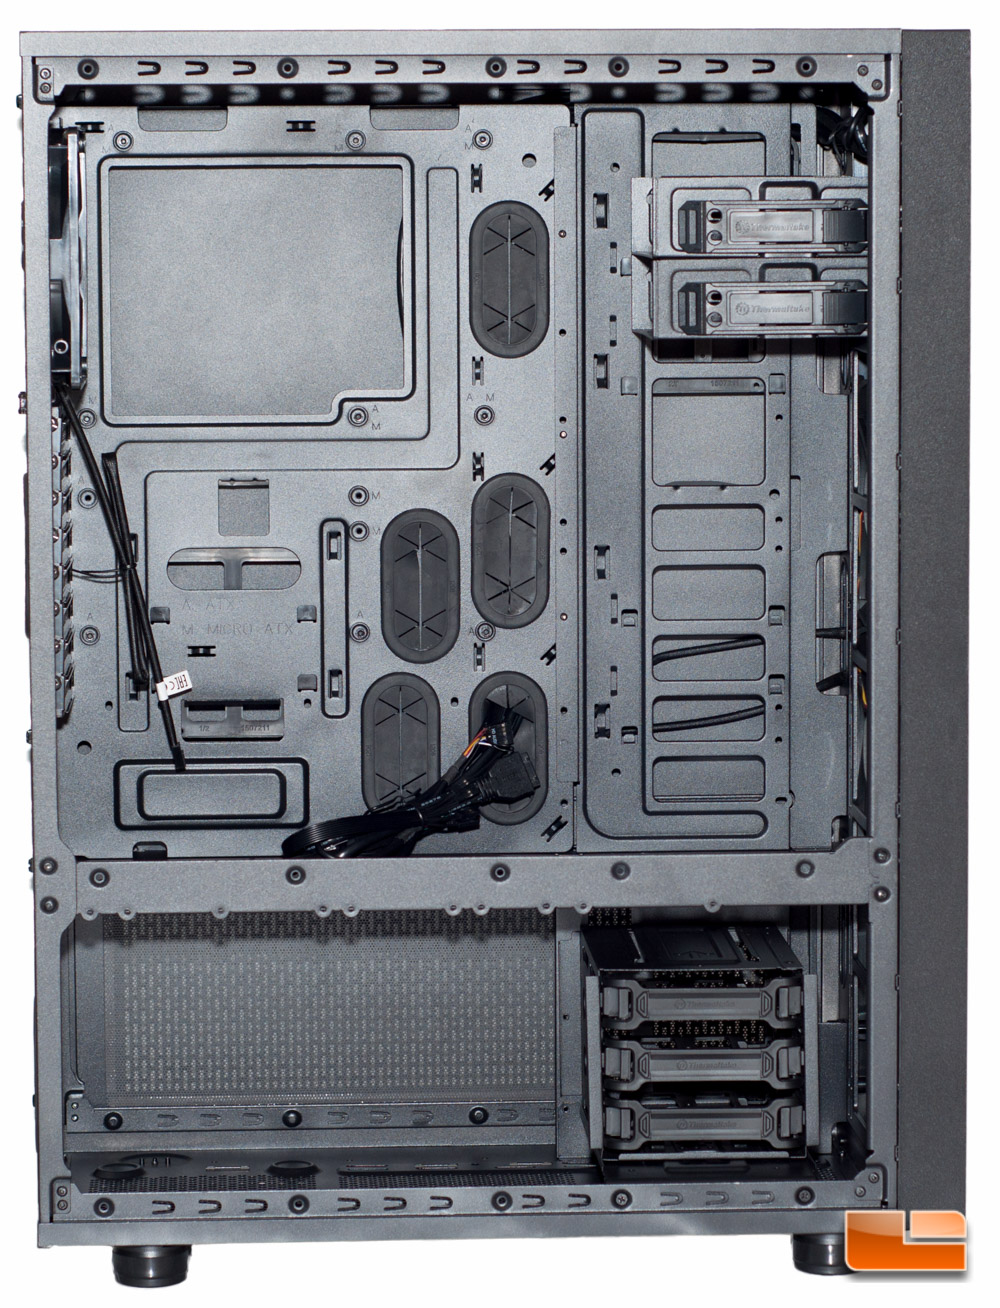
When you remove it, youre able to also move the HDD cage down to the bottom.
If you didnt notice from the previous pictures, there are tons of wire pass-thru holes with rubber grommets in place. Depending on the board size youre going to use, youll be able to use the majority or all of these holes. There is a very large cutout on the rear of the motherboard tray, should you choose to swap around your cooling and need to install a different CPU bracket.
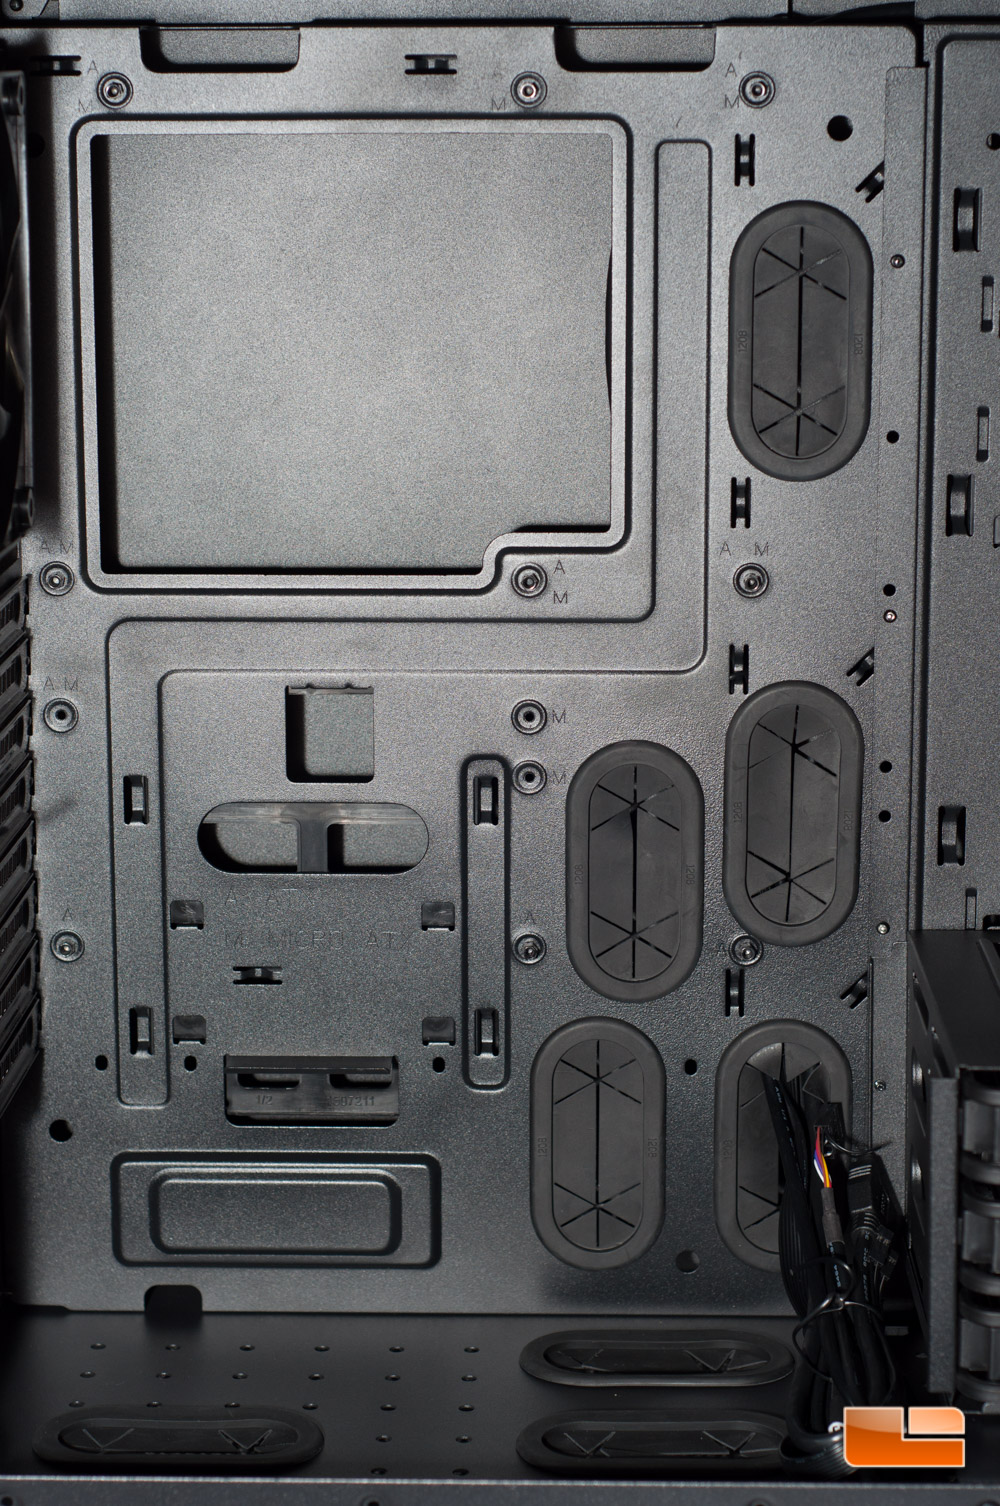
On the bottom of the top chamber are also three grommets to pass wires through.

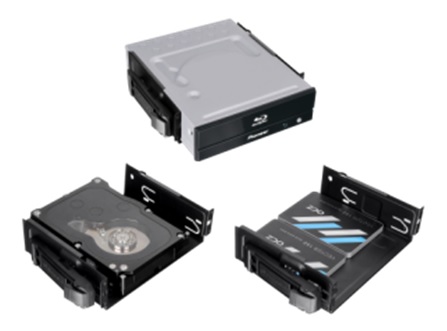
Up top, the 5.25-inch bays are equipped with a tool-less design, should you install a 5.25-inch device. You can either completely remove these or install 2x 3.5-inch or 4x 2.5-inch drives instead. Theyre removed via screws on the front.
Example of reconfiguring the 5.25-inch bays for hard drives:
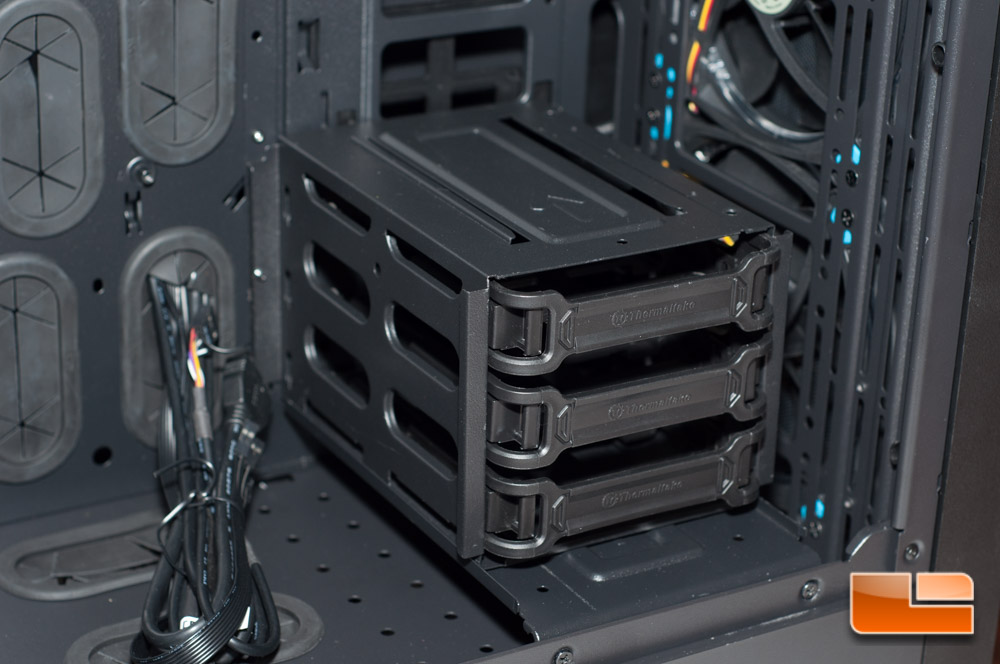
The bottom right of the main chamber is where youll find the main hard drive cage, including three cages for your HDD or SSD needs. What I find interesting are the slots on the top of the cage, with an arrow, because it makes me wonder if the cage could expand or had a dual purpose in a different case (to hang underneath the 5.25-inch bay).
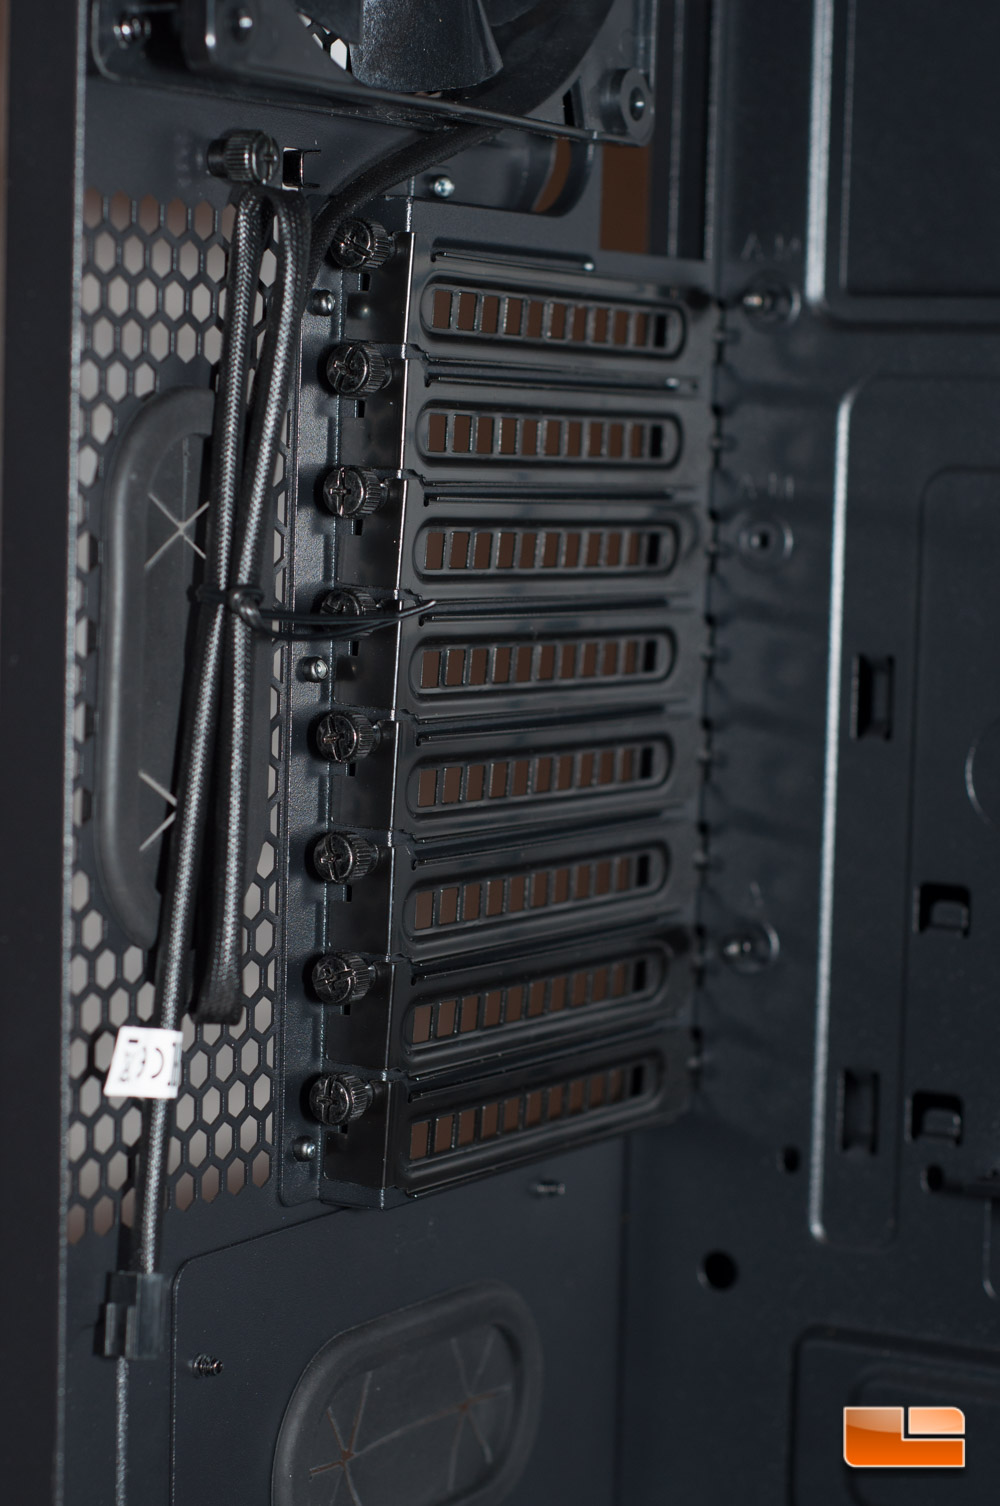
For your expansion slots, they are designed to be tool-less by using thumb screws, however if you have to squeeze a screw driver in place, you can. I tend to find that a lot of these thumb screw expansion slots dont work as well as Id like.
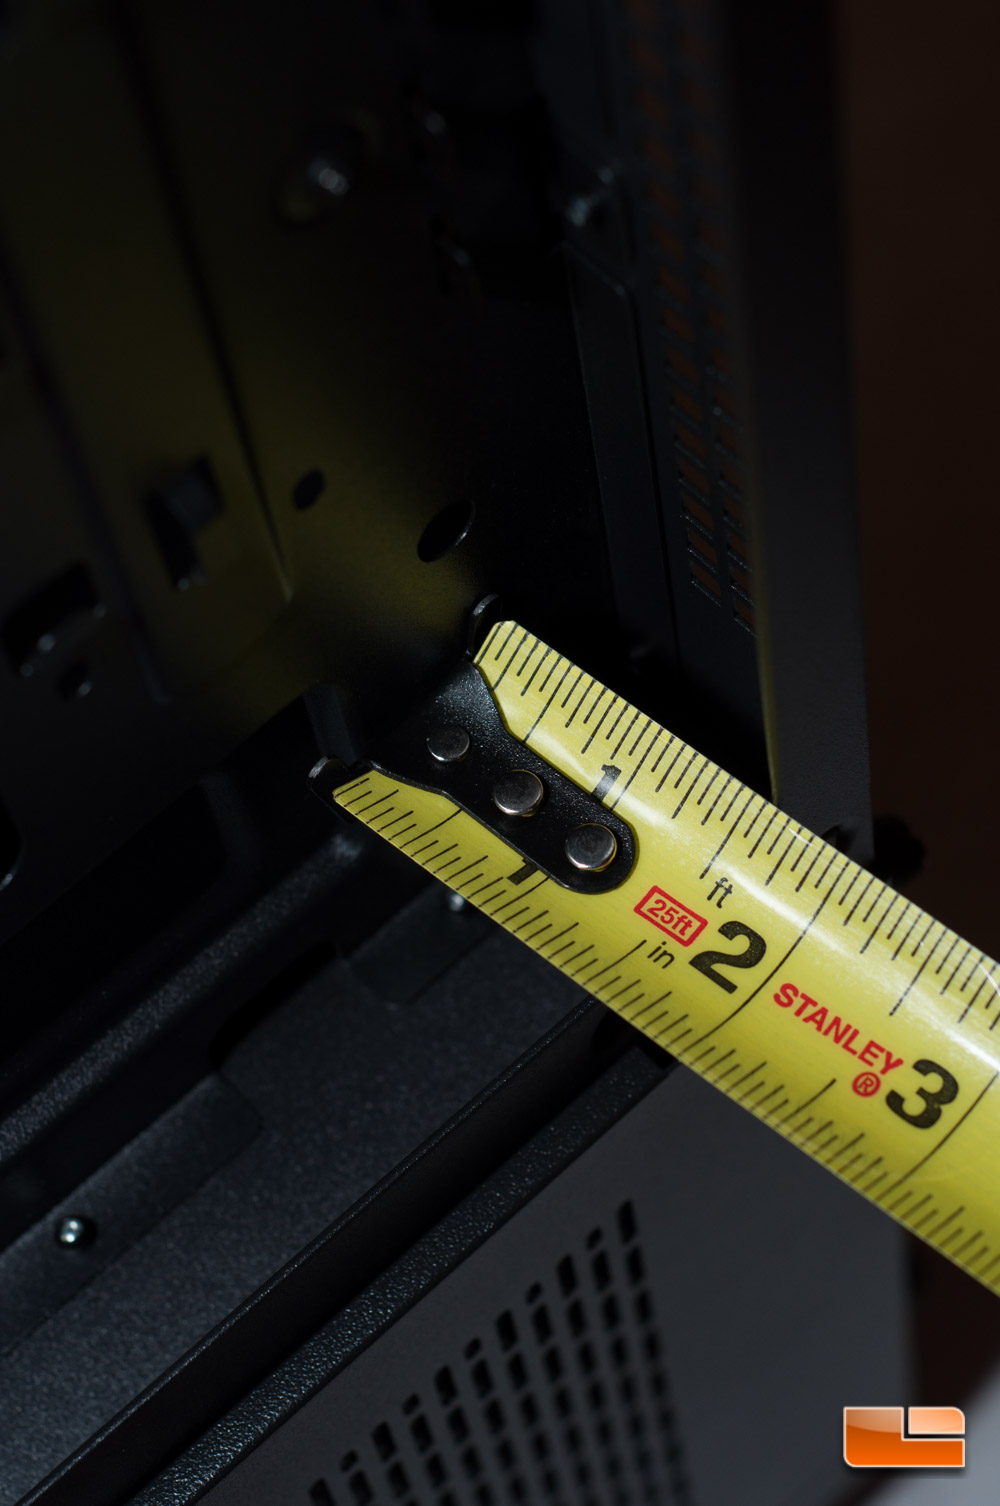
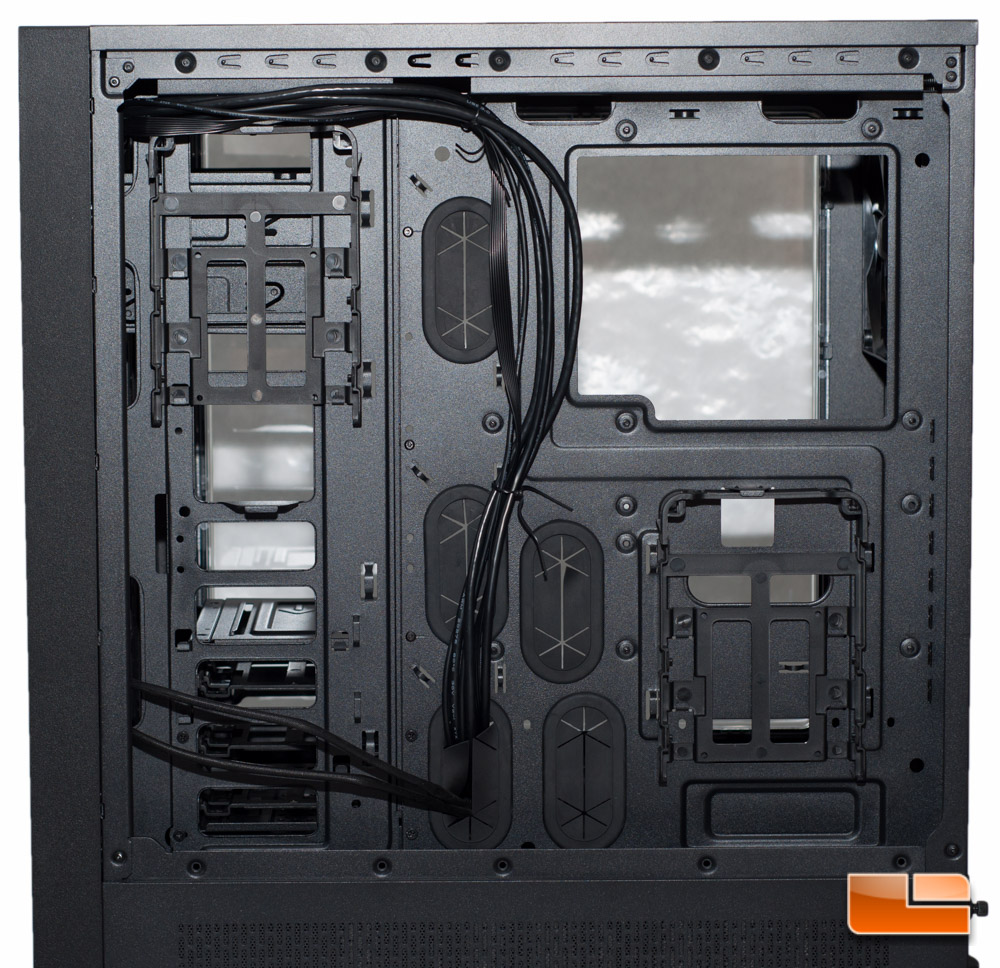
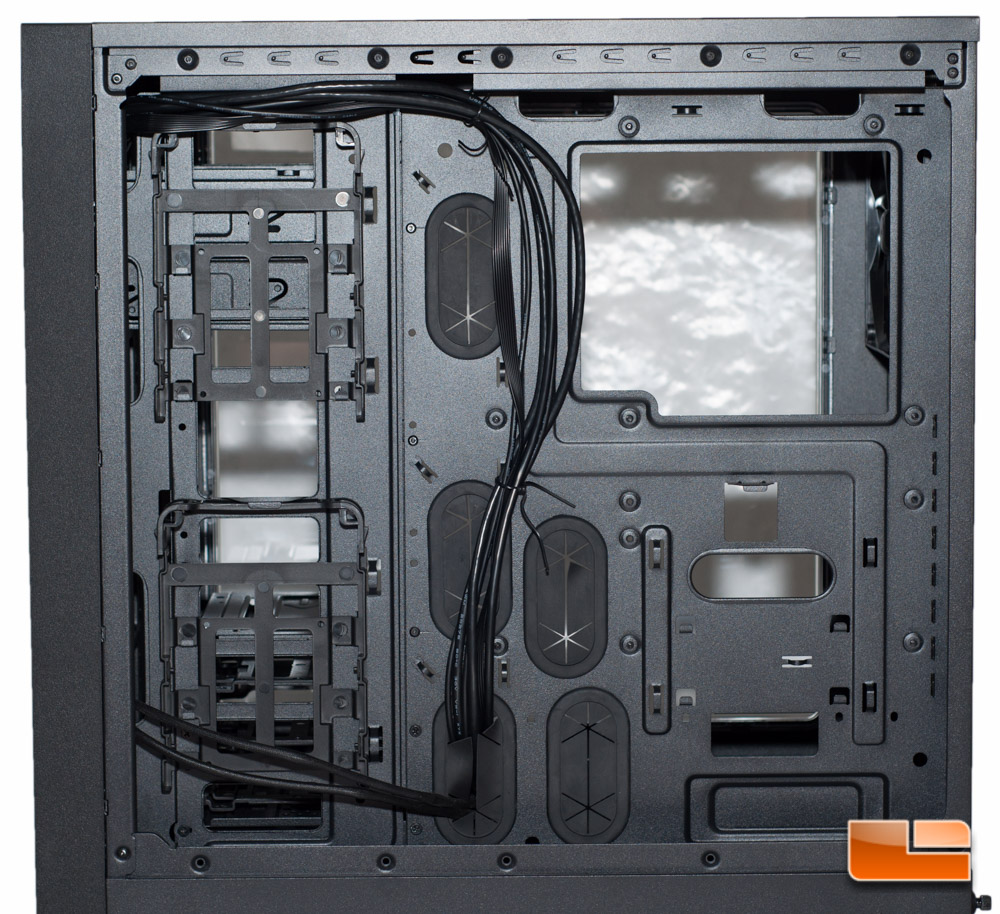
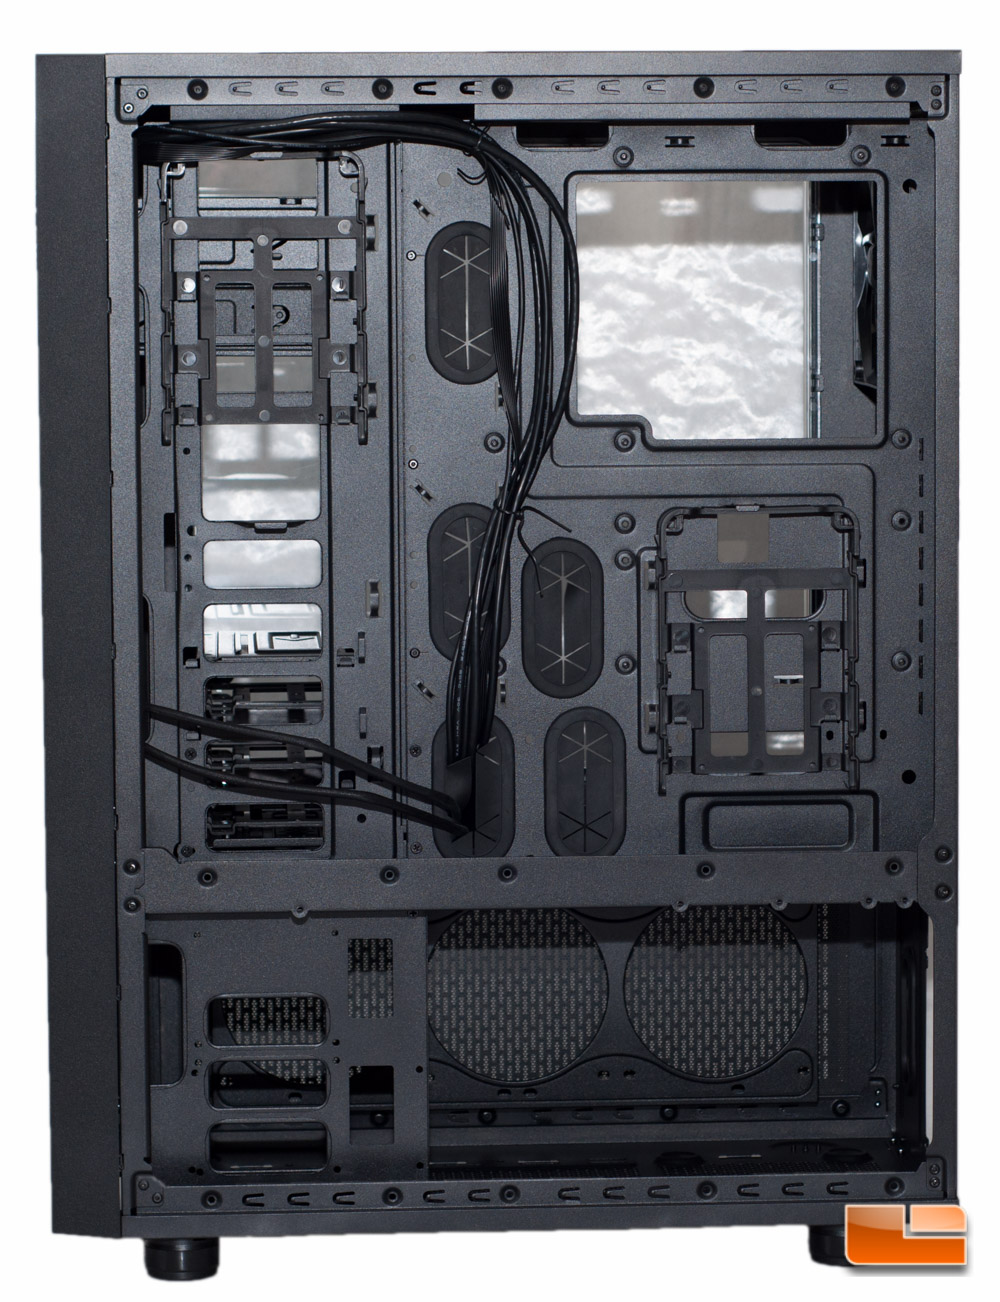
Moving to the backside of the motherboard tray, you cant help but notice the massive 1.5 inches of space for running cables!
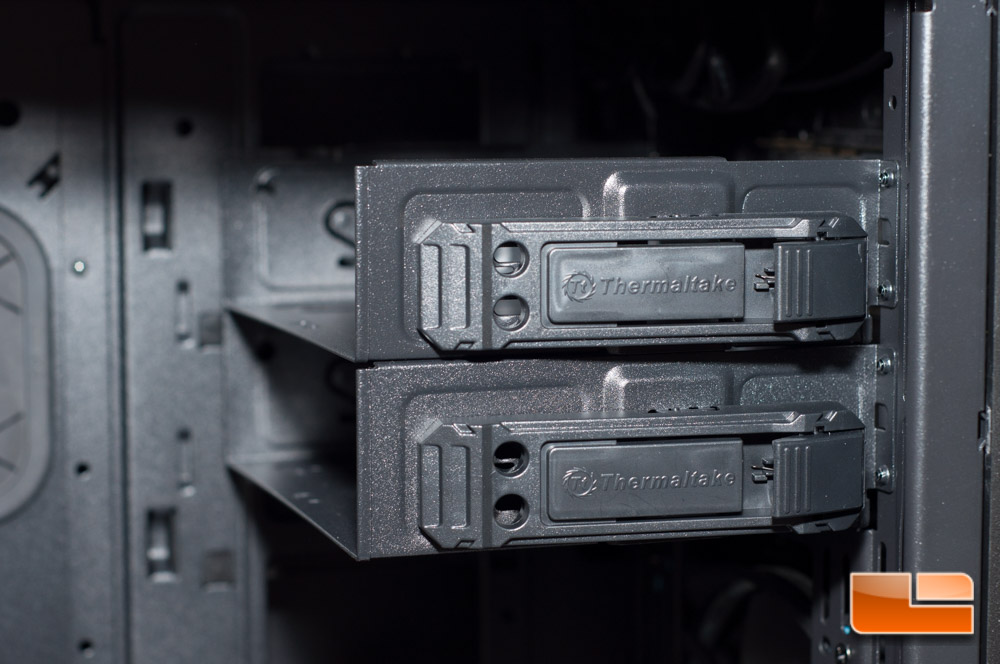
On the back we can also mount up to 2x 3.5-inch drives or 2x 2.5-inch drives with the included brackets.

Closer view of the brackets:
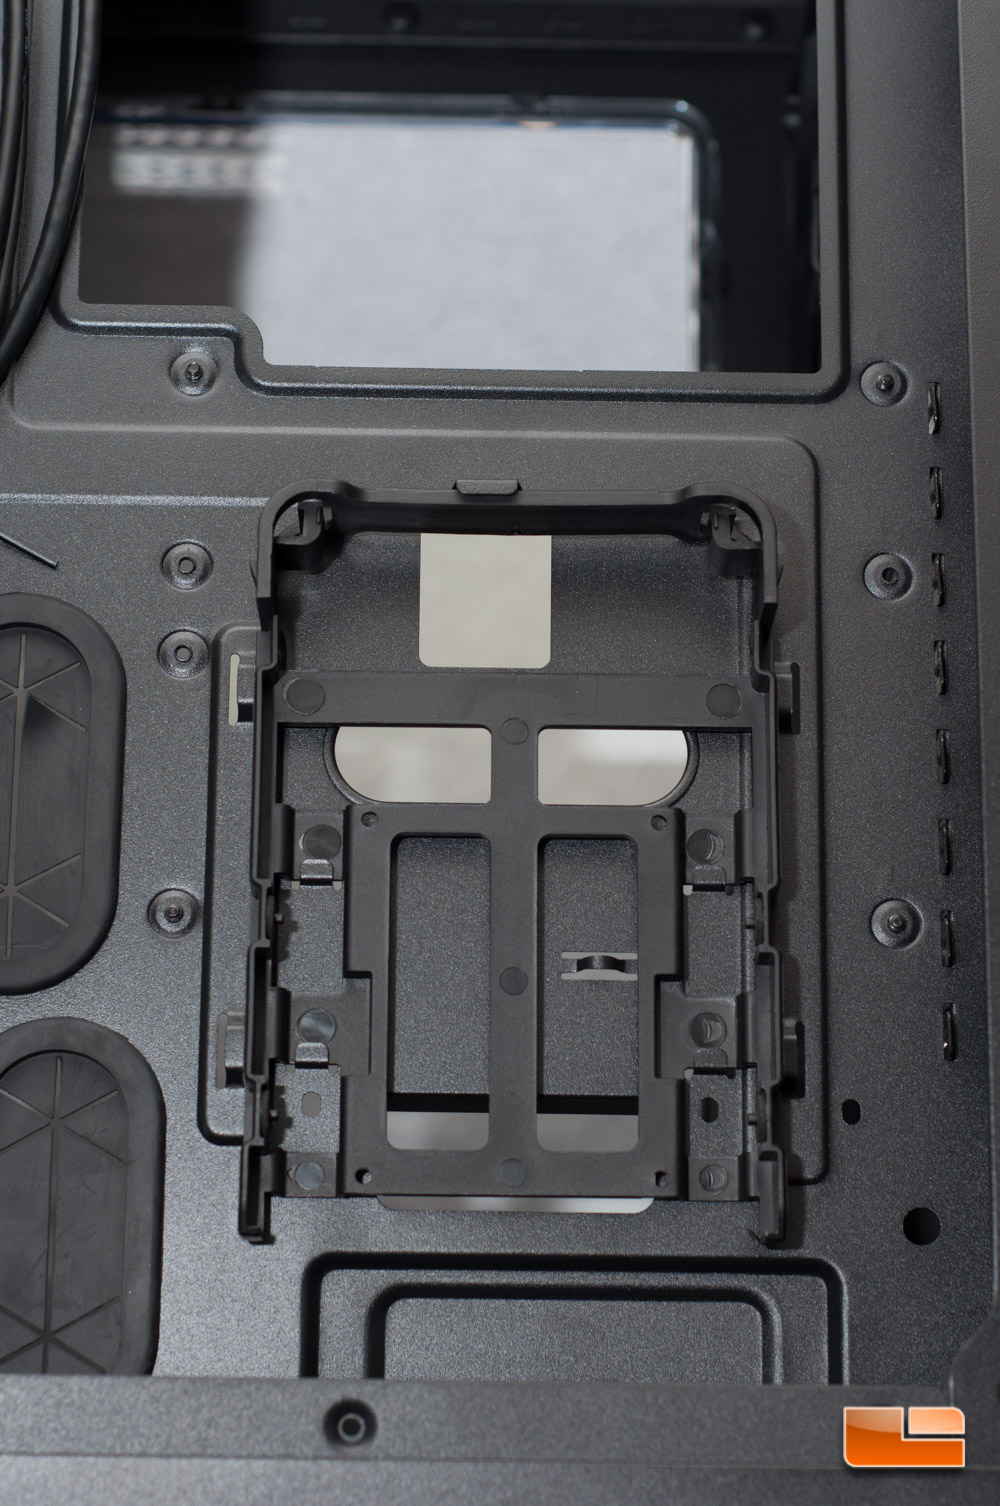
Thermaltake did design a spot to move one of the brackets to a third spot, but did not actually include a third bracket. Im hoping that theyll offer this as an add-on to purchase, as centralized storage is not a strong point of this case its all over the place. If youre feeling adventurous and dont have many drives in your system, you could always snag a hard drive tray from the cage in the main chamber, possibly getting rid of the hard drive cage altogether. Do note that you will now be blocking SATA access to your drives in the HDD cage, should you leave the HDD cage in the top chamber.
On the bottom chamber, you can even swap around the cooling bracket and place it on this side instead. Regardless, the door is filtered like the rest.
Thats what there is to show on the interior, so lets take a quick look and see how easy it is to install some hardware inside this case.