Thermaltake Core X2 Micro ATX Cube Chassis Review
Thermaltake Core X2 mATX Cube Chassis Build
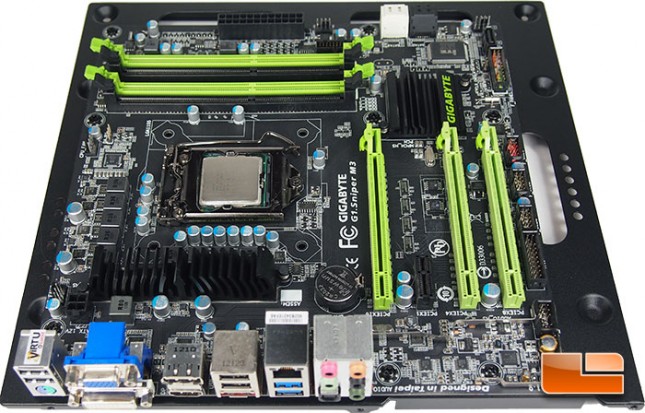
Despite the Thermaltake Core X2 having more than enough room to work in, it was nice being able to remove the motherboard tray to mount it. I installed the necessary stand offs on to the tray, and the mother board fit on to the tray without any alignment issues.
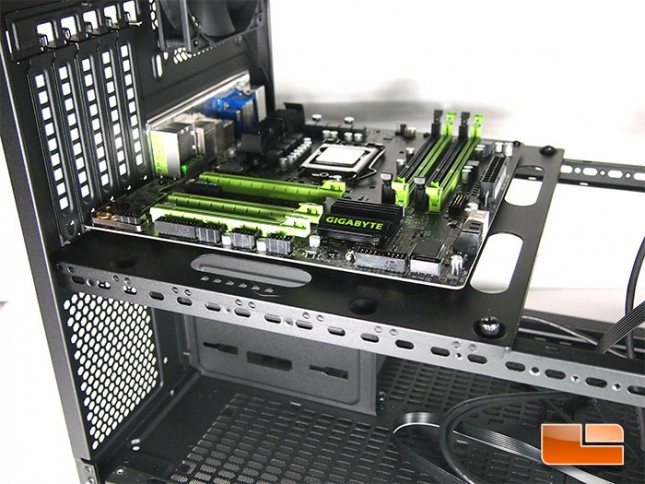
Having the motherboard installed onto the Core X2 motherboard tray before installing the tray back into the Core X2 did have me a little bit worried. I wasn’t sure if the I/O panel of my GIGABYTE board would line up perfectly with the I/O shield, I’m happy to report that the tray with the motherboard installed, fit perfectly!
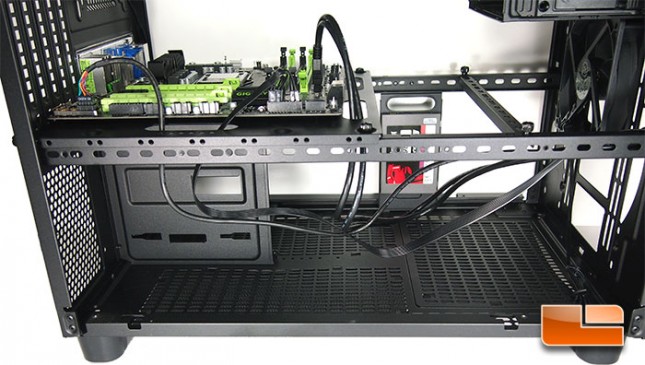
Routing the cables from the front of the Thermaltake Core X2 to the GIGABYTE motherboard was a breeze, there is more than enough cable to make it back there.
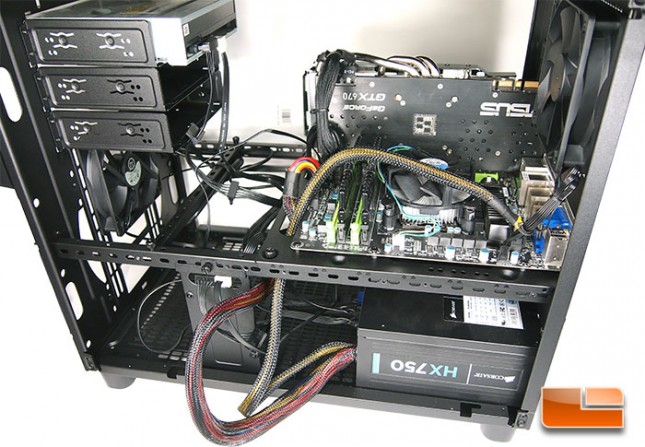 Tossing in the Corsair HX750 power supply makes the system look like a bit of a rats nest, but cable routing wasn’t an issue.
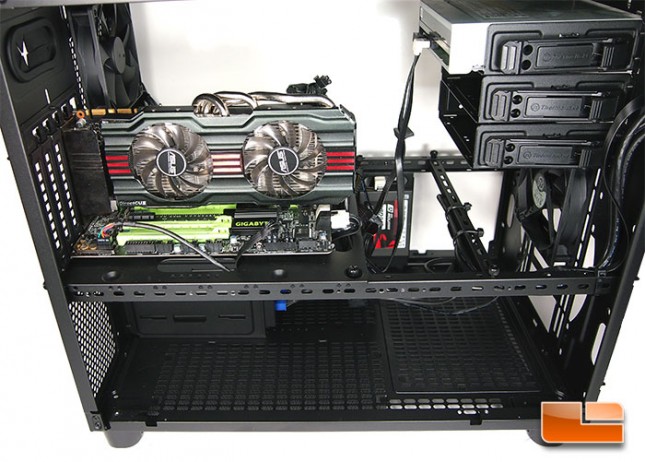
With nothing more than a handful of zipties, I was able to clean up the cabling pretty well.
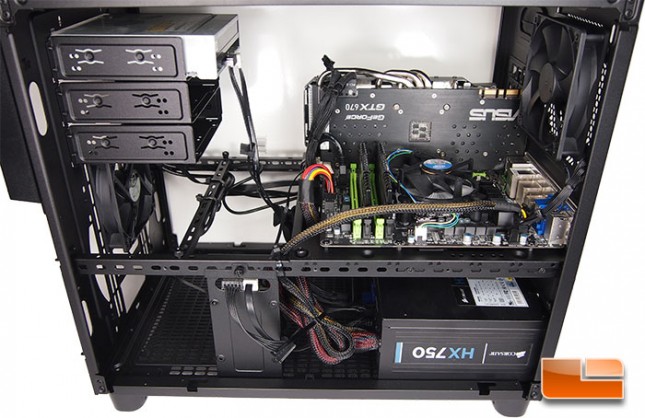
Spinning the Thermaltake Core X2 Cube chassis around, the bundled up wires become apparent.
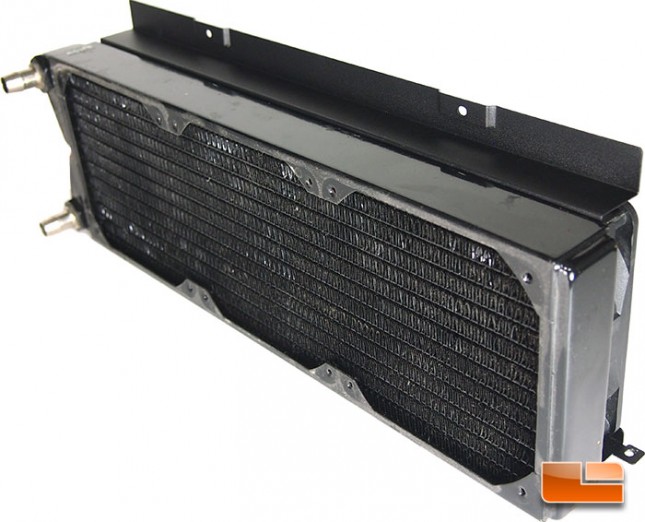
The panel on the side of the Thermaltake Core X2 is designed to fit up to a 360mm x 120mm radiator, I mounted up one of my old radiators without an issue. I really would have liked to see this case years ago when I was building custom loops, this would have been great!
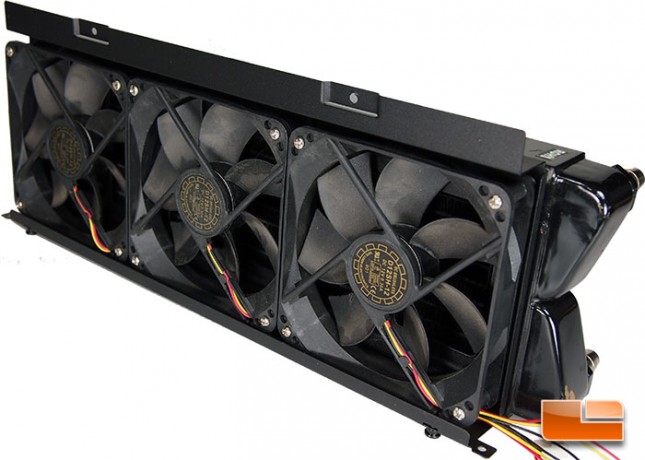
Spinning the radiator mount around, the three fans are neatly tucked into location. Along the bottom of the radiator mount, there is a channel for the fan wires, this really helps to keep a very clean look.
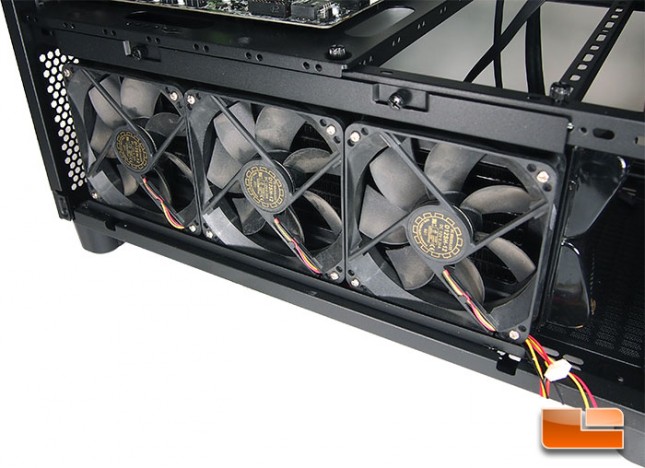
Once the radiator is mounted, the mount locks into place with a pair of thumb screws at the top, and a couple of slide locks along the bottom.
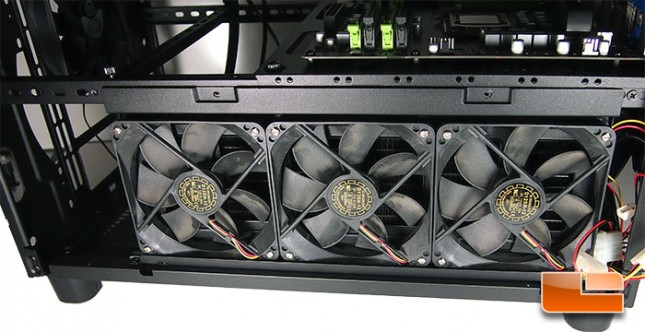
If you are running a pair (or more) of Thermaltake Core X2 chassis in a stacked configuration you can swing the radiator mount to the other side. This won’t work if you’re only running a single Core X2 as this location blocks the power supply.
