Thermaltake Core V71 Full-Tower Case Review
Core V71 Internal Impressions
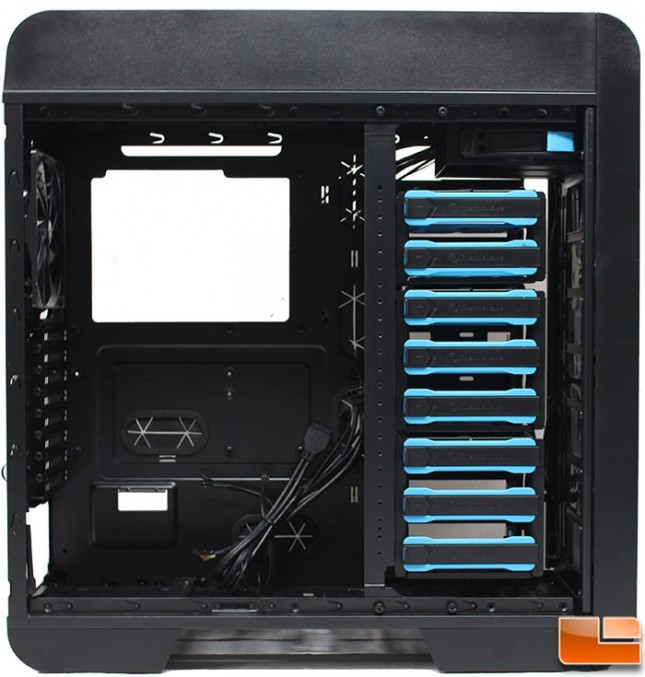
The side panels are secured by two thumbscrews at the back of the case. With the side panel removed we can take a closer look at the interior of the Core V71. On the motherboard tray, we see an oversized hole that provides access to the back of the motherboard so CPU coolers can be installed at any time. In addition, there are three cable management holes along the right edge of the tray, one near the power supply, and one at the bottom section of the motherboard tray. All of the holes are protected by rubber cable guards to keep the cables nice and tidy. One final hole is a the very top of the tray, it allows for the Auxillary power cable to be routed on the back of the tray.
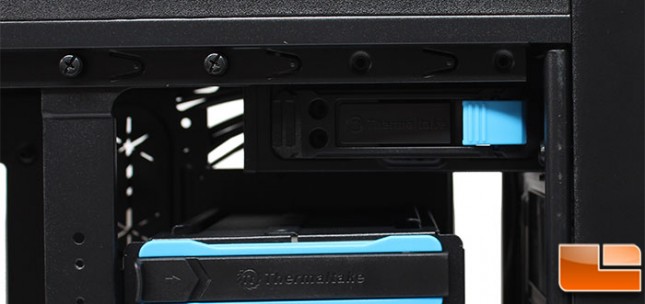
When we took a look at the 5.25″ device bays from the exterior, we found two. However, inside the case there is only one that is tool-less. The second 5.25″ bay is actually on top of the frame under the top bezel.
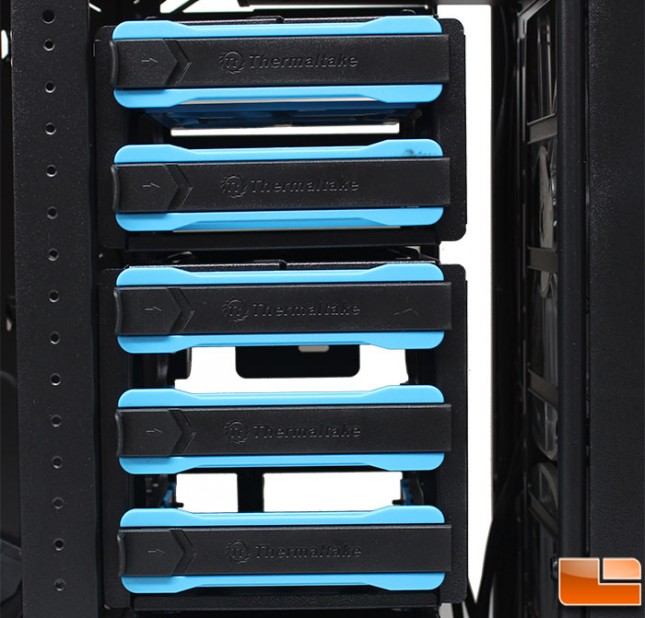
Using a tray design for 3.5″ hard drives is nothing new, Thermaltake has pre-installed eight of these trays, grouped in three cages: 2 trays, 3 trays, and 3 trays. Each of these cages are removable and re-configurable to meet your specific needs. Later we’ll show these cages removed and the amount of space that is obtainable inside the Core V71.
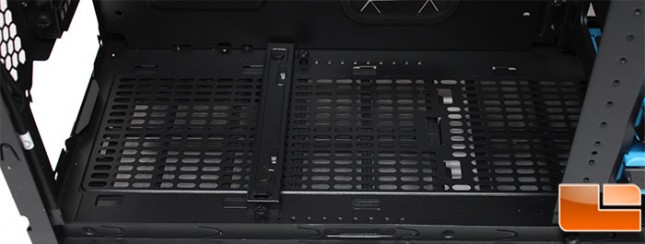
Internally, we do not find any surprises on the bottom panel. There is a support bar for the power supply that has a couple of rubber anti-vibration feet which can be moved for longer power supplies. Otherwise, here you can install additional cooling in the form of two 120mm fans, or up to a 240mm radiator.
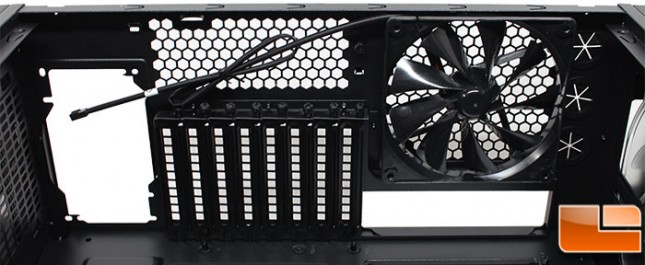
A quick look at the back panel reveals that eight PCI expansion slot covers are held in place by thumbscrews. Thermaltake has preinstalled a 140mm rear exhaust fan. This fan is a TT-1425, which is rated for 1000RPM at 16dBA.
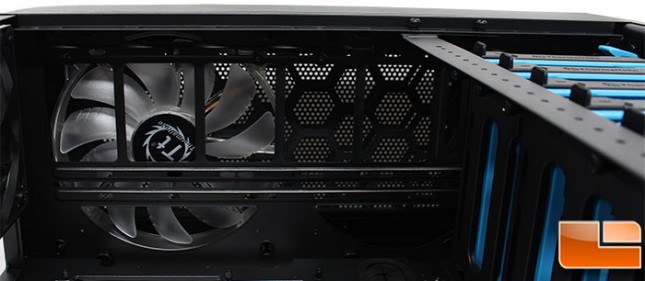
The top section shows that support beams are installed for liquid cooling radiators, otherwise toss in another 200mm fan for some additional airflow.
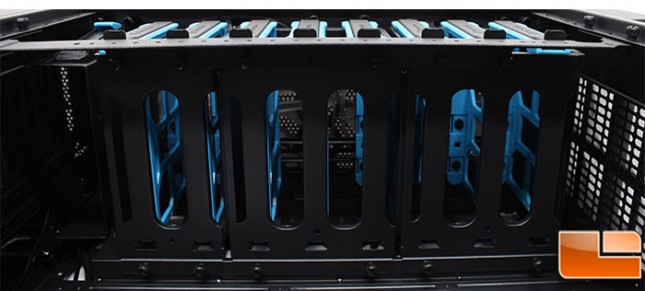
The three drive cages are easily removable, Thermaltake has secured them to the frame with thumbscrews on this side of the cages. Four thumbscrews on each cage to remove here, and a couple additional on the back.
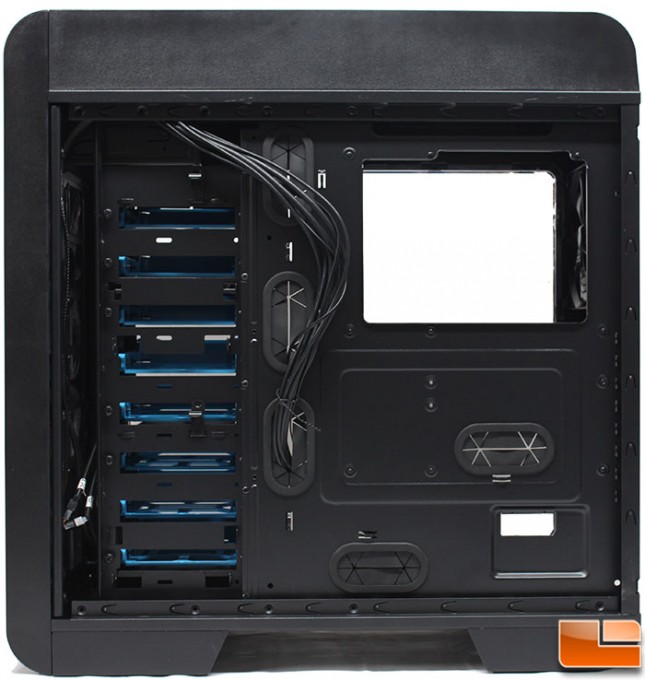
The back of the motherboard looks like most enthusiast cases, with the exception of how Thermaltake chose to do the hidden hard drives. For cable tie locations, there are four on the back of the hard drive cage bracket (which will be unusable if you hang any hard drives), and six others on the back of the motherboard tray for the other cables.
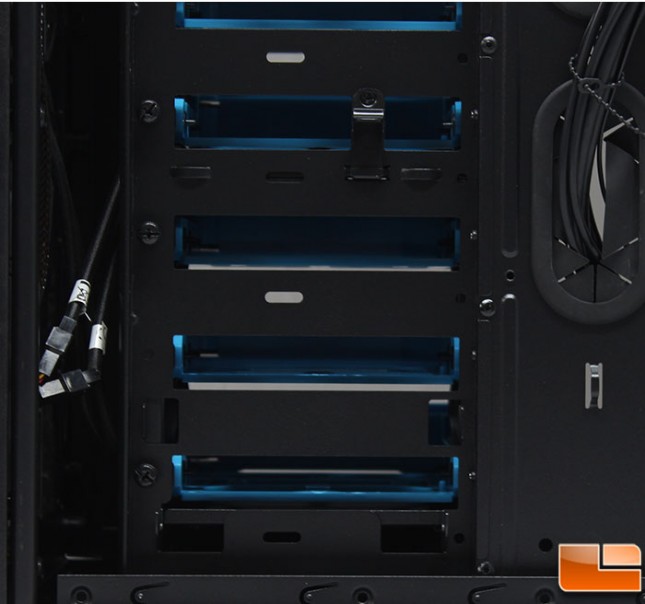
Here is one of two clips that Thermaltake uses to secure the drive trays to hide up to two hard drives that can be either 2.5″ or 3.5″. In addition, we can see the thumbscrews used to secure the drive cage to the frame.
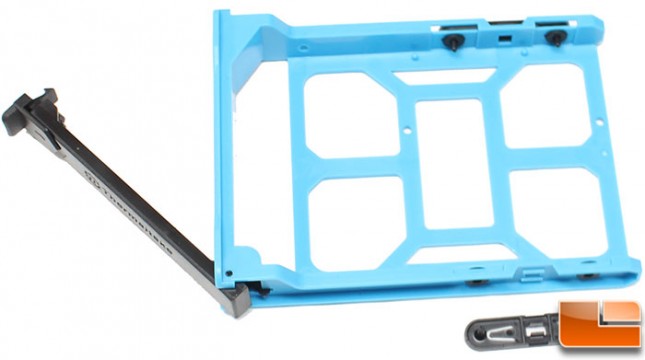
The tool-less 3.5″ hard drive trays will support any standard 3.5″ drive, as well as 2.5″ drives. Like most instances, the 2.5″ drive will need to be secured with screws rather than being tool-less. On the sides of the tray are two removable clips that secure 3.5″ drives to the tray, they pop out easily and once the drive is in place, they can be snapped back into place.
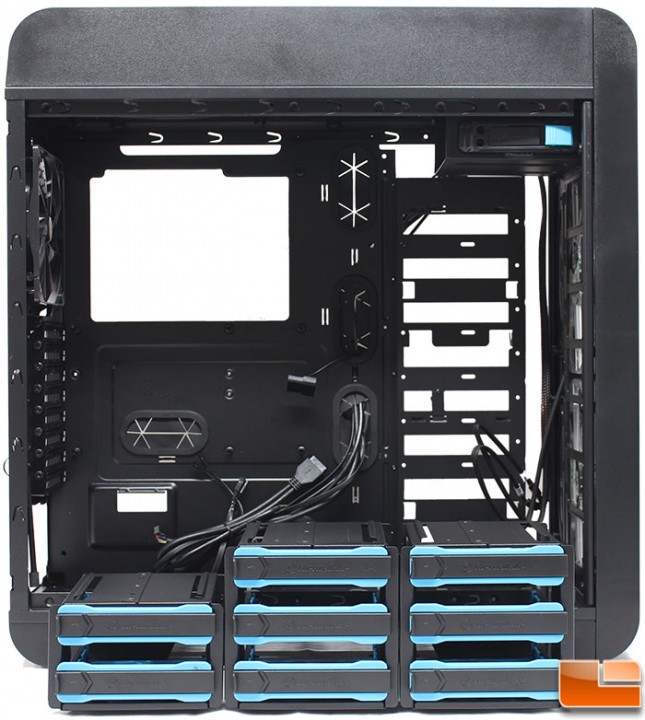
Here the vertical support bar and drive cages have been removed, there are a lot of thumbscrews used to secure these inside the cases. The support bar alone has four thumbscrews, and each of the cages uses six thumbscrews. With the cages removed, there is just over 19 inches of space; every video card should fit inside the Core V71. If you need the space for those very long video cards, in a multi-card setup, you can remove two of the cages and still have space for five hard drives (three in a cage, and two on the backside).
