Thermaltake Core V71 Full-Tower Case Review
Core V71 External Impressions
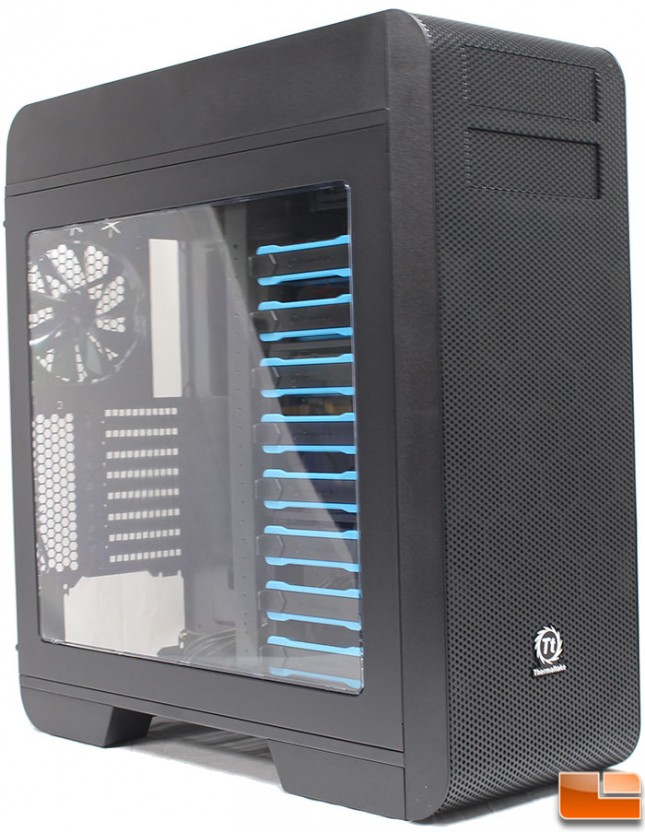
The Core V71 is currently available in only one model, which has a large side window and is solid black. Overall, it features a large metal front panel that is covered with holes from the very top to the bottom. The rounded curves of the front panel provide a sleekness to the case rather than sharp angles. The largest portion of the front panel is plain which provides a large amount of space for airflow. Full towers are meant to be large to hold a wide range of components, the Core V71 measures 23in x 22in x 9.1in (H x D x W), and weights 29.1lbs empty.
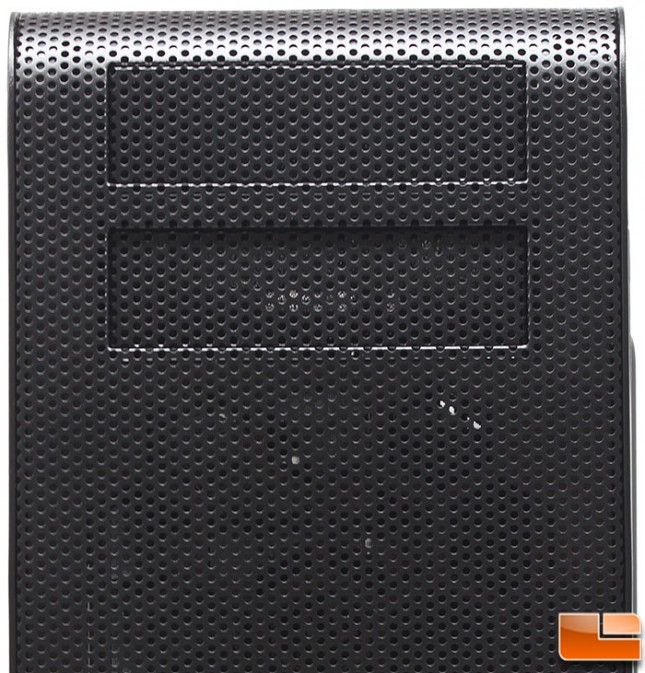
At the very top of the front panel is two 5.25″ device bays. The bay covers are slightly indented into the case, which makes them stand out. I personally would have preferred them to be flush with the rest of the panel, but that’s just my personal opinion.
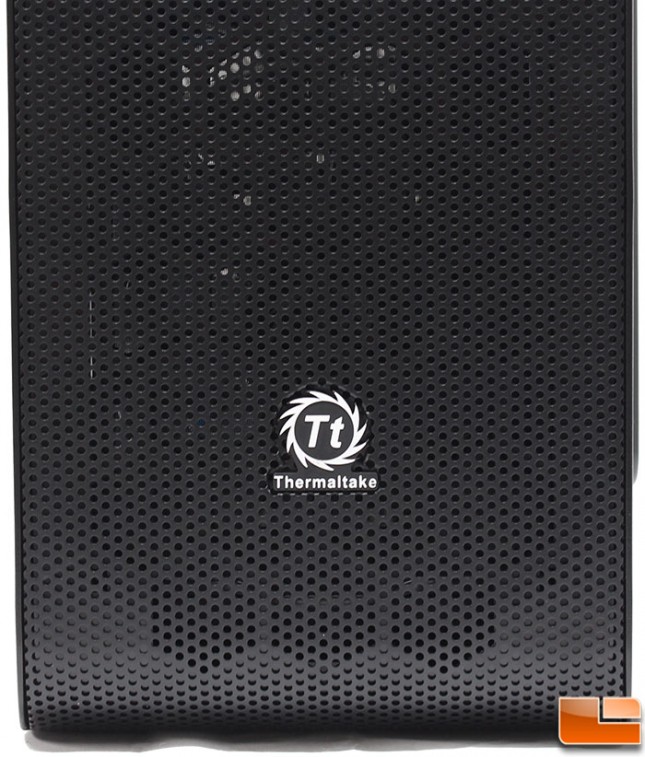
From the 5.25″ drive bays, the rest of the front panel is covered with holes, to provide the amount of airflow necessary for large cases. Behind the front bezel, there are many cooling options, which needs fresh air. At the bottom, Thermaltake has placed their logo in bright silver which provides a nice contrast against the black metal.
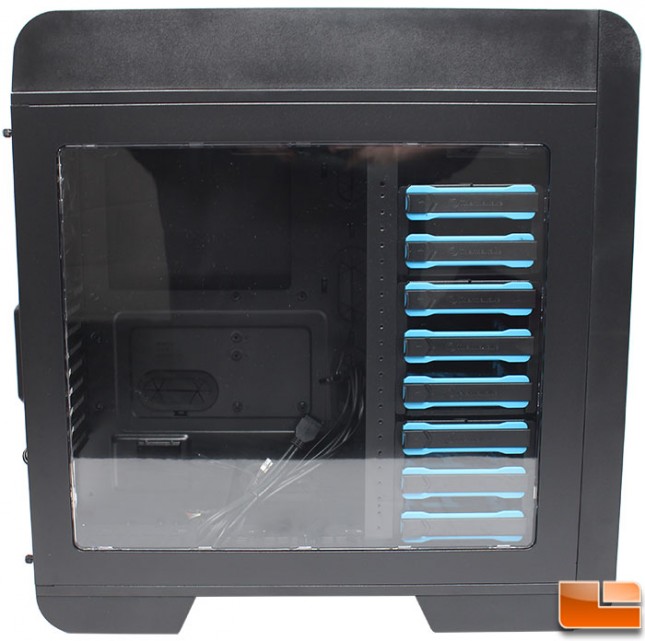
Turning to the side, we find a large window that shows off the entire interior. Once the system is built, we will be able to see the motherboard, power supply, and any changes to the 3.5″ drive trays. The side view of the top panel stands out, it is much larger than most top panel, with a height of 2.85in.
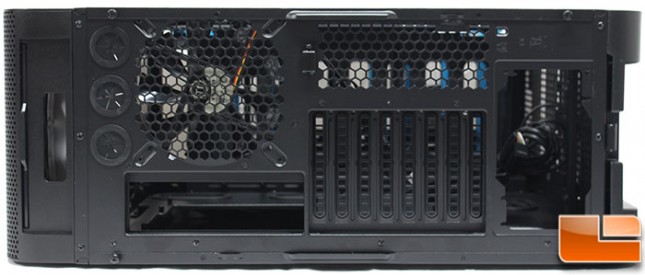
On the back side the usual case requirements are found, an exhaust fan, eight PCI expansion slots, and a standard power supply mount. Thermaltake doesn’t stop there, next to the exhaust fan is three water cooling holes. We can also see the top panel is a little different, which we will see in just a moment.
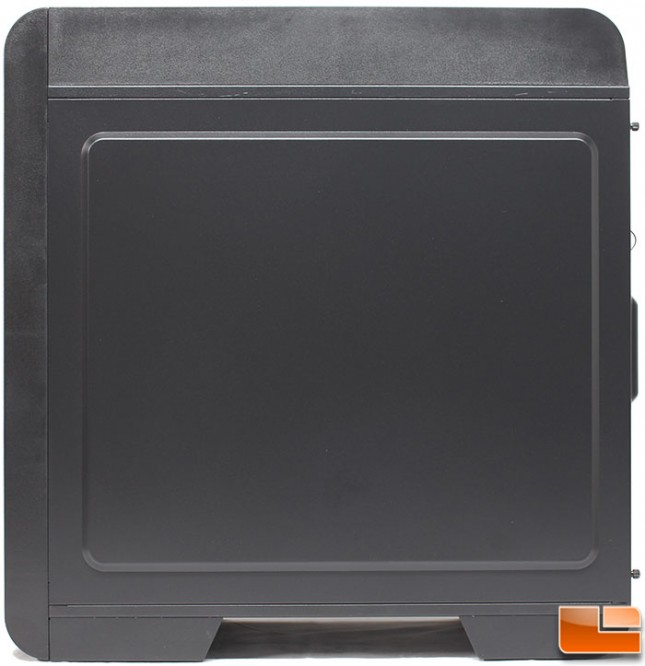
Nothing exciting on the back side, Thermaltake has raised the majority of the panel to provide a little extra room for cable management.
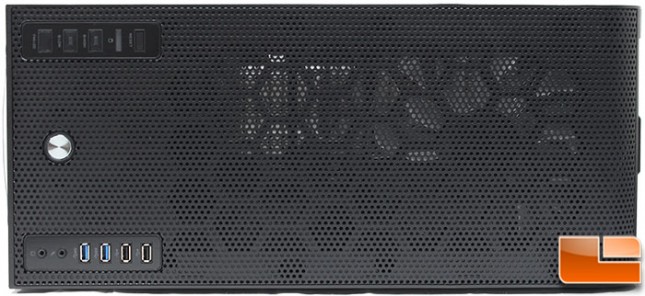
Like the front panel, the top panel is mostly a metal mesh vented space, to allow for a multitude of liquid or air cooling options. On the top panel, towards the front of the case is the front I/O control cluster.
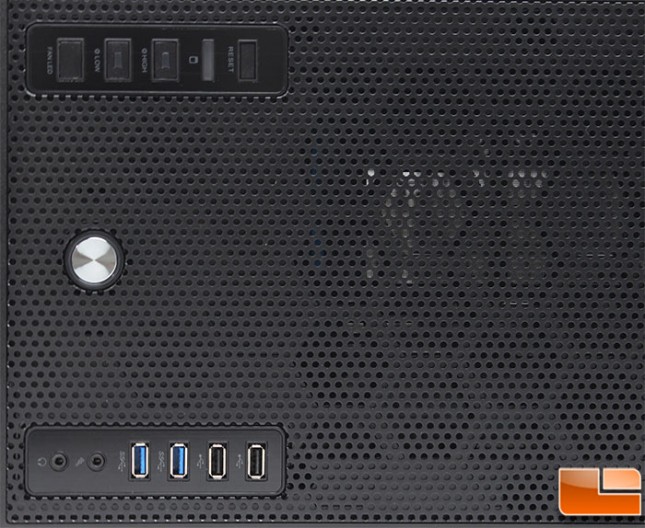
The top I/O cluster contains the usual items, and a few less common ones. On one side the case is a reset button, hard drive activity LED, two fan speed buttons, and a fan LED button. On the other side of the top panel is two USB 2.0, two SuperSpeed USB 3.0 ports and microphone/headphone jacks. Between the two clusters of buttons and ports is a large silver power button. There is a little ring around the power button that glows blue once the system has been powered on. For each of the two fan speed options (Lo / High), there is also a little blue LED to indicate which setting the fans are running. Thermaltake warns that the integrated fan speed and light controller are only compatible with the three built in 200mm LED fans. It would be nice if we could purchase another 200mm fan for the top and connect it to the controller.
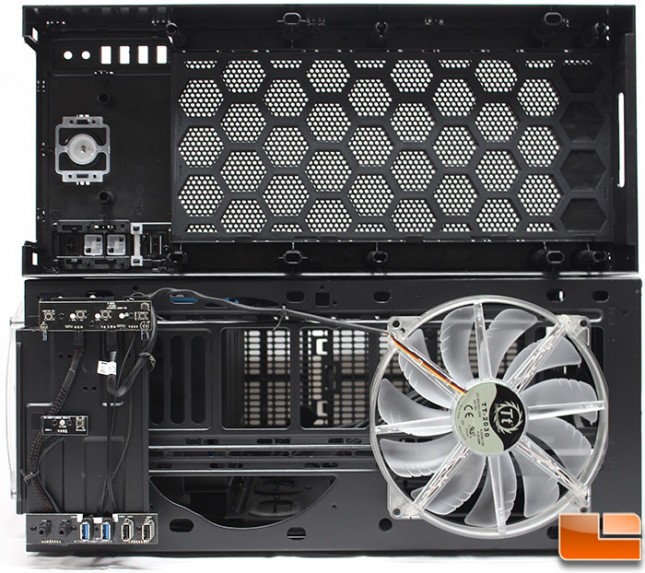
The top panel is easily removable by a quick pull from the back of the case, Thermaltake has included a little hand-hold to know exactly where to pull. On the bottom of the panel is a filter, in the event you make this an intake, but even if not, a little extra dust protection is nice. With the top panel off, the included 200mm is a TT-2030 which is rated for 800RPM with a maximum air flow of 123.6CFM. While Thermaltake has included one, two of these can fit up top.
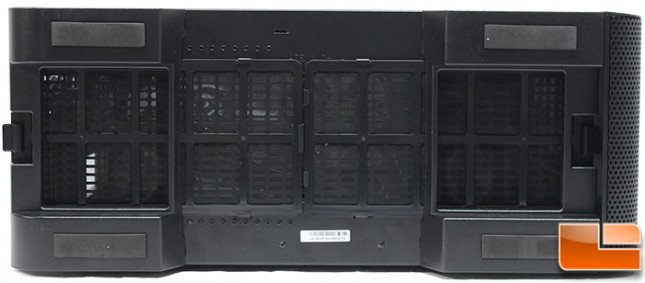
Flipping the case to the bottom, we find four large anti-slip feet which are molded as a part of the frame, so they won’t break off very easily. Thermaltake has installed two filters that cover the entire bottom panel, the both filters measure 9.75in x 5.5in.
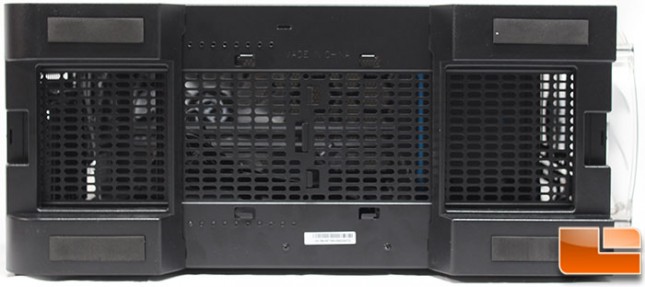
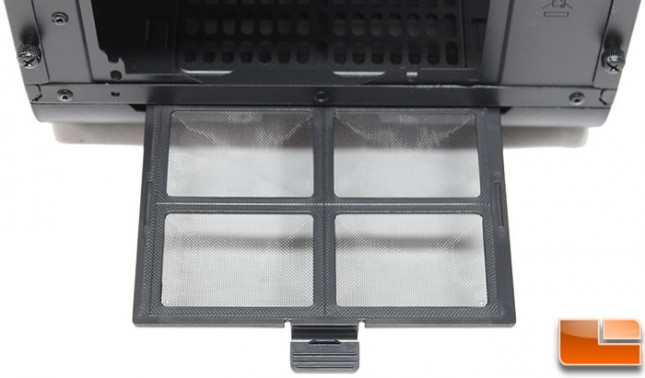
As is becoming common practice, the bottom filters slide out for easy cleaning. Once they have been removed we see the bottom panel is fully vented to allow for bottom mounted cooling options. While Thermaltake has done a great job on the Core V71 so far, removing the bottom filters is where I hit my first snag. The purpose of removable bottom filters is to make cleaning them easy, however to remove the bottom front filter, you have to remove the front panel. While this isn’t a deal breaker it is a bit of an annoyance.
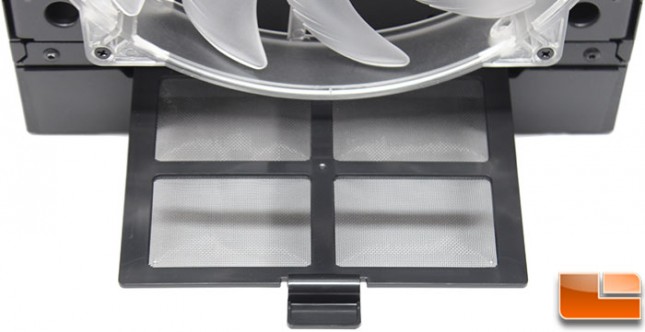
The bottom filters slide out of the case and slide back in easily. There are rails that the filters rest on to make it easy. Here the front filter has been partially removed.
The back filter slides out like the front filter. Like the front it rests on a track to help make sure it slides into position easily.
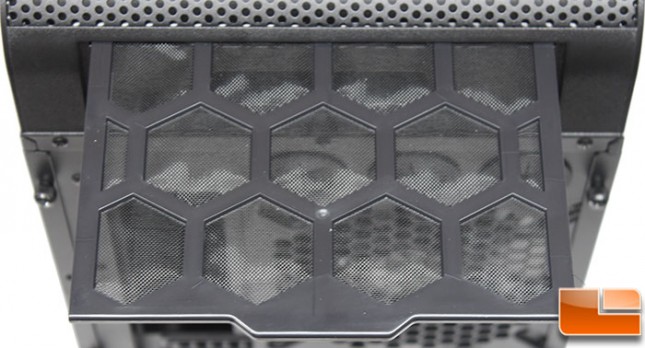
Remember when we were looking at the back panel, and we mentioned there was something different about the top panel. Here it is, not only did Thermaltake install a pull handle and a filter on the top panel, they also make the top filter easily removable for cleaning.
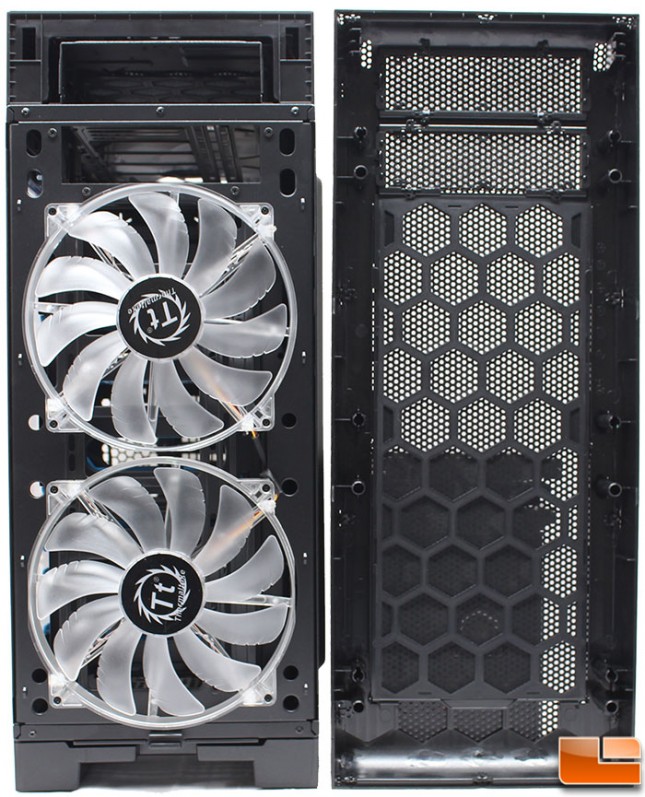
The front panel is easily removed by pulling at the bottom of the panel, as Thermaltake has left a little hand hold on the frame. The two included 200mm fans are visible, and are the same model as the top 200mm fan, TT-2030. If you prefer a smaller fan, these can be removed and two 120mm or 140mm fans can be installed. For those that want liquid cooling, up to a 420mm radiator will fit here.
