Thermaltake Core V1 mini-ITX Chassis Review
Thermaltake Core V1 mini-ITX Chassis Interior Features
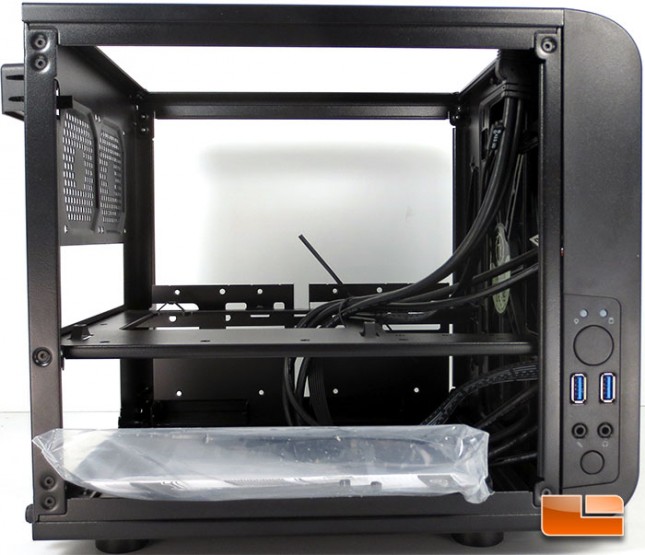
Opening up the Thermaltake Core V1 mini-ITX chassis is simple to do, simply remove the six thumb screws in the back and both side panels and the top panel can be removed. One aspect that jumped right out at me is that the top panel can be removed without taking off the side panels. At first glance it looks like the build will go off without a hitch, but we shall see how that goes when we get to it!
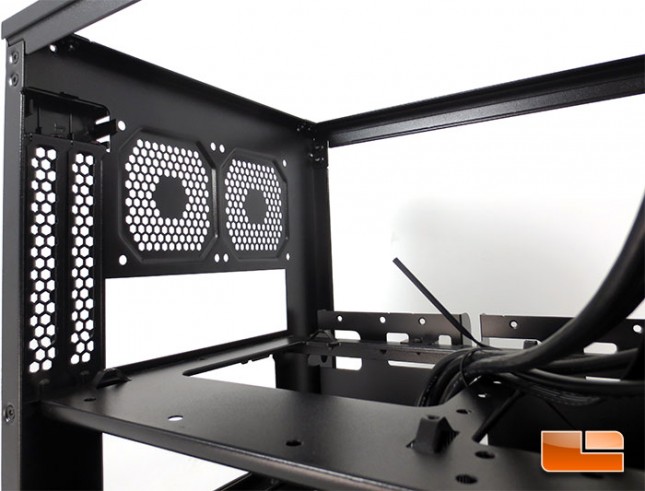
AT the back of the Thermaltake Core V1, there is venting for a pair of 80mm fans (not included). Although it looks like there is enough room to mod the back of the chassis to fit a 120mm fan back there, we’re lacking ~1/4″ on the height. To the left of the 80mm fans is the usual pair of expansion slots needed to accommodate the typical enthusiast level graphics card. The Thermaltake Core V1 can fit a graphics card that is 255mm long or 10 inches for those of use that don’t use the metric system. If you’re planning on rocking an air cooler like one of the many Thermaltake coolers, be sure to keep it under 140mm tall otherwise you’ll run outta room.
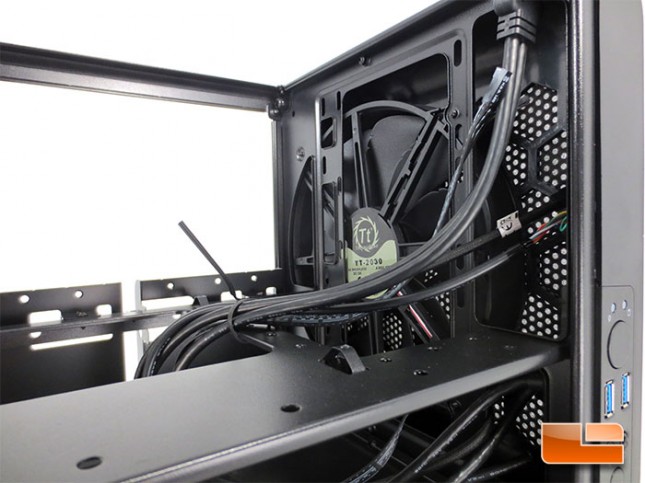
Taking a look at the inside of the front panel, you’ll get to see a glimpse of the 200mm fan up front. The 200mm Thermaltake TT-2030 fan is rated for 800 RPM. If you’re looking for an alternative to the 200mm fan, there are mounting points for either a 120mm fan/radiator or a 140mm fan/radiator.
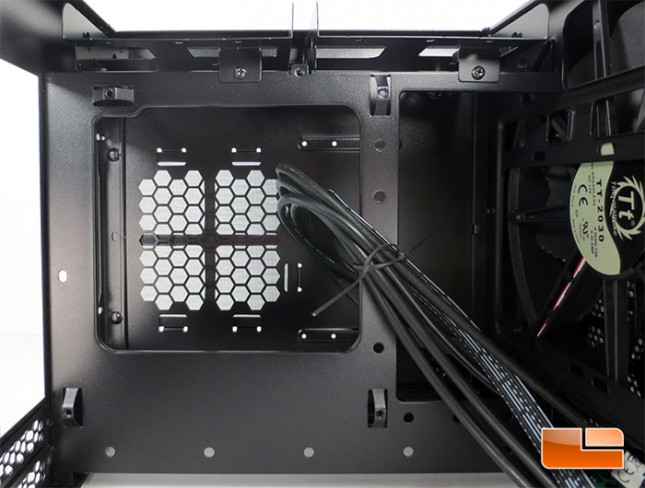
Taking a look at the motherboard tray from the Thermaltake Core V1 mini-ITX chassis. there isn’t much left of it. Thermaltake cut much of the tray out to accommodate easy cooler swaps. Since mini-ITX motherboards only mount at the four corners, there shouldn’t be any issues with stability. Directly below the motherboard tray, we can see the cutout for the power supply fan.
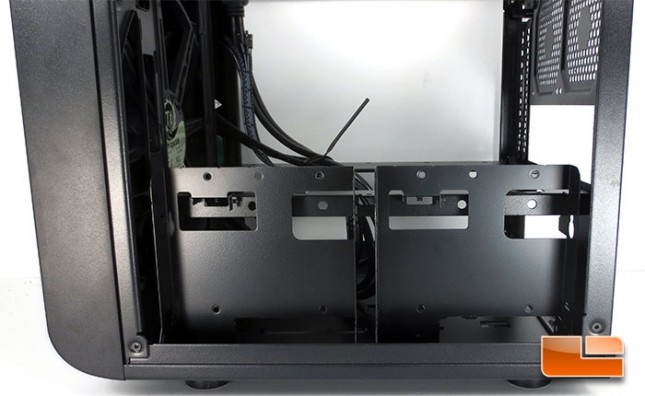
Rotating the Thermaltake Core V1 mini-ITX chassis around, we can find the hidden drive bays. In the drive bays we can tuck away up to four internal drives.
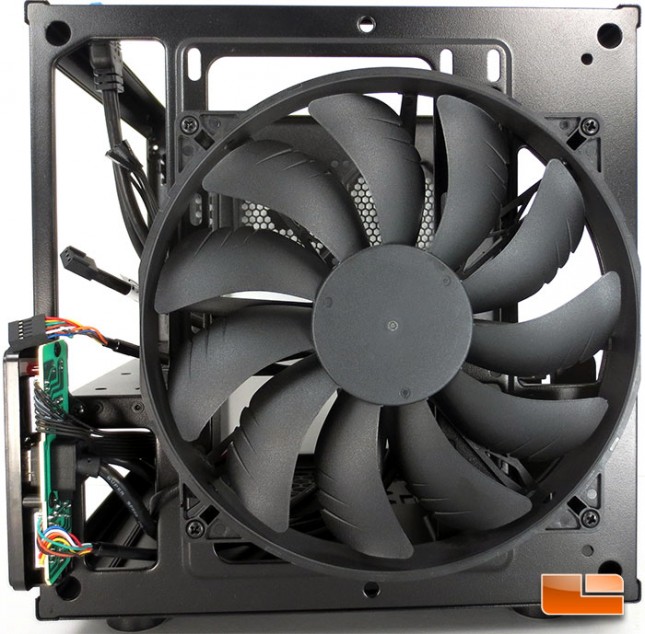
Once the front panel is removed, we can get a nice shot of the front of the 200mm Thermaltake TT-2030 fan. If you wanted to remove the 200mm fan, all you need to do is remove the four Phillips head screws, one at each corner and you’re good to go. Once that’s out of the way you can mount either a 120mm or 140mm fan in its place.
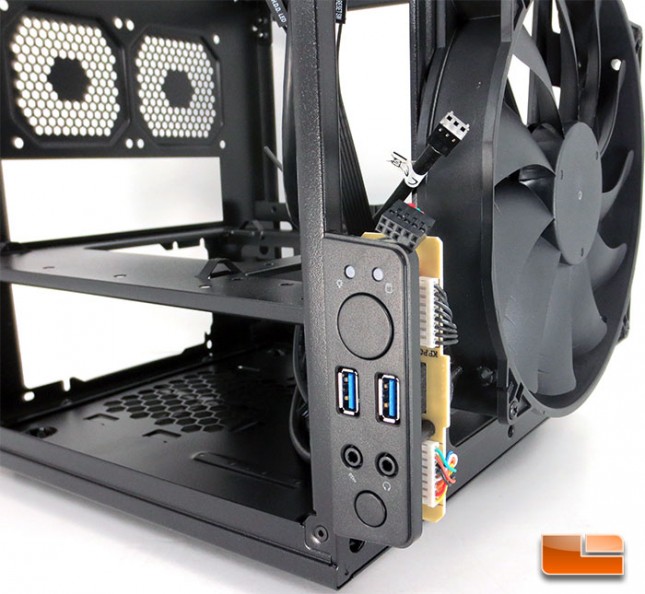
I still have mixed emotions about the side mounted buttons. The Bitfenix Prodigy has them, though they are on the other side. Though what I really like about the Thermaltake Core V1 is that the front panel is hard mounted. The Prodigy has the buttons mounted on the side panel, so any time that I need to remove the panel I needed to either disconnect all of the wires, or I leave the panel hanging there by the wires while I work inside the case. Having the side mounted buttons hard mounted is a huge plus to me.
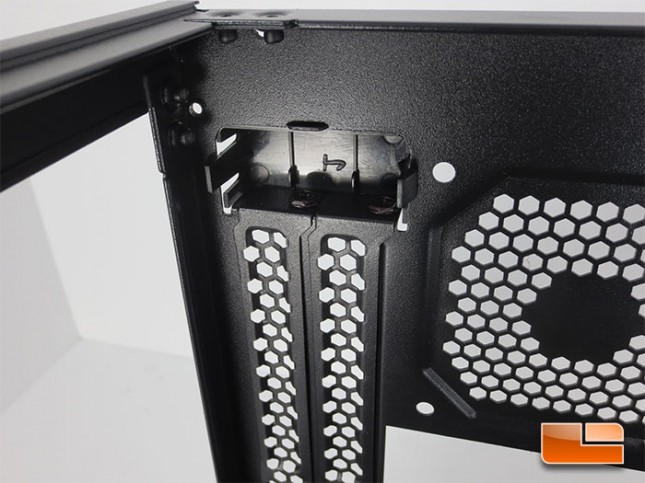
Just over the expansion slots is a plastic cover that hides the screws that hold the graphic card down. It seems like it’s made rather well, but as with all plastics it can fatigue over time and fail, but it’s not a piece you’ll be taking out daily so it should last for years.
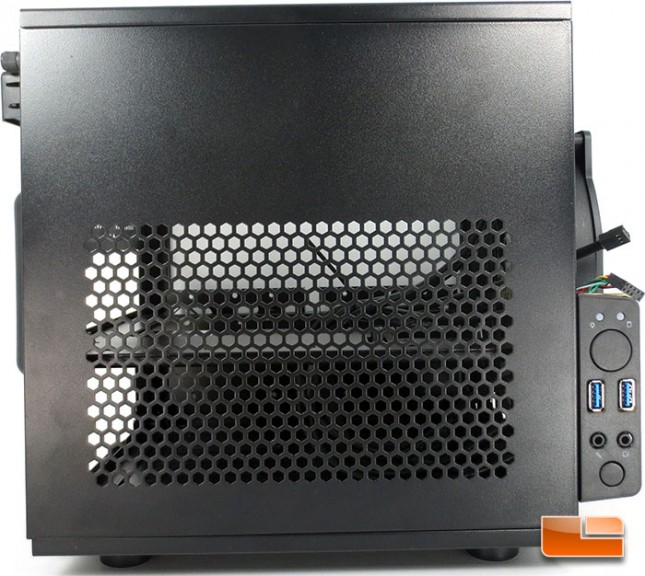
I really like the fact that the panels are completely interchangeable on the Thermaltake Core V1 mini-ITX chassis. Above you can see that I put the panel from the opposite side on while below I put the top panel on the side!
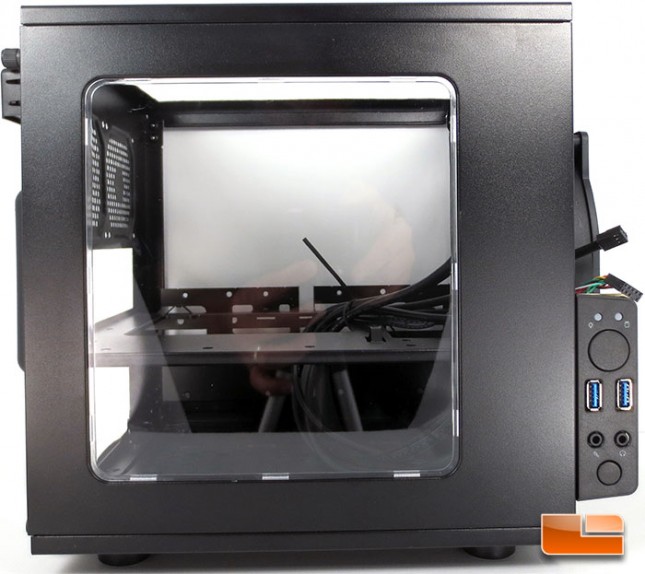
If Thermaltake starts selling the panels individually, I think that the Core V1 would look slick with the top panel on all sides. The only issue would be no air flow for the graphics card, guess you’ll have to run a fully water-cooled system!
