Thermaltake Core V1 mini-ITX Chassis Review
Themaltake Core V1 mini-ITX Chassis External Features
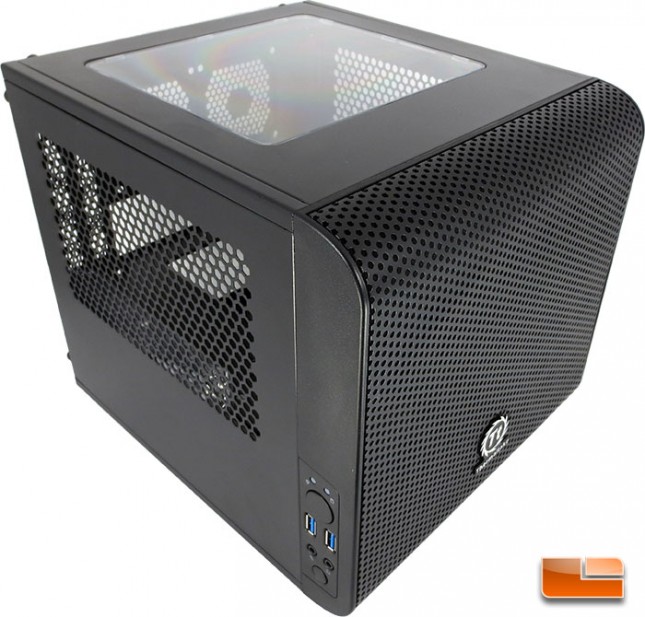
The Thermaltake Core V1 is a pretty slick looking little case.
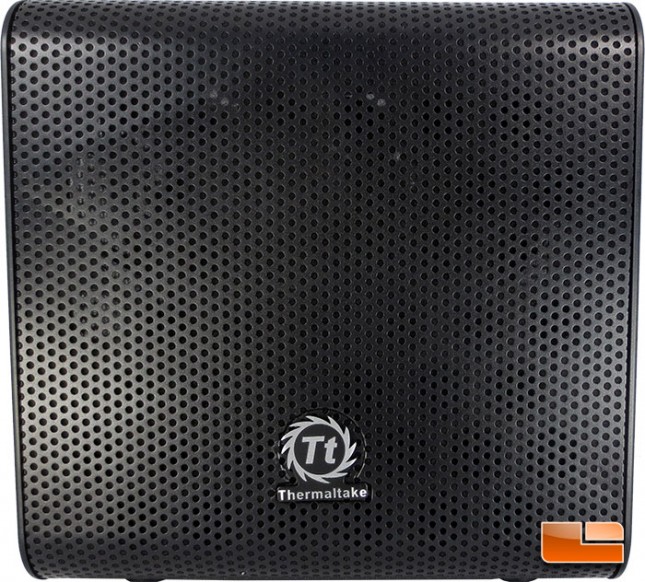
Looking at the front of the Thermaltake Core V1, a couple of things stand out to me. First thing that I notice is that there is a bit of a bend in the steel screen along the left edge. It’s much more noticeable head on like this, than on a slight angle though I didn’t notice it right away while I was handling the case, more so once I looked at this picture. Another little thing that I noticed, the Thermaltake logo is stuck to the Core V1 a bit crooked. Those issues aside the front of the Thermaltake Core V1 mini-ITX chassis looks good and will have plenty of ventilation for the fan behind it. I did talk to Thermaltake and they did let me know that this is an early sample and that the full production Core V1’s will not have any issues. To confirm this I do have a retail sample on it’s way and I will provide an update once I have it on hand!
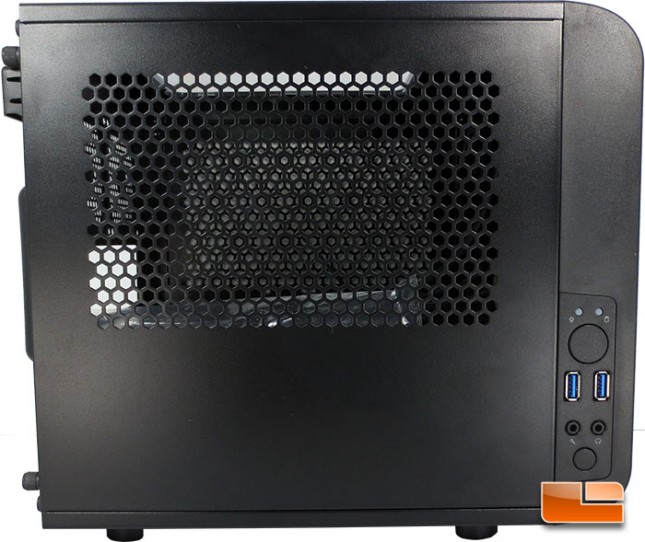
The side panels on the Thermaltake Core V1 are pretty simplistic, but are also pretty slick. The honeycomb pattern on the side panels will allow for plenty of airflow to the graphics card. Up at the front edge of the side we can see the ‘front panel’ on the side.
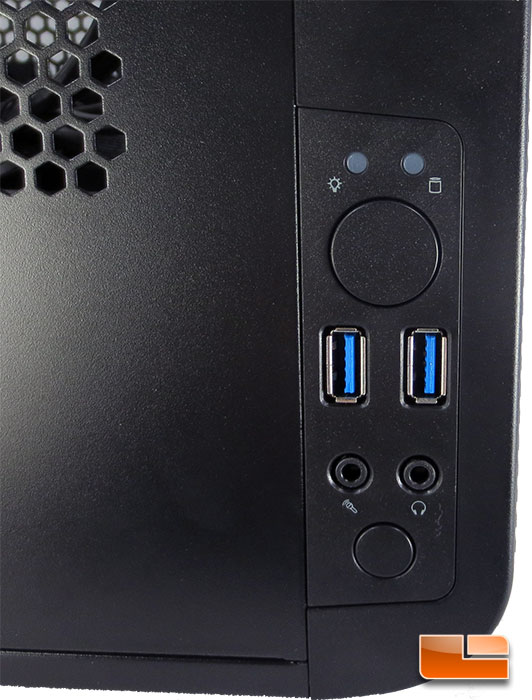
Taking a closer peek at the front panel, it’s pretty typical by todays standards. At the top there is the power and HDD activity lights while the large button just below them is the power button. Just to the south of the power button is a pair of SuperSpeed USB 3.0 ports. Continuing down the panel we can find the microphone and headphone 3.5mm jacks, last but not least is the smaller button that is better known as a reset button.
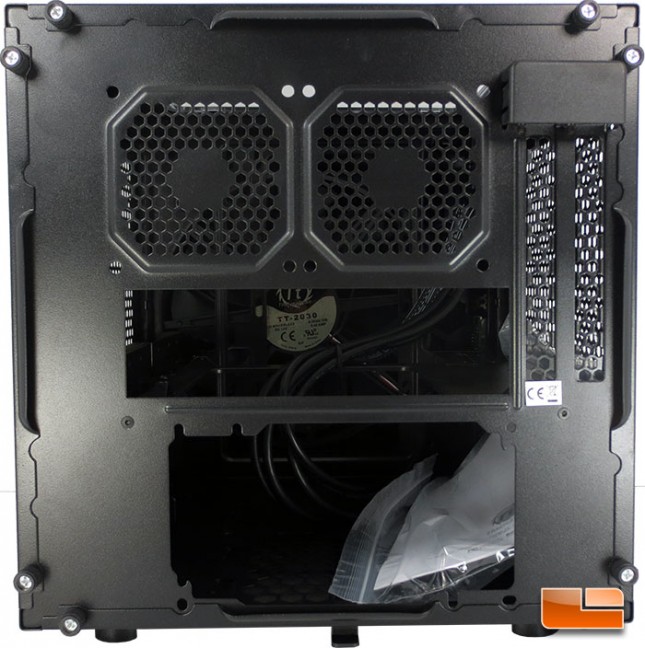
The back panel of the Thermaltake Core V1 is pretty much what we’ve come to expect. At the top there is a pair of spots for 80mm fans of your choosing. Below the fans there is the typical cutout for the I/O shield and to the right of there is a pair of expansion slots that will most likely be used for a graphics card. The cutout for the power supply is designed let you flip the power supply either way depending on the airflow needed. Around the edges there are eight thumb screws that will let us pull off each of the panels as we need to.
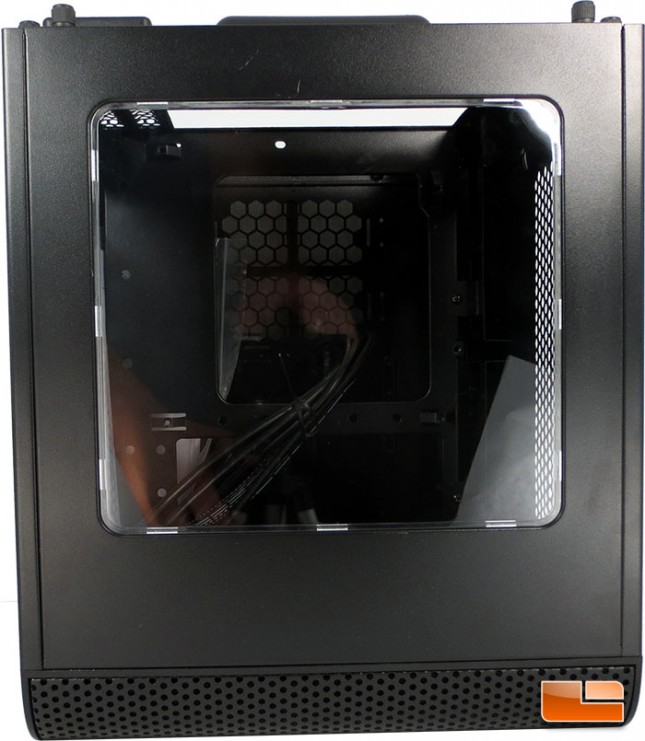
The top panel of the Thermaltake Core V1 comes with a clear window and will give us a great view of the interior of the finished build when the time comes.
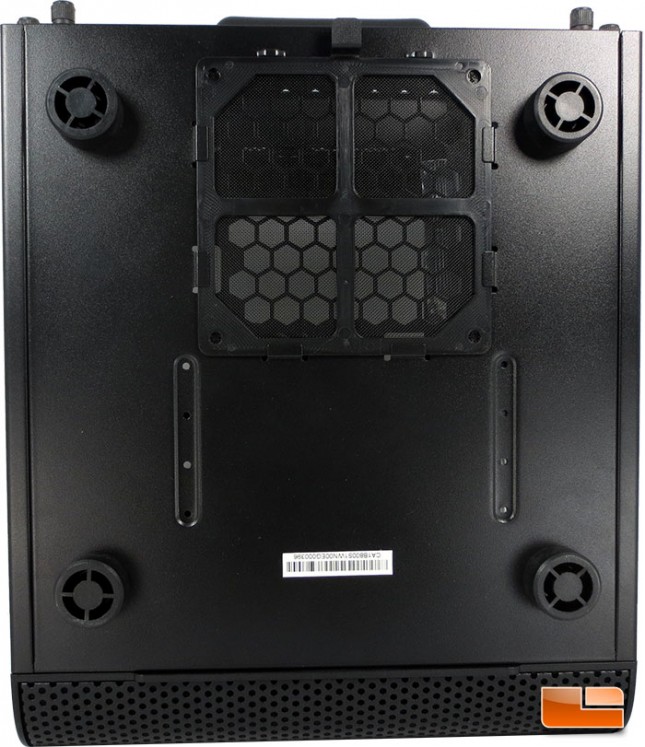
The bottom of the Thermaltake Core V1 chassis only has a couple of features, the first is the air intake for the power supply which includes a screen filter to prevent dust from getting into your system. The second feature is the feet, the Core V1 mini-ITX chassis has four rubber feet to protect the surfaces that you set your system on.
Now that we’ve gone over the outside, lets crack the Core V1 mini-ITX chassis open like a cold drink on a hot summer day!
