Thecus N0204 miniNAS Pocket RAID Storage Review
Running The Setup Wizard
After the pair of drives is installed and everything is ready to go the NAS server can be fired up for the very first time!
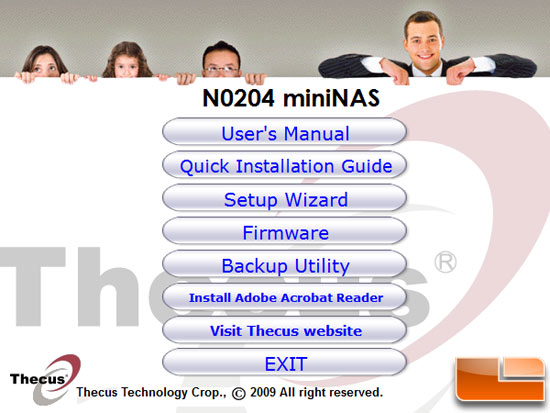
We headed to the Thecus website to download the latest setup wizard as the driver disc that came with the storage server was version v1.0 and found that there were no available updates for the firmware or software, so we went ahead and installed the software that came on this disc. The screen shot above shows the start menu of the driver disc. In order to get started you need to run the ‘Setup Wizard’ and the rest is rather easy.
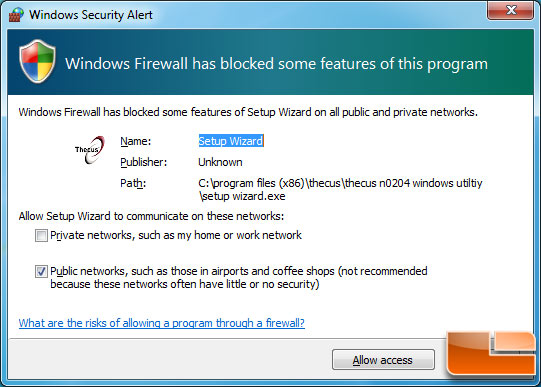
Our test system was running Windows 7 64-bit and the second we launched the setup wizard we got a Windows security warning. We allowed the setup wizard to communicate on the networks and move along to the next step.
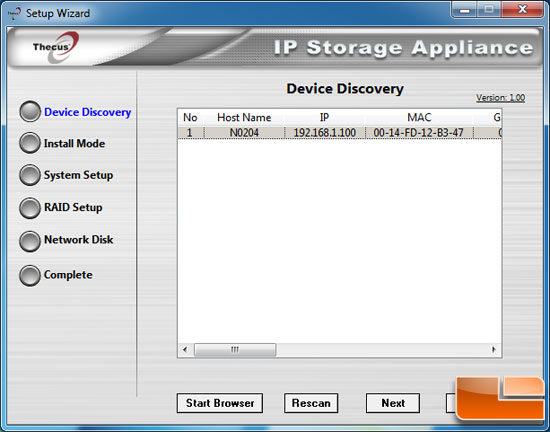
The Thecus N0204 miniNAS was found on the network almost immediately, which is a great sign that all of our connections were made correctly.
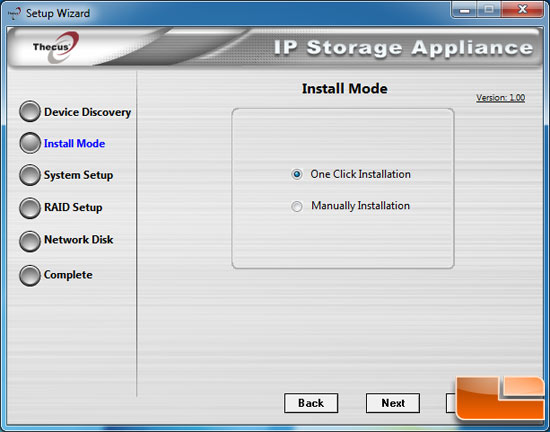
You can choose one click setup to automatically install all the settings for you and then apply default settings, or you can choose manual installation to go step by step. We went with manual installation to give you an idea of what the setup is actually doing.
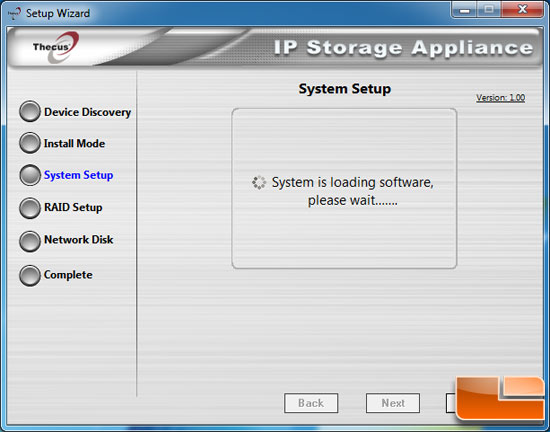
Once you click next to manually install everything you will see this screen that says the device is loading software. This will take about 5-10 minutes, so don’t think something went wrong if you are sitting there looking at this screen for a long period of time.
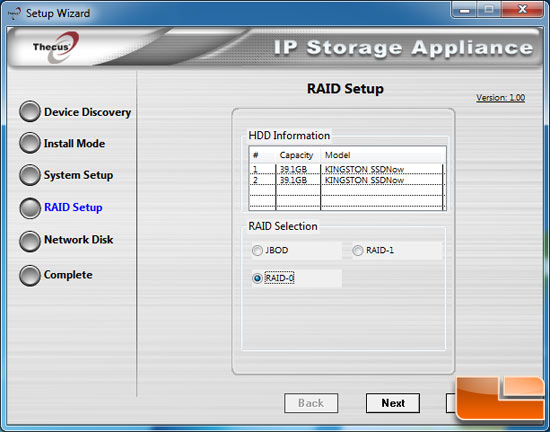
The next step is to choose which RAID configuration you would like. Choices are JBOD (Just a Bunch Of Disks), RAID 0 (striped volume), and RAID 1 (mirrored volume). If you are backing data up then you should use RAID 1, but for this review we wanted to see how some SSDs would perform in the Thecus N0204 miniNAS and picked the RAID 0 array for speed reasons alone.
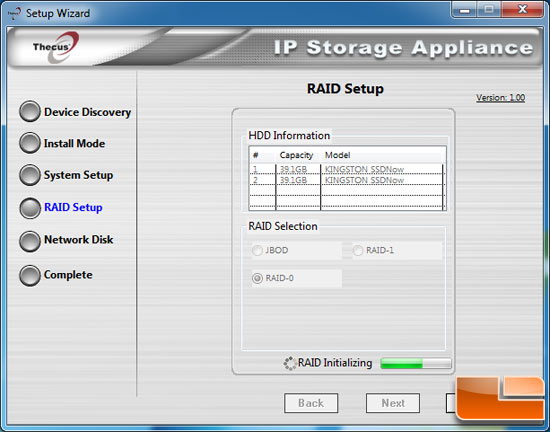
Once you click next the RAID array will start to be built. You are not given a choice of stripe sizes, so don’t think you missed the option.
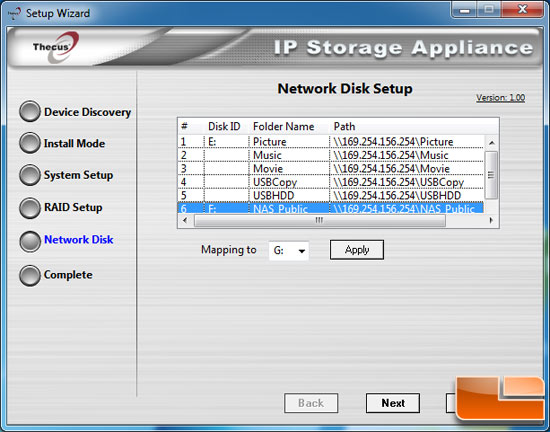
After a few minutes the RAID array will be built and you will see this screen. This is the network disk setup and you can pick or choose what folders you want to give a drive letter to for the network. We picked to enable the Picture and NAS Public folders as you can see in the screen shot above.
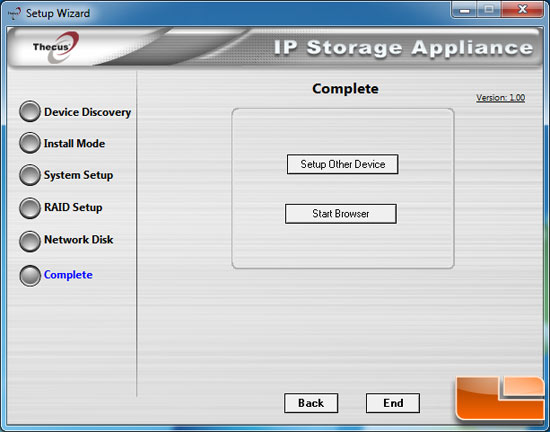
Once you enable the drive letters to what folders you want active, the setup wizard is complete and you can move along to setting up the actual settings.

Comments are closed.