SRS Labs HD Audio Lab – The Ultimate PC Audio Software
SRS HD Audio Lab: The Usage
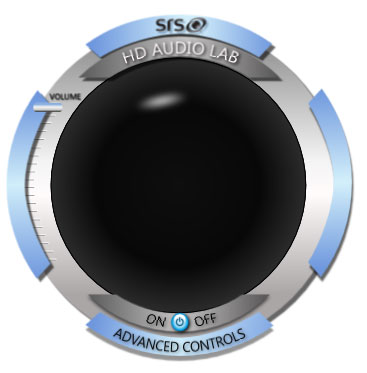
Installing and using HD Audio Lab are really easy and simple to do. Simply download the executable for $29.99 or, for $39.99, you can pop your disk from the retail box into you optical drive, follow the instructions on screen, apply your product code and bang… you are done. HD Audio Lab takes up about 14.5 MB of space on your Hard Drive — fairly small for the huge surprise it packs when it comes to the sound of your audio. Once installed you can click the executable to run the program, and once you do you will be greeted with the user interface. When run for the first time the .exe will open and turn on HD Audio Lab for you. Below you can see what the interface looks like in its “Off” state.
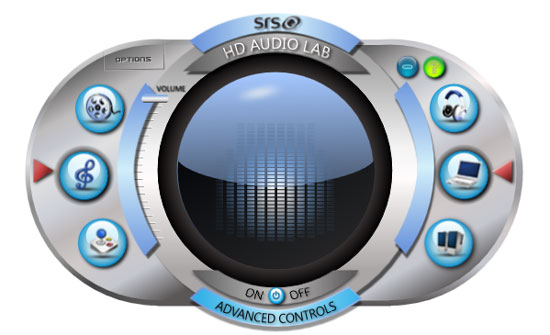
But hey, who wants to use this software in the “Off” state? Let’s turn this sucker on and get it going. Once on you are greeted with the image below. As you can see, the interface is very stylish and modern and has all of the settings to customize your sound experience right at your fingertips. To the left of the interface you can see the buttons for the various types of media that you may be using. From top to bottom they are: movies, music and games. To the right we can see the various sound output choices. They are headphones, laptop speakers and external speakers. There are also buttons for options, help and, of course, a button to minimize the interface into your tray. If you are all wondering what that big circle lens-like graphic in the middle of all of this is, it’s sort of like a spectrum analyzer that pulses with the sounds that go through it. It seems to be more for entertainment than actually a tool to gauge the audio.
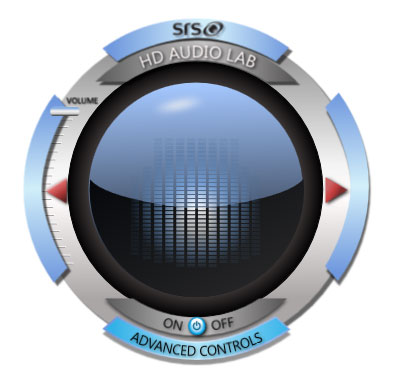
If the UI open in all its glory is a bit too big for you, you can also streamline the interface down to its small footprint as seen below.
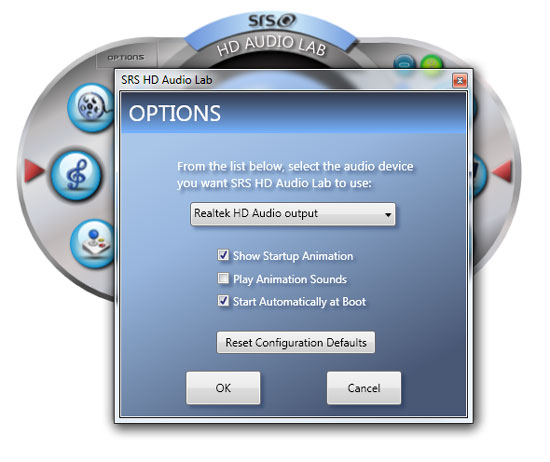
So now let’s take a look at what some of those buttons on the interface do. If you click on the options button, at first you will notice that it will detect your active audio devices. From here you can choose which audio device you want HD Audio Lab to process as well as the other options shown in the picture below.
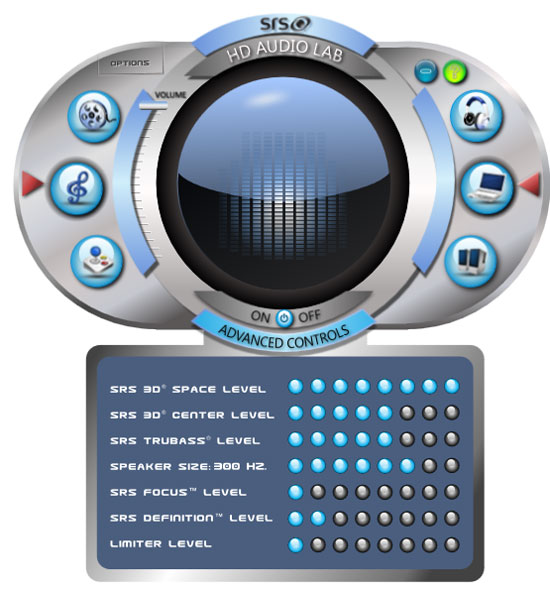
Moving on we get right to the heart and soul of the HD Audio Lab software: the advanced controls. This where you adjust the various options to suit your listening needs. During my testing I did find that with my system setup very little needed to be adjusted, and it sounded great right out of the box.
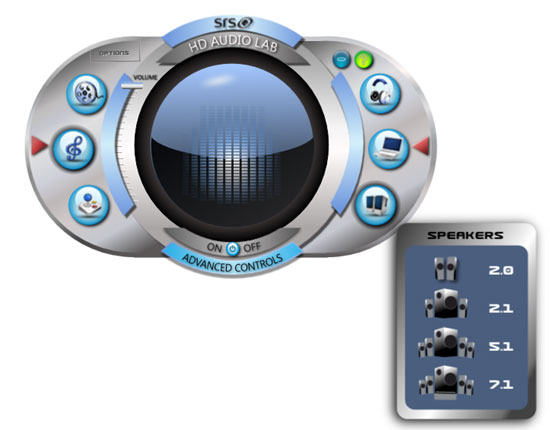
Last but certainly not least is the speaker selection options. From here you can choose the type of external speaker setup you wish to employ, whether it is a 7.1 surround sound system or just doing some private listening through your headphones.
As you can see the software is very easy to use and, as I said, in my case needed very little tweaking to vastly improve the sound of most everything I threw at it. Your systems may vary and might require more tweaking to get the sounds just the way you want them. So, now that we have covered the usage of the software let’s look at how well it performs.

Comments are closed.