Phanteks Enthoo Pro Full-Tower Case Review
Enthoo Pro Hardware Installation
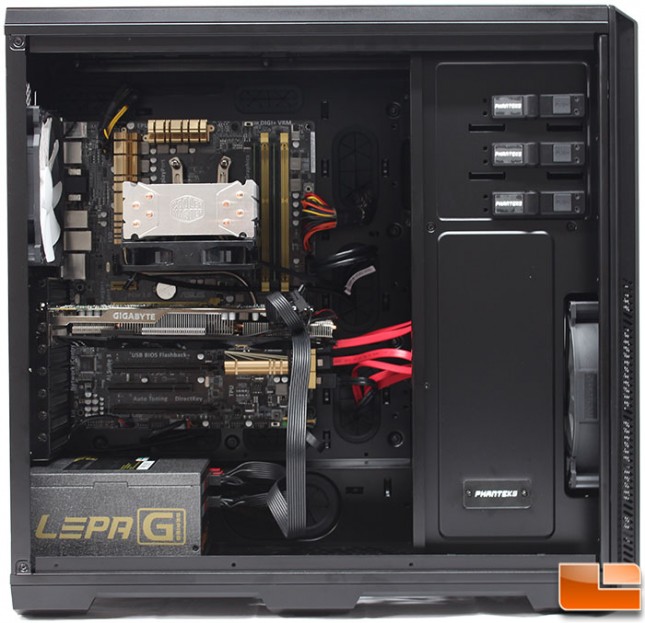
Installing system components in the Enthoo Pro is done just like every other install. With the exception of needing to remove the power supply cover. Phanteks has pre-installed motherboard standoffs, so once the motherboard I/O key is in place the motherboard can be quickly and easily installed. Cable management is easy with the large amount of space behind the motherboard tray and large cable management holes in the tray. As this is a full tower, it will easily handle a graphics card up to 347mm (13.6in), or if you remove the hard drive cages, up to 472mm (18.58in). As for the CPU cooler, 193mm (7.6in) of clearance is available.
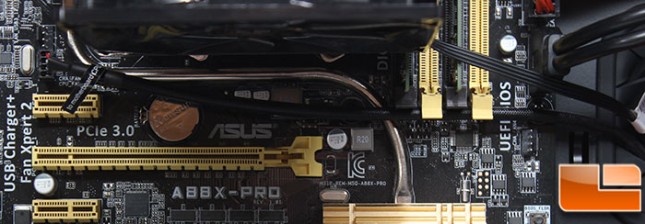
The only bit of concern I have with the Phanteks Enthoo Pro is the lenght of the cable for the fan controller. The PWM cable connects to the CPU fan header on the motherboard, out of the various motherboards I have, there seems to be three or four locations the CPU fan header is located. On the ASUS A88X-Pro motherboard, it happens to be to the lower left of the CPU. The cable for the controller can’t reach if you go over the top edge of the motherboard, and barely reaches if you go through the cable management holes in the motherboard tray.
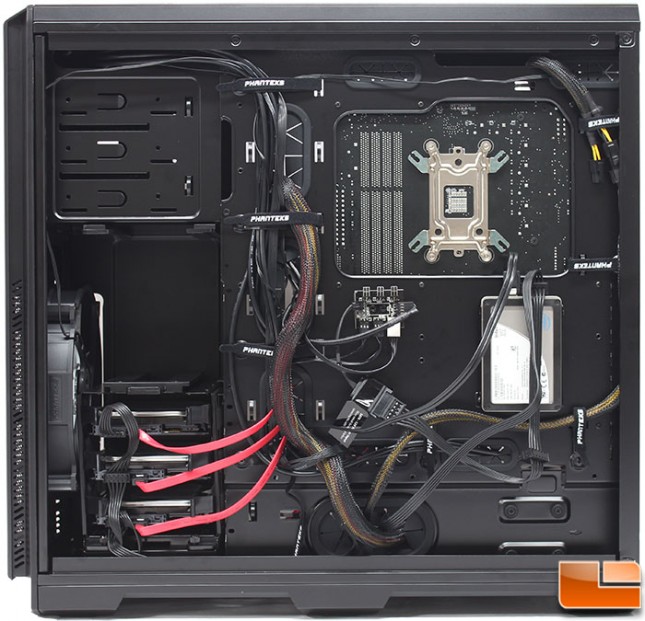
Phanteks has made cable management easy by pre-installing eight velcro ties. These loop through the mount locations on the motherboard tray, making it easy to tidy up the mess of cables. As we previously saw, Phanteks has also included two additional velcro ties and ten cable ties to be used with other strategically located cable tie spots. The hard drive cages can be removed if necessary, the top cage is held in place by four thumbscrews, while the bottom utilizes two thumbscrews.
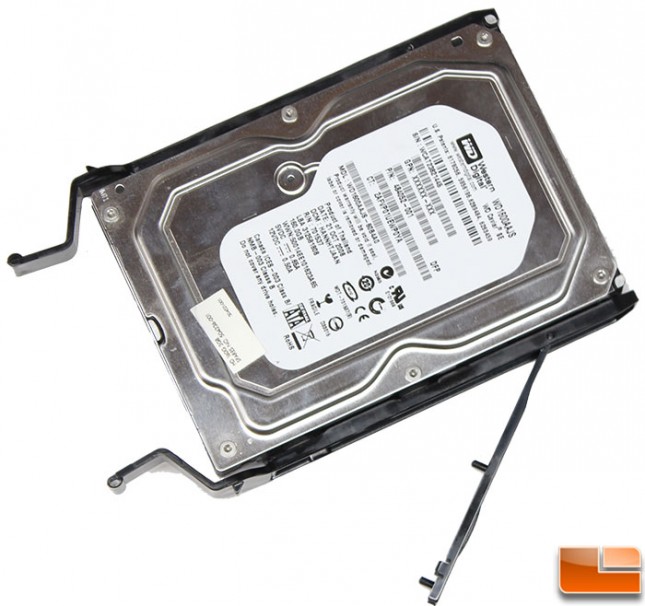
3.5″ hard drives slide into the tray without any issues, on the bottom of the tray are two guides that go into the screw holes on the bottom of the drive. This makes sure the drive is in the right place for the side locks to close without any issues.
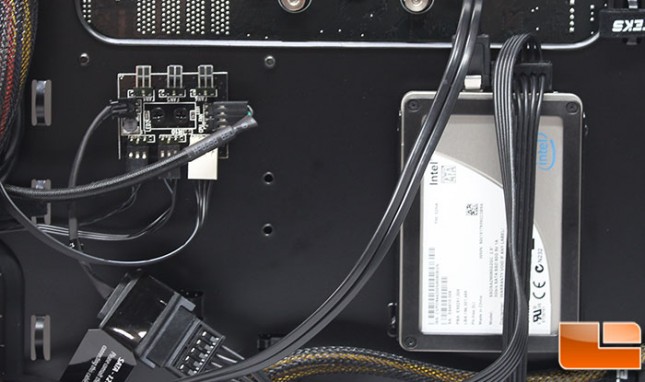
The SSD is installed into the “Snap-In” bracket with four screws, and then it slides into place on four anti-vibration mounts. The SSD can be oriented with the connections pointed up or down, I opted for up. Next to the SSD is the PWM controller, I was able to connect the CPU fan, however I did have to turn the fan a little to get the cable to reach.
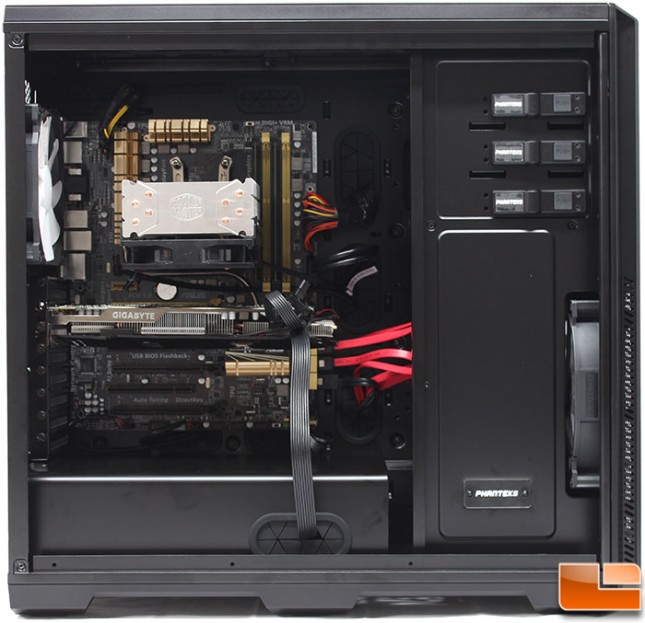
With everything in place, all cable management has been done, we have finished the system build. The Power Supply cover is in place, while the side cable management hole might not be meant for the PCI-E cables, I decided to use it for this build to give an example. The cable could have come out the end of the cover, or from behind the motherboard tray, the choice is really yours.