NZXT X42, X52, and X62 Liquid CPU Cooler Review Roundup
All-New Kraken Packaging & Quick Look
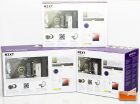
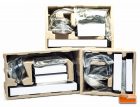
NZXTs packaging for the all-new Kraken coolers is plenty vibrant and I feel shows you more than enough to make an informed decision. On the front we find a picture of the respective cooler, while on the rear we find much of the information that was mentioned on Page 1. The sides will provide you with specifications, also like what was on Page 1. Opening up the box we see everything sectioned off and protected quite well. The fans and radiator are protected by a cardboard sleeve, while the copper block has a formed plastic protector.
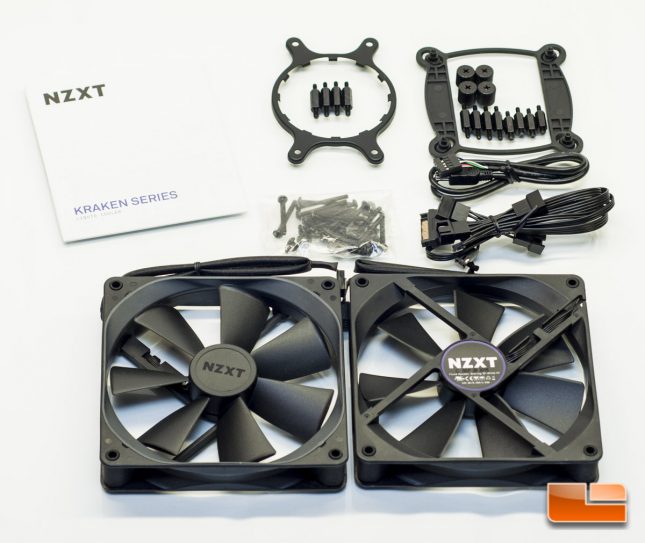
Included with the cooler are accessories to install this on many modern Intel or AMD processors. The instructions are generic between the coolers, which is fine because nothing changes other than the size of the radiator and fans. The fans that are included in these kits are NZXTs own Aer P high static pressure PWM fans. The X42 and X62 include Aer P140 (140mm), which are capable of pushing up to 98 CFM @ 2.71 mmH2O. The X52 is a 240mm radiator, so that will include the Aer P120 (120mm), capable of pushing up to 73 CFM @ 2.93mmH2O.
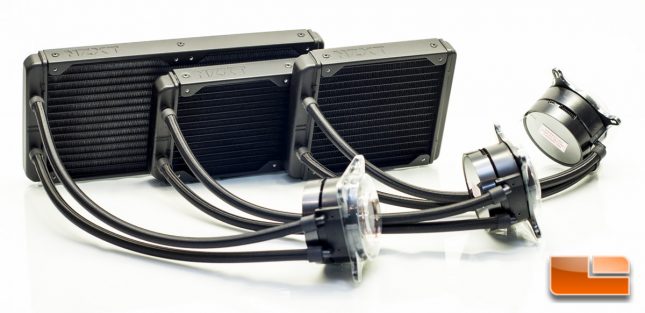
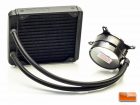
Pulling the coolers out, you should be able to tell the difference in size here. Going left to right we have the X62, X52, and X42 respectively.
Quick look at all of the coolers individually
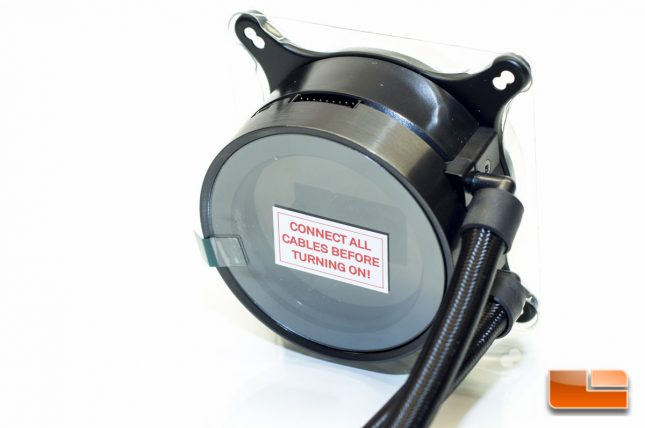
All of the coolers have a protective film over the top of the pump and also over the copper base, which also warns you to connect all cables prior to turning your system on.
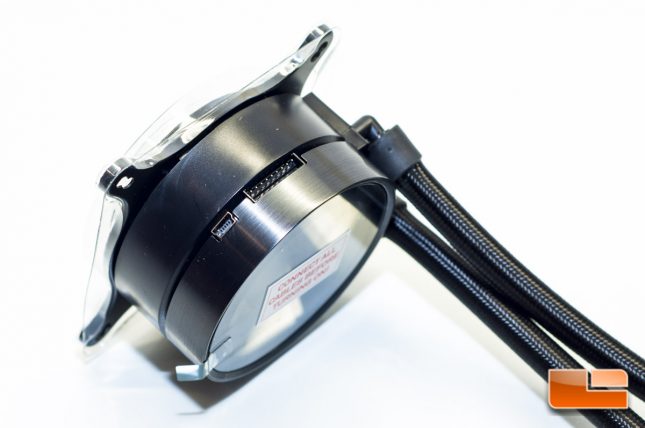
Looking at one side of the pump, we find the connections for power and the USB interface. This will not only power the pump and fans, which also needs to be hooked up to a single SATA power connector, but the USB cable will allow it to interface with NZXTs CAM software.
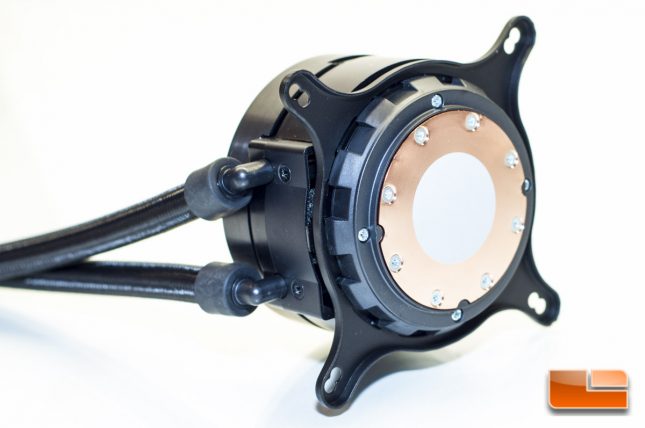
On the bottom is a pre-applied thermal compound, but for our application, this is going to be wiped off and a Noctua paste used instead. If you havent noticed, you can also take note that the Intel mounting bracket is pre-installed, and taking it off to install the AMD bracket is as easy as twisting it off.
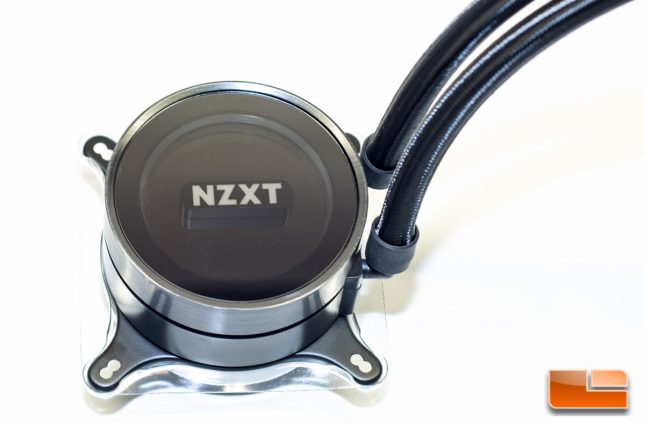
After we remove the protective plastic on the top of the pump housing, we see an NZXT logo underneath. The logo will actually light up and the outer perimeter will also light up. These can be controlled via NZXTs CAM software as well, and it is a full RGB lighting system.
Prior to me installing the coolers, I always install the fans in a push configuration. Trying to install them while the radiator is mounted in the case is near impossible, otherwise.

