Noctua NH-D15 Air CPU Cooler Review
NH-D15 Packaging and a Closer Look
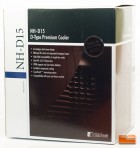
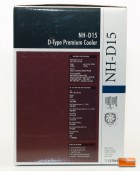
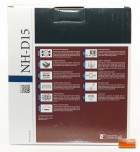
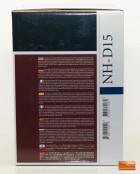
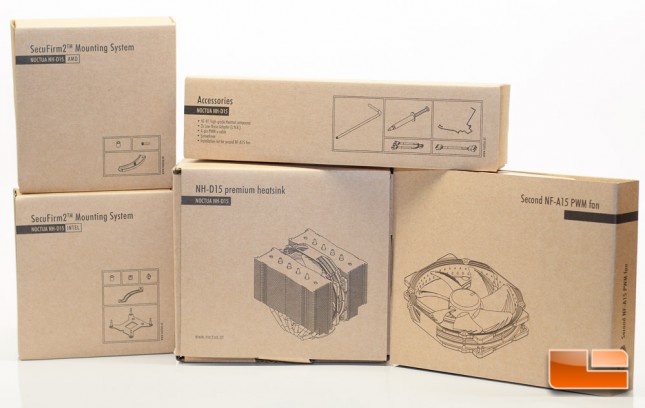
Noctua doesn’t stop at the cooler with the crafty design, but they also bring it to their packaging. Getting giddy with the packaging isn’t something you need to do, but it’s elegantly designed throughout. The exterior design is beautiful and the interior is neatly compartmentalized with everything being very clearly labeled. Check it out
The front of the box features a bunch of bullet points that explain several of the key features, including the fact that it’s based on the award-winning NH-D14 cooler. When we flip to the right side we see a list of the technical specifications, compatibility, and the included accessories. Turn to the rear and you find what are essentially bullet points that describe several features of the cooler. Finally the left hand side describes the cooler and tells you about how the NH-D15 came to be.
Flipping open the top of the box you can see how everything is in their own neat little compartment, each clearly labeled. Pop off the top layer of components and you see the heatsink and the second fan inside their own box.
Here are all of the boxes within the original box
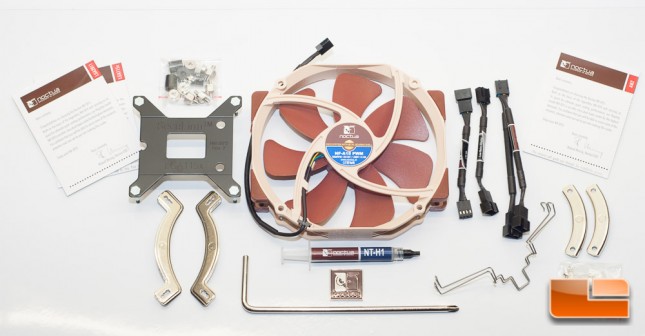
Once we pull out all of the accessories, we have components for any modern Intel or AMD setup, along with NT-H1 thermal compound, two low-noise adapters, the additional NF-A15 fan, and even a nicely crafted case badge (as seen on Page 1).
Pulling the cooler assembly itself out of the box, we find that one fan is pre-installed. This fan will actually need to be removed when you are doing your install, so this was just done to utilize space and protect the cooler.
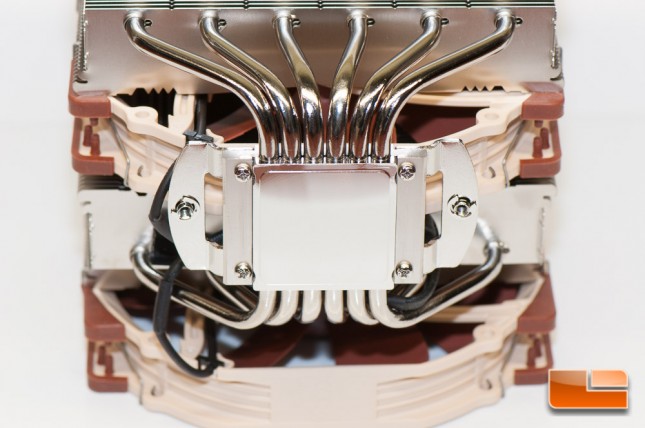
Flip the cooler over we can see the nickel plated copper base and how the heat pipes run through it. These are not direct contact pipes, but we do expect this setup to work well as-is.
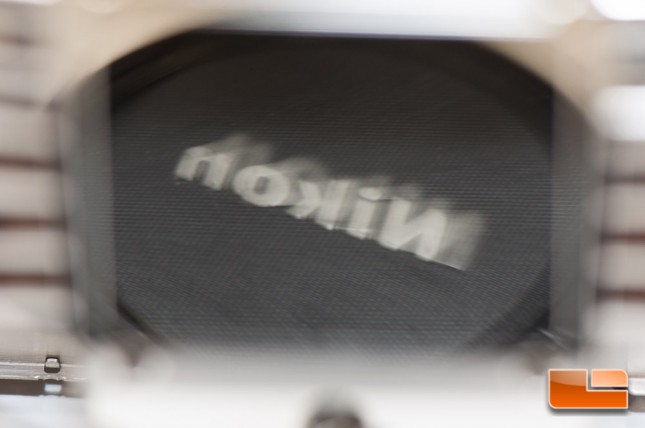
The base is nearly a mirror finish, but you can tell that it isn’t perfect by way of the blurry NIKON lettering reflecting on it.
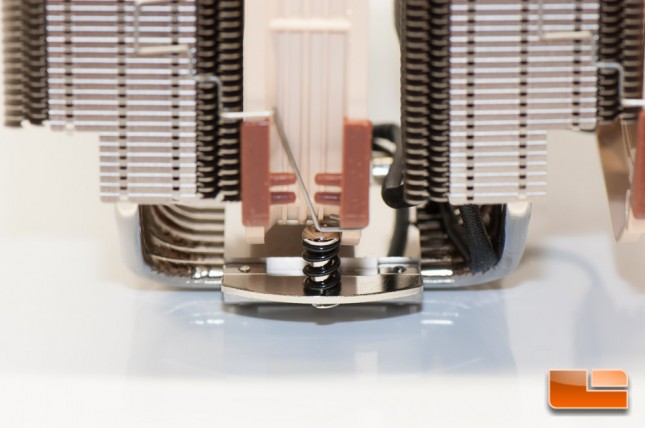
Still looking at the bottom of the cooler, you will see two spring assisted screws for mounting the cooler to your CPU – Anything to make your life easier.
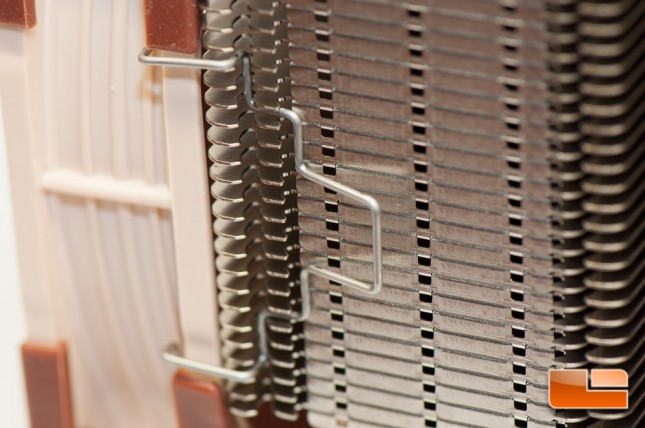
Slipping the second fan on, or even slipping the pre-installed one off, is as easy as tugging on the spring clips that hold the fan in place.
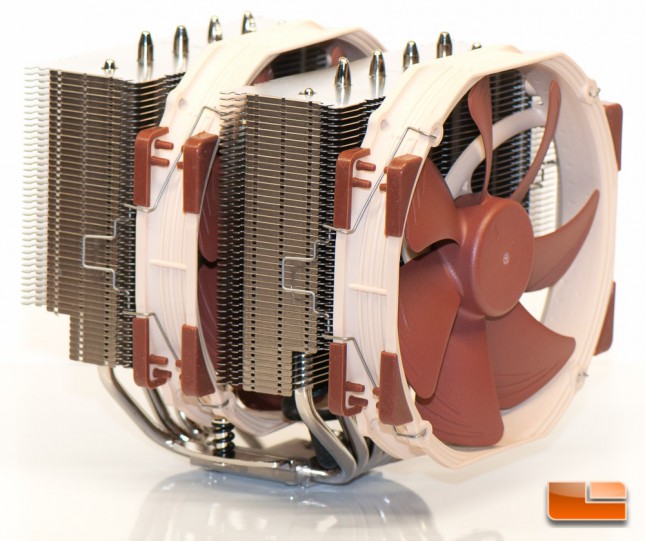
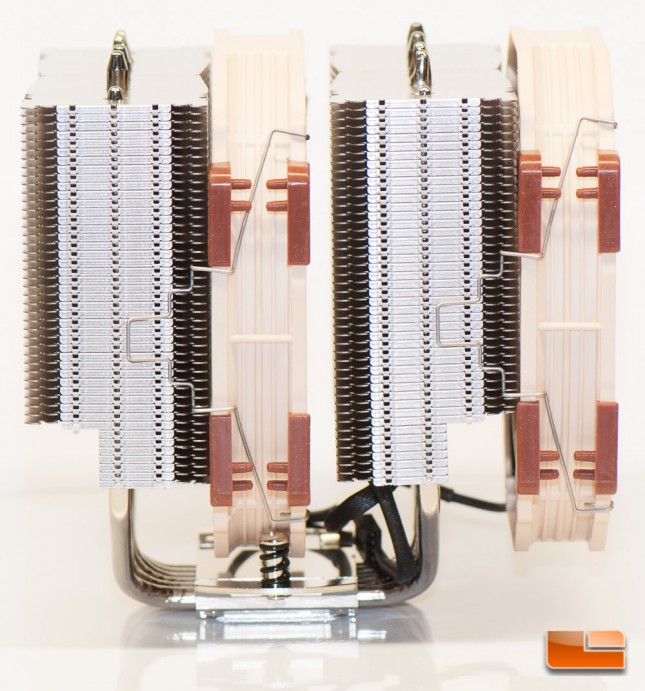
Here’s the second fan installed to push air through the first cooling stack:
Take note that in the above image, the fans are placed evenly across the stacks. This will likely not be the case, as you will probably have to lift the outside fan for RAM or mosfet heatsink clearance, or just omit the fan altogether.
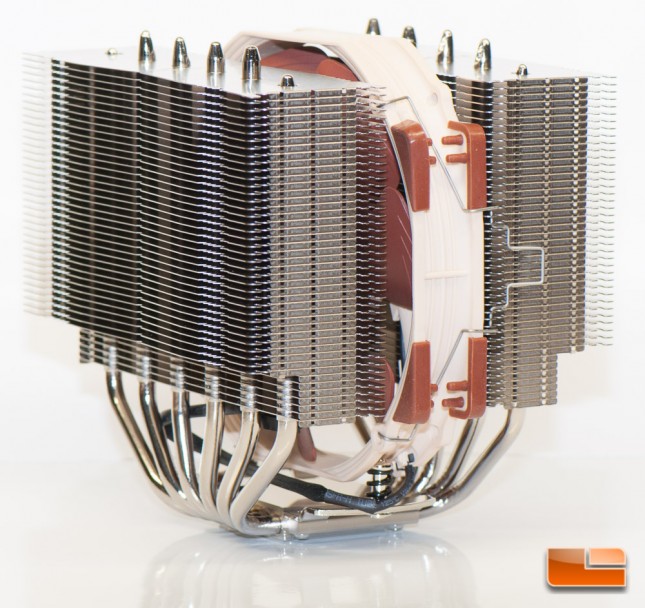
Each stack contains 45 aluminum fins in total, making the entire cooler, with fans, stand 165mm tall. It is symmetrical in nature, so there are cutouts on two sides to allow for 65mm of clearance for RAM or motherboard components. With the fans installed, the cooler will measure 150mm x 161mm (W x D) and weigh 1320 grams.
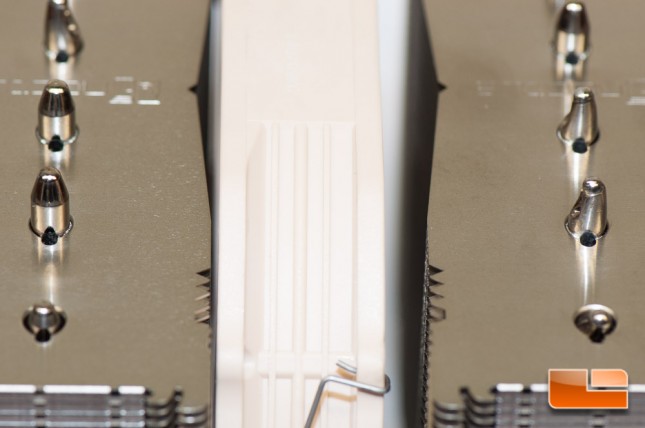
Lastly the heat pipes protrude out the top of each stack and are simply crimped.
This wraps up the introduction to the cooler and the packaging, so lets move on and see how easy this premium air cooler is to install!

