MSI Z77A-GD65 Motherboard Preview – Intel Z77 w/ Sandy Bridge
MSI Z77A-GD65 ‘Ivy Bridge’ Motherboard UEFI BIOS
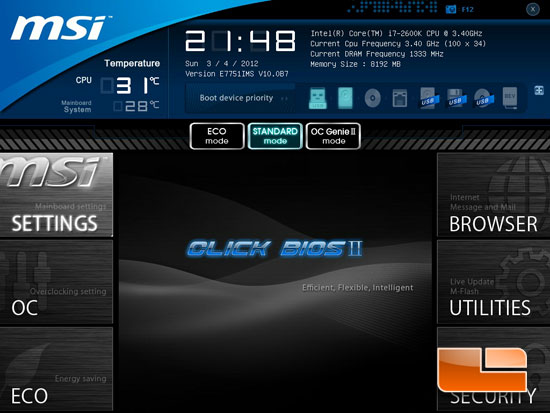
The MSI Click BIOS II offers a very clean look. Along the top of the page we can change the boot device priority and along the sides we can access the various areas of the Click BIOS II.
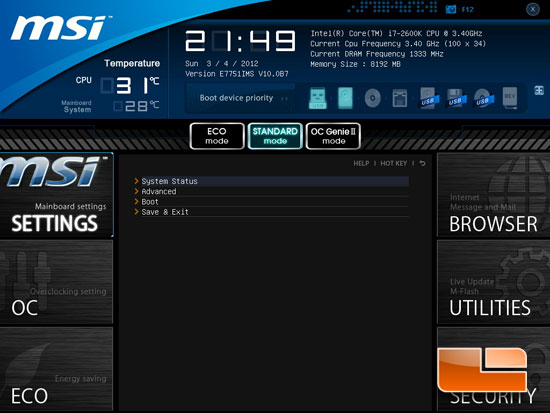
The first section of the MSI Click BIOS II is the MSI Settings. The MSI Settings section will give us access to the System Status page, Advanced page, Boot page, and the Save and Exit page.
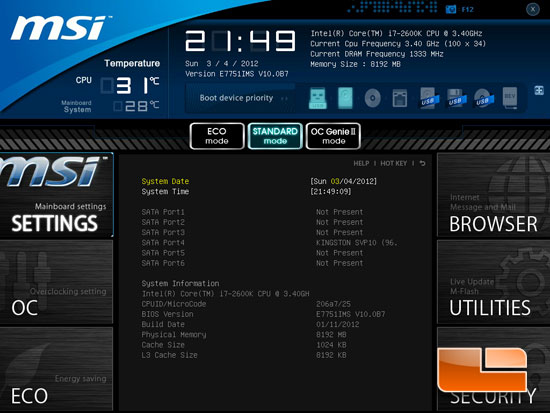
The system status page displays our system date and time as well as the devices that are plugged into the SATA ports and some basic information about the system.
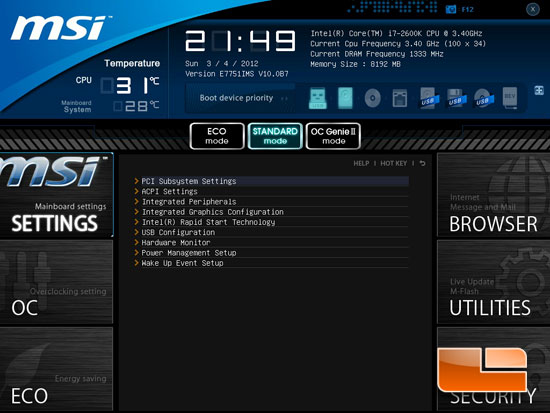
The Advanced page of the MSI Click BIOS II brings us to nine additional pages. These include the PCI Subsystem Settings, ACPI Settings, Integrated Peripherals, Integrated Graphics Configuration, Intel Rapid Start Technology, USB Configuration, Hardware Monitor, Power management Setup, and the Wake Up Event Setup.
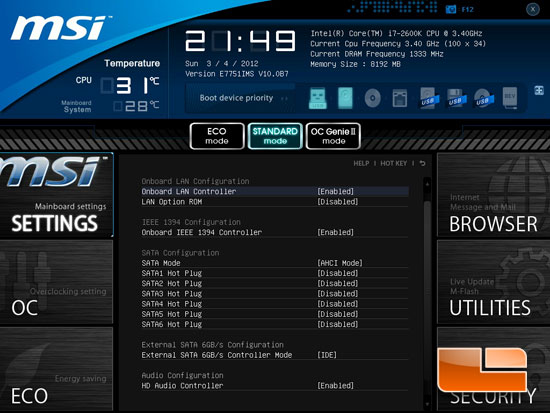
The Integrated Peripherals page has a few options for the SATA ports and the other various onboard devices.
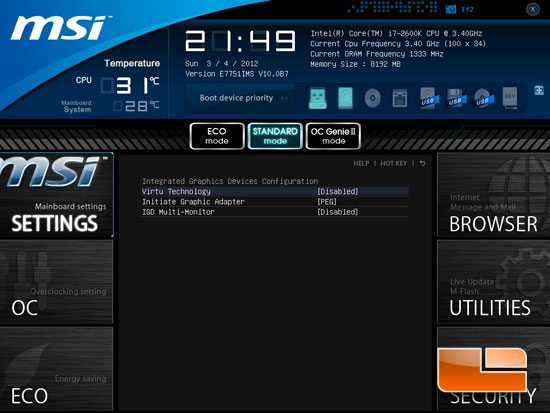
Above we can see the options for the integrated graphics device. We can enable or disable the Virtu technology and set the primary graphics adapter.
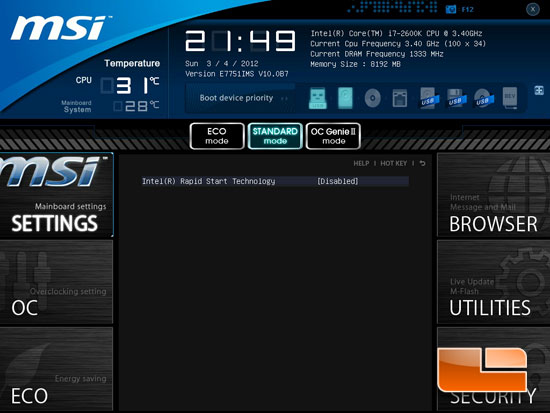
Above we can enable the Intel Rapid Start Technology.
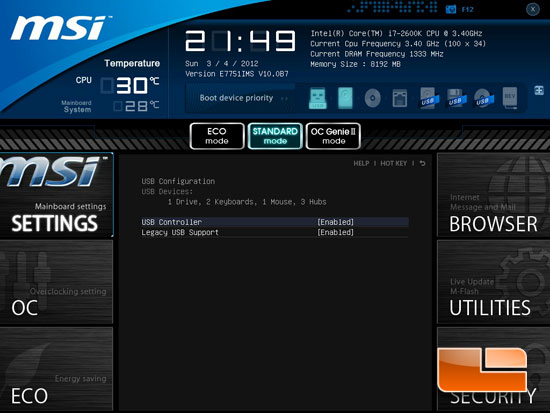
The USB Configuration page allows us to enable or disable the USB controller as well as the Legacy USB Support.
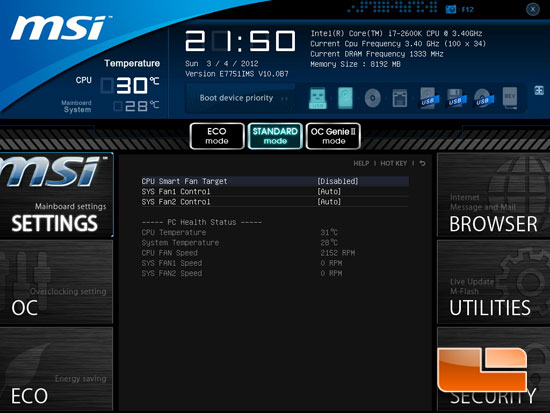
The hardware monitor is a little light. I would have liked to see some of the voltages monitored here as well.
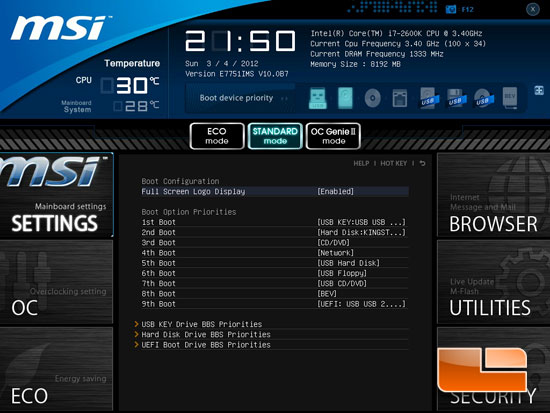
The Boot Configuration page allows us to change all the various boot device settings.
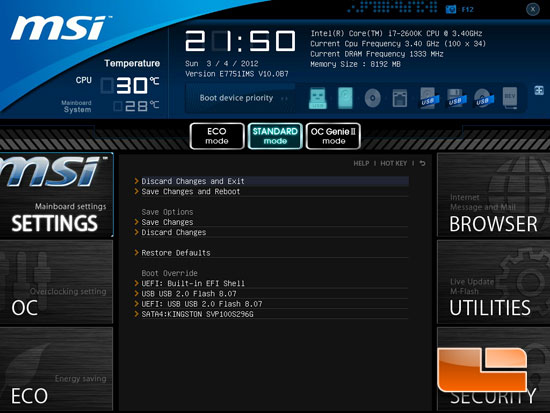
Nothing to surprising on the Save and Exit page. Here we can discard or save the BIOS settings, restore the system defaults, or set the boot override device.
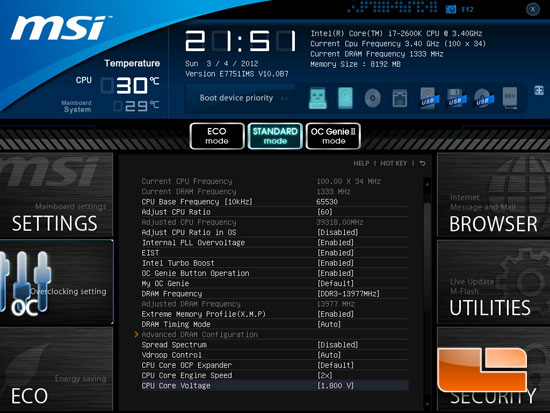
The overclock settings page is full of the useful options if you are looking to overclock your Intel ‘Ivy Bridge’ processor.
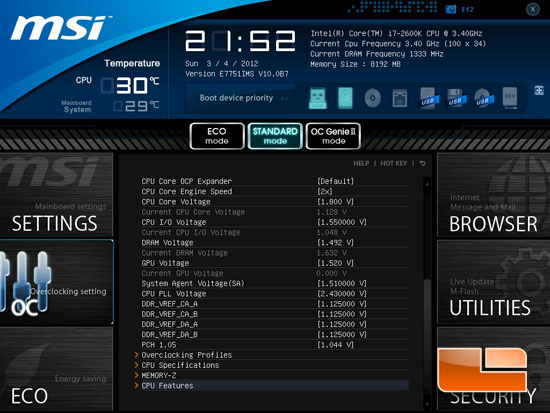
Should be more than enough voltage for 99.9% of the enthusiast out there.
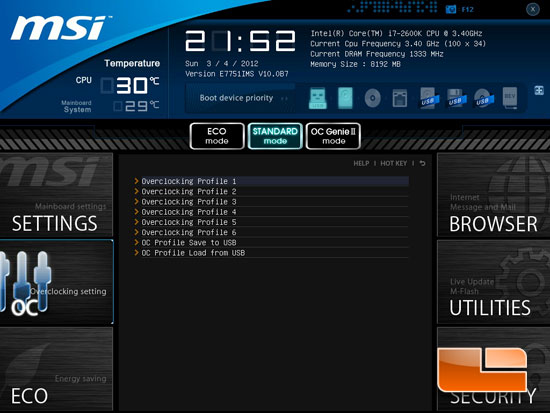
The MSI Z77A-GD65 has six different profile slots to save your BIOS settings to. We can also save them to a USB flash drive as well as load settings from a USB flash drive.
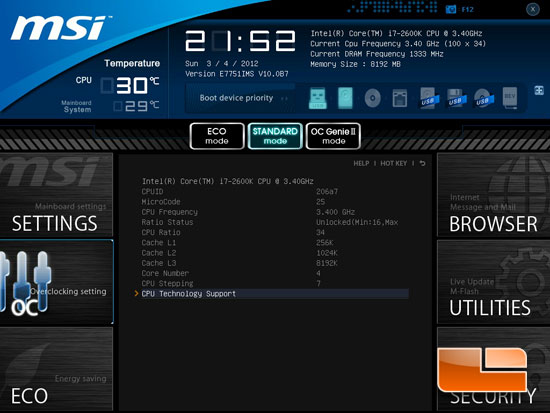
The CPU Specifications page gives us the details about our Intel processor. Above we can see the CPU model, microcode, frequency, CPU ratio, all three levels of Cache, number of cores, and the CPU stepping. We can also access another page with the CPU Technology support.
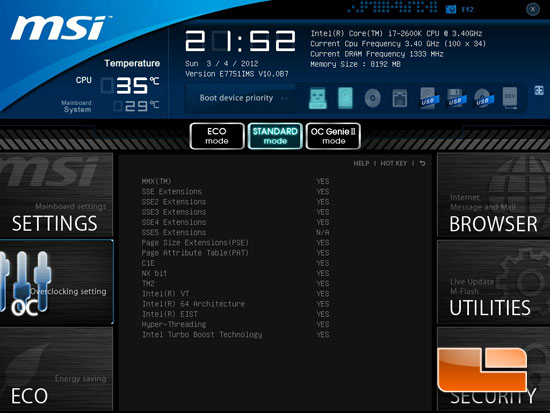
Above we can see all of the various technologies supported by our Intel Core i7 2600K
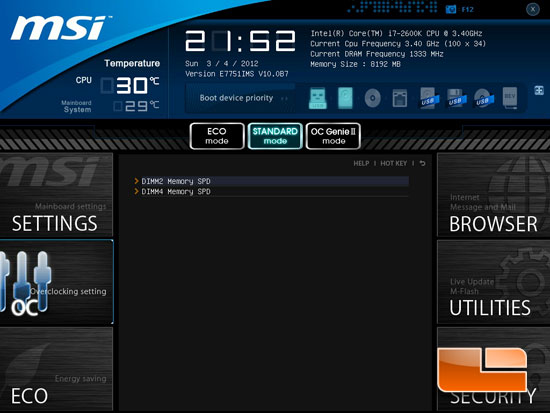
The Memory-Z page of the MSI Z77A-GD65 Click BIOS II will only show the DIMMs that you have memory installed into.
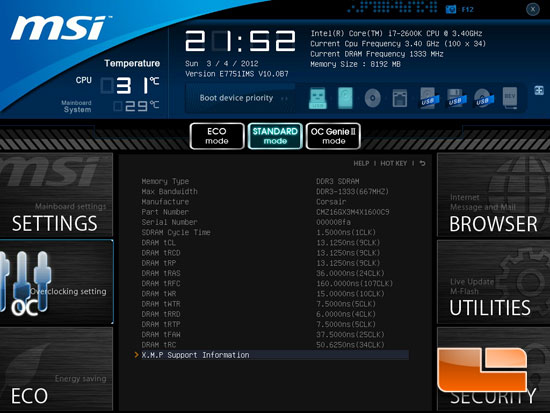
Opening up one of the DIMM pages that we have memory installed into we can see the type of memory installed and the various timings associated with the JEDEC settings. At the bottom of the page we can access the page with the X.M.P. support information.
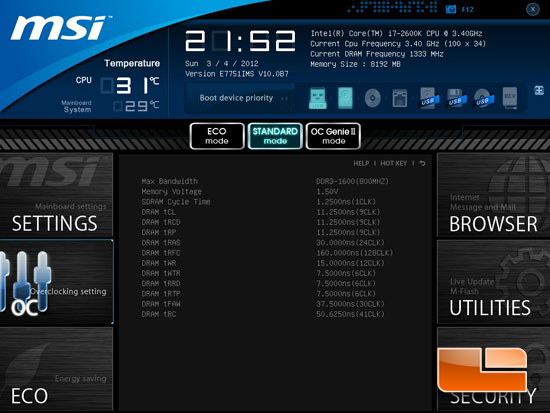
Above we can see the maximum bandwidth and the timings for the X.M.P. profile of our Corsair Vengeance Memory.
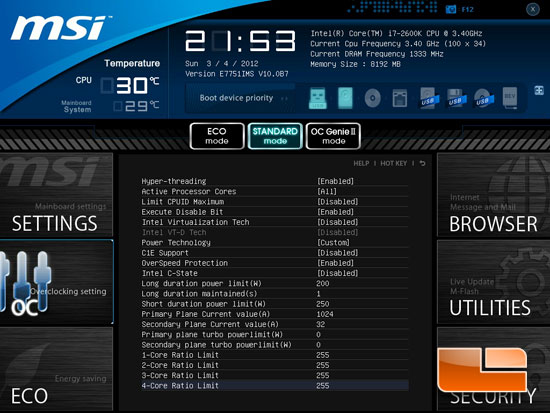
The CPU Features of the MSI Z77A-GD65 Click BIOS II has the various settings for our Intel Core i7 2600K.
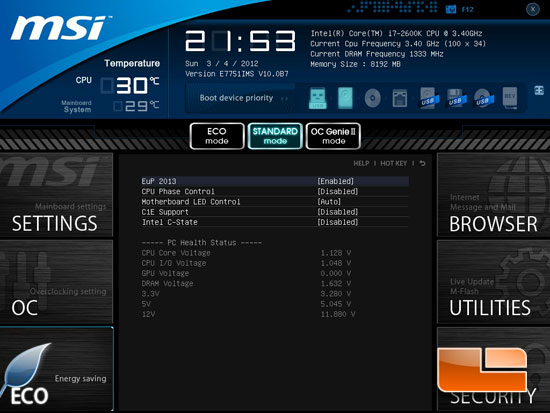
The MSI Z77A-GD65 has a page dedicated to going green, here we can find the some of the various power saving technologies.
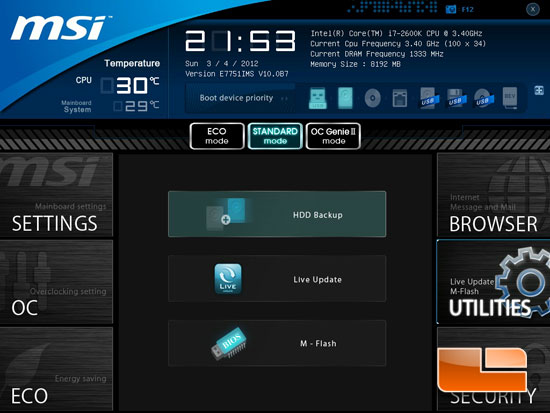
The Utilities page has access to the HDD Backup, Live Update, and the M-flash BIOS flash utility.
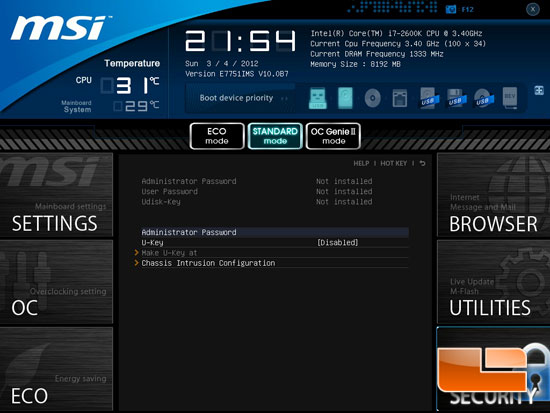
The Security page allow you to set the various passwords and chassis intrusion settings of the MSI Z77A-GD65.

Comments are closed.