MSI Z270 XPower Gaming Titanium Motherboard Review
UEFI BIOS
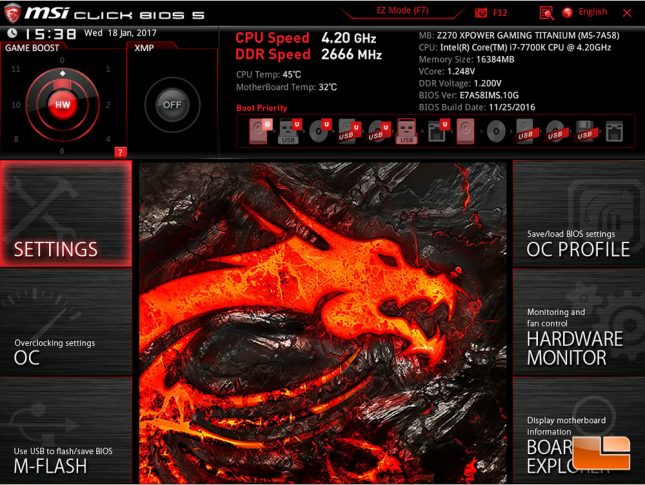
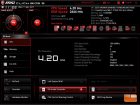
The UEFI for the MSI Z270 XPower Gaming Titanium starts off looking pretty basic. However, the initial options are probably some of the most used. At the top, MSI provides a one click overclock option with Game Boost, which we have taken a look at here. Next comes enabling the XMP configuration on the memory. Some general information about the system is at the top, with the boot order options directly underneath the information. All pretty basic, but very important options. For those that want to get into more details, MSI provides those in submenu’s that are broken down.
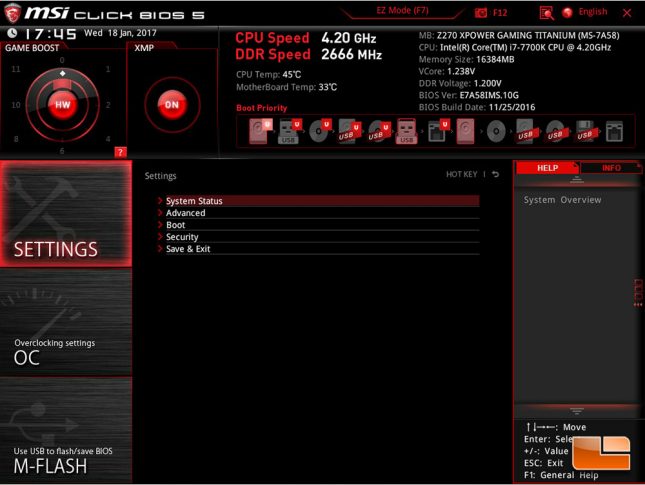
The first submenu is Settings, here you find almost all of the normal options you find in a classic BIOS menu. The System Status menu provides a high level overview of the system version numbers, and storage devices. Advanced, you get into the configuration of the Integrated Peripherals, IGP, USB, Ethernet, PCI Subsystem, ACPI, and Power Management. Boot goes into more detail on the boot order and settings. Security allows you to set a password on the system, enable Trusted Computing, and Chassis Intrusion. Save & Exit is pretty self explanatory.
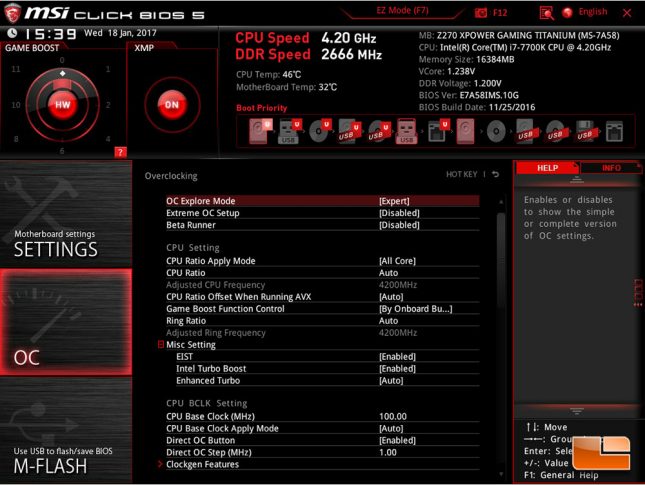
Most people looking to use a flagship motherboard will probably be overclocking their system as well. MSI has made it extremely easy for the novice to overclock their system with Gameboost and showing you what it modify’s when you exit the UEFI. For those that want to get into the minute settings, the OC memu will provide you a huge number of options, which are well laid out to make it easy to find exactly what you want. Adjusting the CPU Ratio is done using either a direct key in of the desired speed, or using the +/- keys to manually select the desired ratio. There is no drop down menu to select it though.
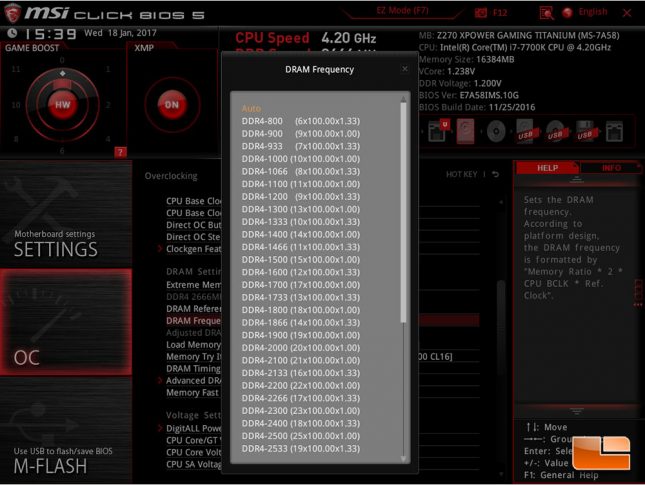
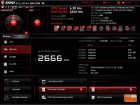
Like all the other options, MSI makes doing basic overclocking very easy. The Z270 XPower Gaming Titanium automatically selects the best speed for the memory kit, however there is a drop down that will allow you to manually adjust the speed. The drop down has configurations all the way to DDR4-4133MHz! If you are unsure what you can overclock your memory to, you can try the various speeds, or you can use MSI’s Memory Try It tool, where it’ll choose what it thinks are the best speeds. For the Kingston Fury 2666MHz kit we used, it presented us options up to DDR4-3333MHz @ CL16.
- MSI Z270 XPower Gaming Titanium BIOS Default Settings
- MSI Z270 XPower Gaming Titanium UEFI Memory
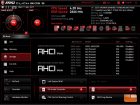
- MSI Z270 XPower Gaming Titanium UEFI Storage
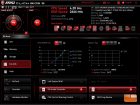
- MSI Z270 XPower Gaming Titanium UEFI Fan Info
For those that don’t like to adjust the fine settings, you just want to get things running quickly, the EZ Mode is accessible by pressing F7. Here you find information on the system laid out in groups to know exactly what is going on. There really aren’t any options to change here in the main menu’s, it is purely for informational purposes. At the bottom though, there are submenu’s that make it easy to activate and configure a few options such as M.2 Genie (if you happen to have two of the same M.2 drives and want to run them as a RAID).
Let’s take a quick look at the Overclocking capabilities of the MSI Z270 XPower Gaming Titanium.

