MSI Barricade Mid Tower PC Case Review
Barricade Interior Thoughts
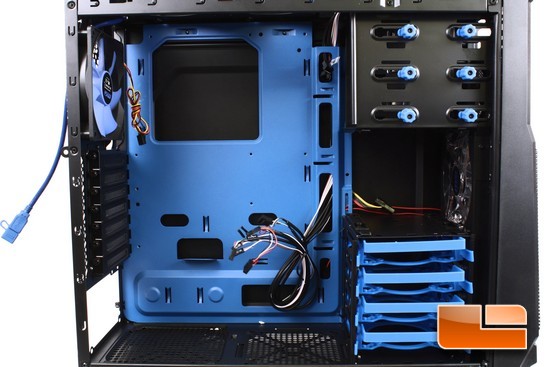
Since I have gone over the entire exterior of the Barricade chassis, time for me to give the inner portion of this chassis a good look through. MSI uses a PSU power cable channel on the motherboard tray, this should help keep our power cables organized a bit better while still keeping the main interior of the chassis from getting too crowded with PSU power cables.
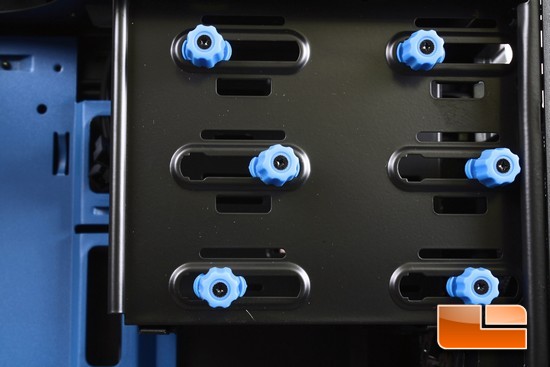
Starting off on the interior, I am going to look at the 5.25″ drive/device bays. The Barricade chassis uses a tool-less design for these bays. Also these tool-less mounts can be moved to accommodate just about any type of drive/device we may place into these bays.
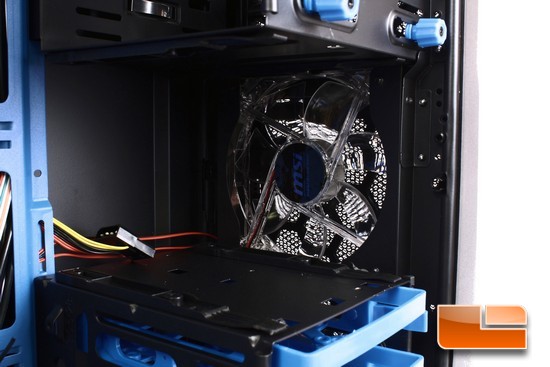
Right below the 5.25″ bays is left open to allow more airflow to our computer components.
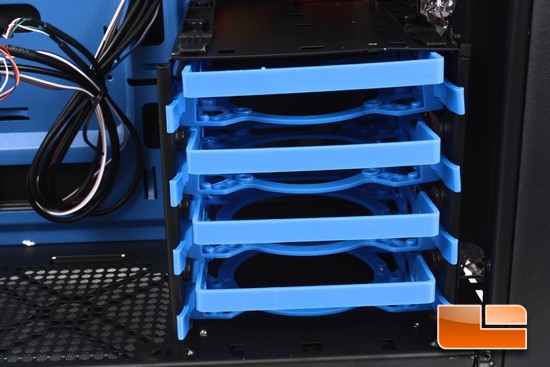
To the bottom of the front of the chassis is where MSI includes a HDD carrier group, we can use up to 4 2.5/3.5″ HDD/SSD in with this chassis. I will have to say I kind of like the color scheme that MSI is using on this chassis.
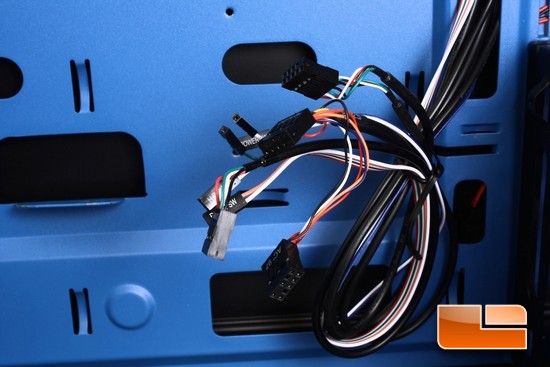
Giving the front IO chassis hook ups a quick look at. There are 2 USB 2 motherboard headers, one is for the USB 2 ports, and the other one is used for the included SD card reader. MSI includes a front on/off HDD/power indicator LED’s, and the front audio motherboard header.
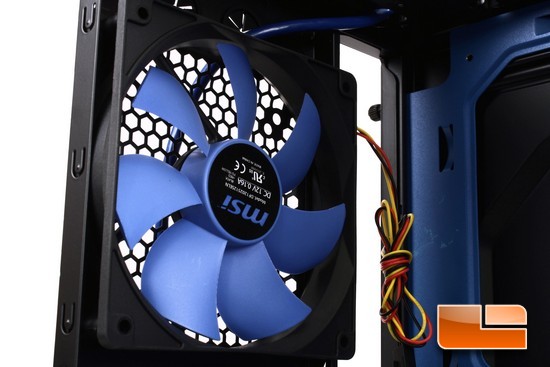
Looking at the rear 120mm exhaust fan that MSI includes.
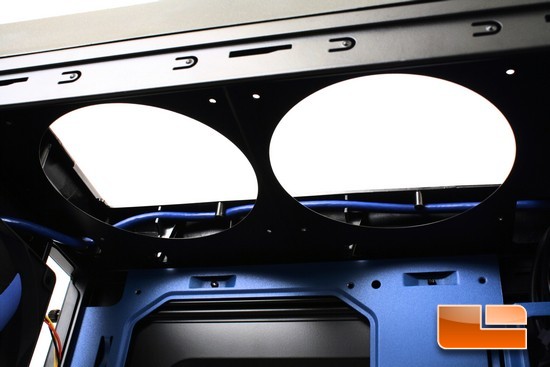
The upper 120mm exhaust fan mounts.
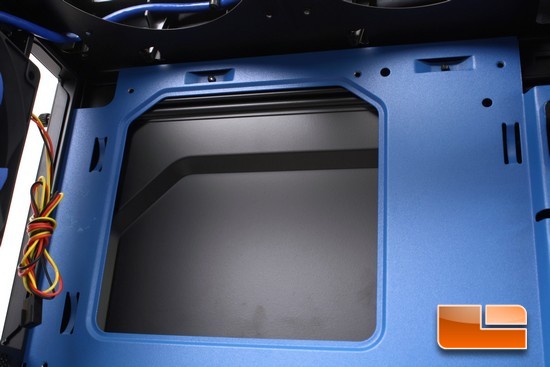
MSI uses a rather large CPU cutout on the back side of the motherboard tray. This should be large enough to handle various types and styles of motherboards on the market today.
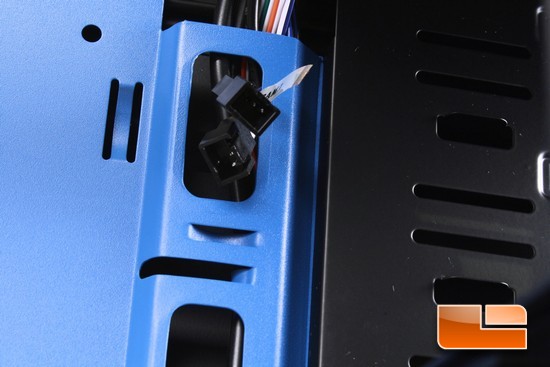
MSI does include small PSU wire cutouts in the motherboard tray, these do appear to be rather small to handle some of the larger PSU power cables; again time will only tell if they are big enough. We are also looking at the front IO fan controller hook ups. If you wish to use the included fan controller switches, the fans will need to be hooked up to these fan headers. What is not shown is a 4 pin molex connector that will also be required to be hooked up as well, unfortunately it was not long enough to reach the internal portion of the chassis.
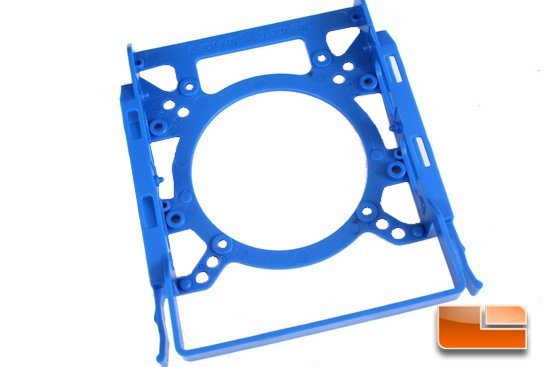
I removed one of the HDD/SSD carriers so that we can get a better look at them. These carriers can handle both a 2.5 and a 3.5″ HDD/SSD’s, also we have the option of mounting an 80/90mm fan to help keep these drives cool.

Time for me to measure the interior of the MSI Barricade chassis. If you look at the motherboards PCI expansion ports to the orientation of the chassis itself, we can see that the top or primary video card has quite a bit of room available to it. But I will have to add that if you plan on using multiple video cards or cards that are below the primary video card, you will be limited to only having 11 3/8″ of room. So like always please double check your expansion cards length.
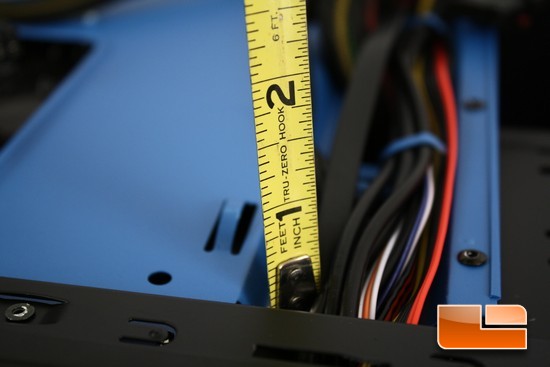
A quick measurement of the PSU power cable channel; there is not much room here at all. I am guessing roughly around 3/8″ of room here, let’s hope the right side panel form is enough to compensate for the lack of room here.
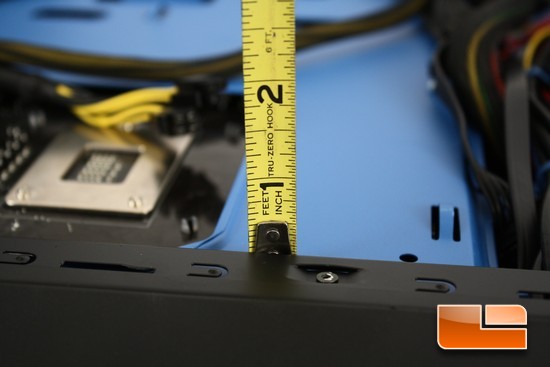
I do not consider 1/4″ to be a lot of room. Again I am praying that the right side panel form is enough to compensate for the lack of room behind the motherboard tray.

Giving a quick measurement behind the motherboard tray with the side panel installed to give me a better idea on how much room there is behind the motherboard. As we can see there is just right at 1/2″ of room here thanks to the bump out that was stamped in the side panel.
The MSI Barricade chassis interior corners were rounded off enough to keep me from cutting my hands, arms, and fingers while I made my way throughout the entire exterior/interior of this review. Also this chassis did seem to have a solid build quality to it.

Comments are closed.