MSI Barricade Mid Tower PC Case Review
Barricade Exteriror Thoughts
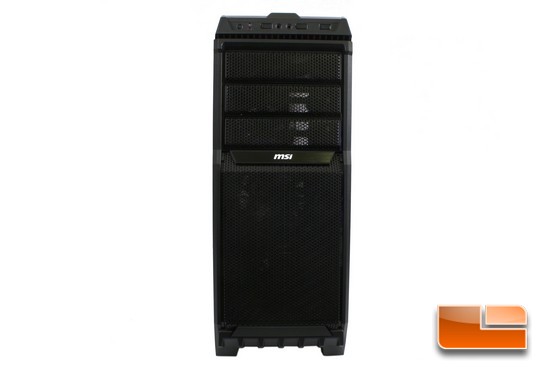
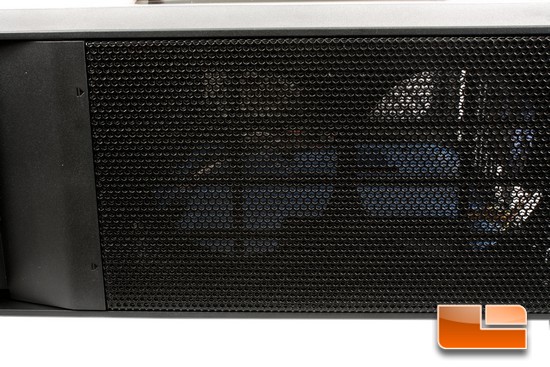
Starting off on the front of the Barricade, then making our way around the entire external portion of this chassis. MSI allows us to use up to 3 5.25″ drives/bay devices with this chassis. The one thing that grabs my attention to this chassis is the rather large front fan intake portion of this chassis, I will have to investigate this a bit further. The entire front portion of the front bezel uses a fine metal mesh to keep air flow optimal and also to keep large particles from entering the chassis’ interior.

Up at the very top of the Barricade chassis are the front IO ports/switches. Starting off from the right working my way left, is a Reset button, HDD/Power indicator LED’s, a USB 2 port, Mic/Head phone jacks, followed by another USB 2 port, then finally the USB 3 port (designated as the SS for Super Speed USB).
This is something that we rarely see from chassis manufacturer’s and that being the use of covers for the front IO ports, good call MSI
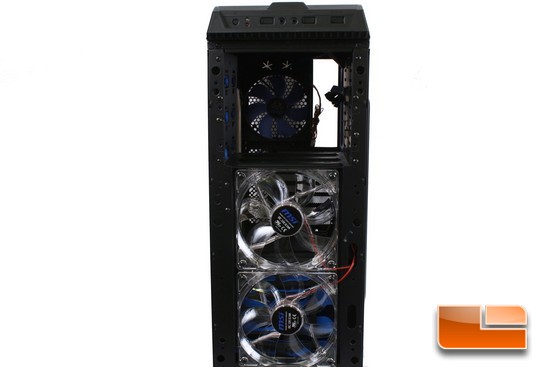
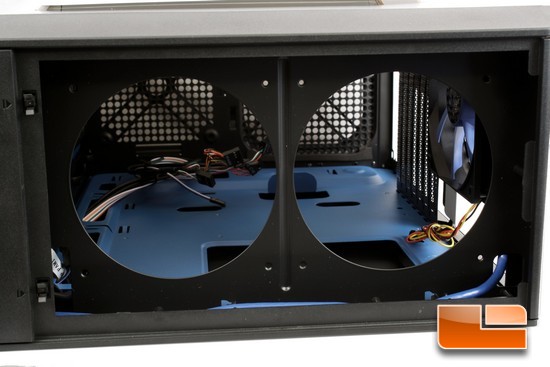
Like many other chassis to remove the front bezel all we need to do is reach underneath the front of the bezel and gently pull towards us or away from the chassis. Well I found out why the Barricade has such a large front fan intake portion and why this chassis only has 3 5.25″ drive/device bays. MSI includes 2 120mm front fans.
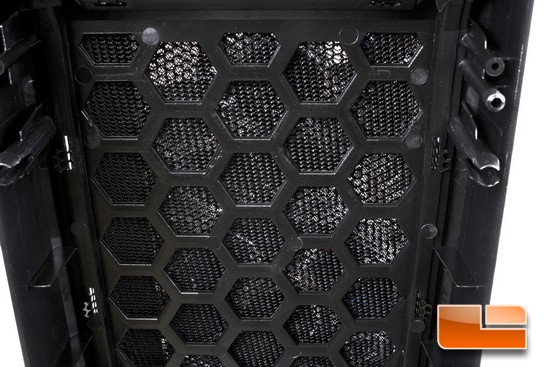
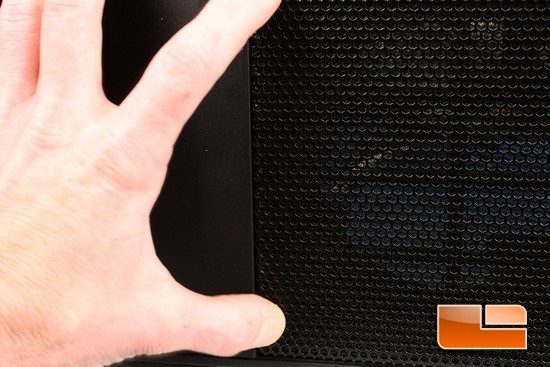
Right behind the front intake of the bezel MSI includes a fine mesh sandwiched between a hexagonal mesh on the backside and the fine metal mesh on the exterior; making gaining access to this filter screen impossible.
I would like to have been given the option of being able to remove this front filter screen without having to disassemble the entire front bezel. Reason for this is because I have been in areas where there is a lot of dust/lint in the air with a relative high humidity which makes these unwanted items stick to the filter and requires us to physically wash them in soap and water. Basically making the can of compressed air useless.
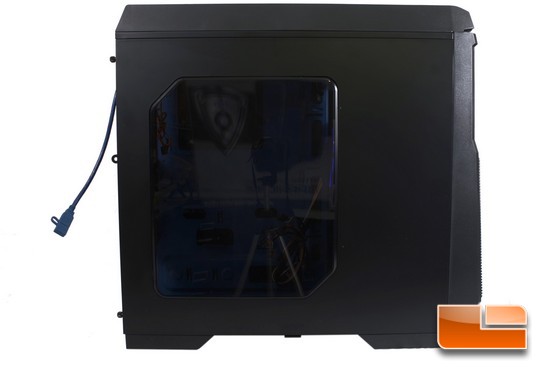
Turning the chassis 90 to the right brings us to the left side panel. MSI includes a fairly large side window so that we can see all of our cool computer components inside of the chassis. The one thing we don’t see is a side panel fan, I would have liked to have seen a side panel fan but it is not a requirement.
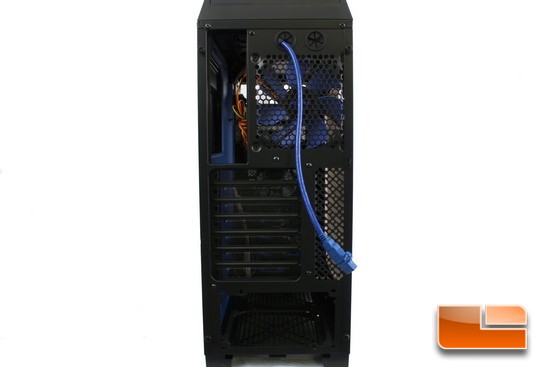
Making our way over to the backside of the Barricade chassis. As we can see the Barricade chassis follows a pretty much standard ATX layout

Starting from the top, then making my way down; to the very top of the chassis is 2 rather small water cooling access ports, and below these access ports is where MSI includes a 120mm rear exhaust fan.
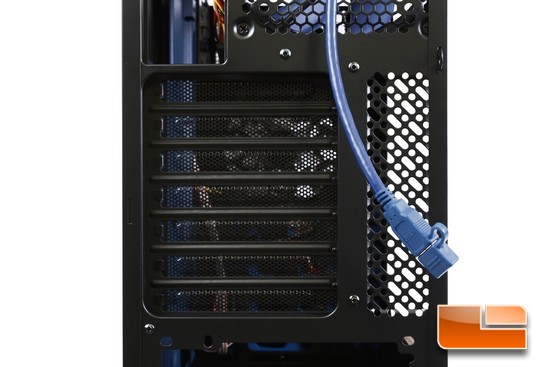
The barricade chassis can use up to a standard ATX sized motherboards that use up to 7 PCI expansion ports; this also covers mATX motherboards as well. To the right of the PCI expansion ports is where MSI includes vents to allow for more airflow with our video cards. The Blue cable you see dangling is a USB 3 extension cable from the chassis’ front IO ports. This will be needed to be hooked up to a rear motherboard USB 3 header in order to use the front USB 3 port.
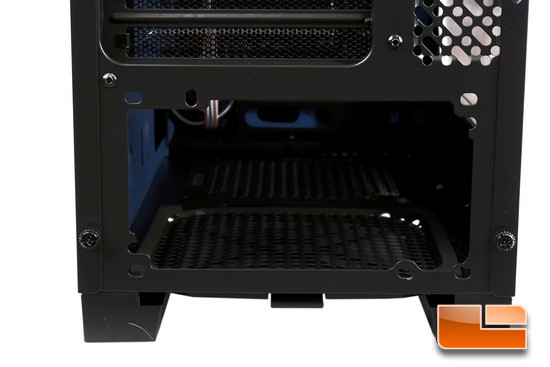
The PSU gets mounted towards the bottom of the chassis, and MSI also makes sure that we can use a multitude of different mounting configurations and types of PSU’s with this chassis.
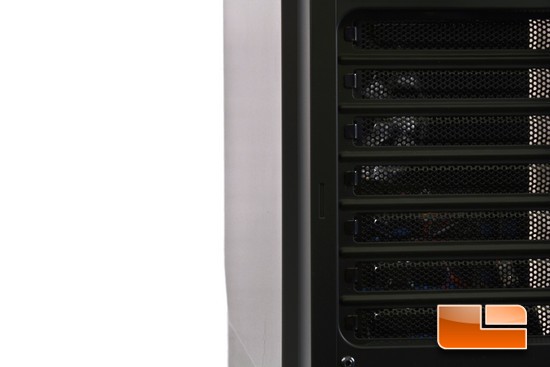
On the right side panel, MSI made it form outwards to help allow for clearances when we route our PSU wires behind the motherboard tray. Only time will tell if this shape is enough to make a difference.
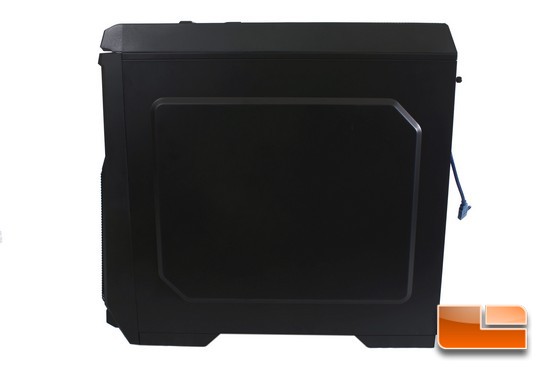
Taking a quick look at the right side panel.
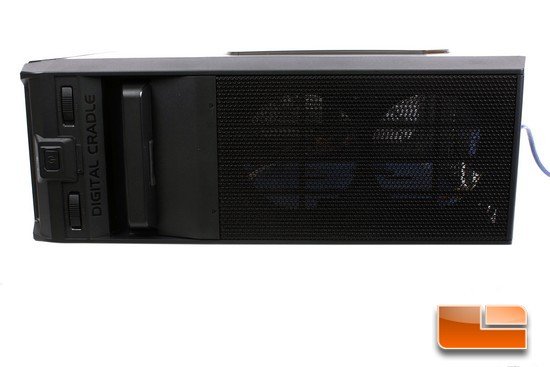
Time for me to look at the top of this chassis.
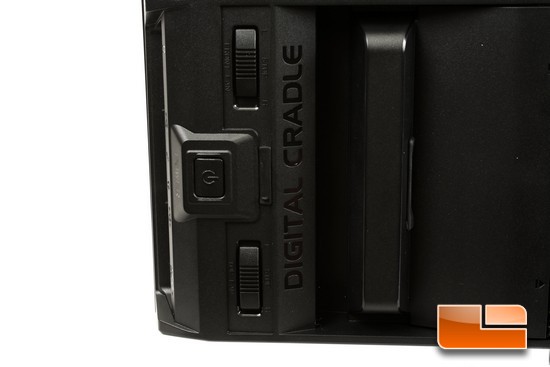
MSI places the on/off button direct to center of the top of the chassis. Then directly behind the on/off power button MSI includes a SD card reader. If you look to the top and bottom of the top of the chassis you will see 2 large switches, these are simple fan controllers. Right behind all of this; MSI includes a small digital tray so that we can place our portable devices, phones, small cameras, etc. here for when we are using this chassis.
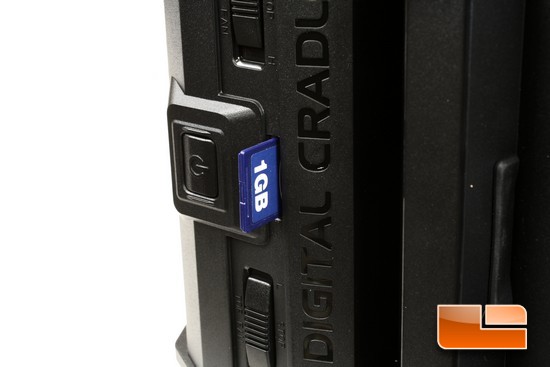
A quick look at the SD card reader that MSI includes into this chassis.
Towards the rear of the top of the Barricade is another fine metal mesh covering.
To remove this covering MSI has it locked into place. To remove it so that we can install our fans simply push on both sides of this covering (at the same time) push down and it will be released from the chassis.
This is what I like about this chassis, MSI has us mount the upper 120mm exhaust fans on the top of the chassis instead of having us mount them underneath. This will give us more room inside of the main chassis with our large computer components.
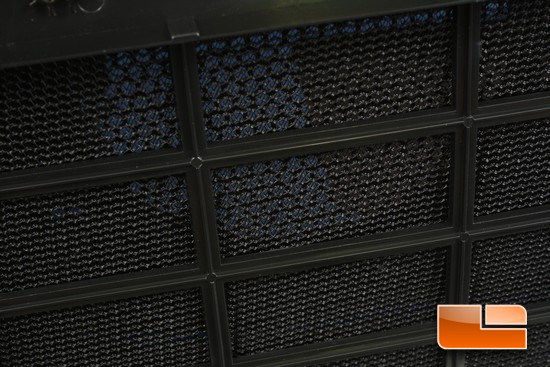
MSI uses another fine filter screen here, this filter cannot be removed either if and when we do need to service it.
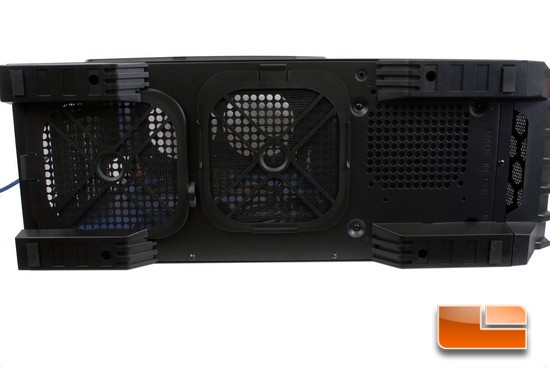
Turning the chassis over to the bottom so that we can see how MSI put this part of the chassis together.
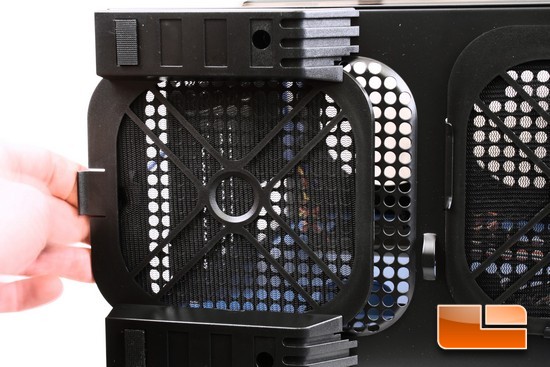
MSI places a removable filter under the PSU mounting area. Also if we look at the bottom of the feet, even though MSI uses the main portion of these feet as plastic there are small strips of rubber to keep this chassis from marring any of the surfaces we may place this chassis upon.
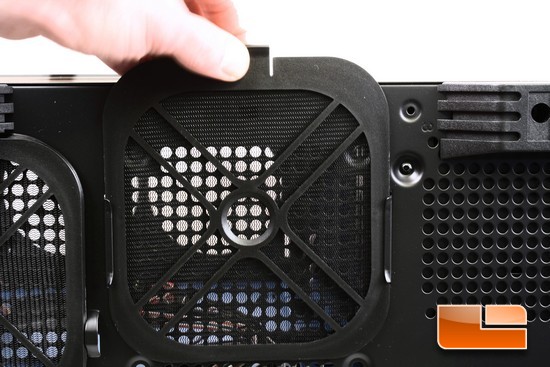
Looking at the removable bottom 120mm fan filter.
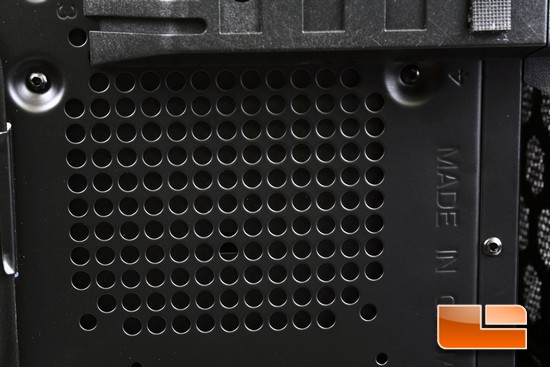
Right in front of the bottom 120mm fan filter are some small holes that will allow better ventilation of our HDD/SSD’s . I will go more into depth about this on the next page.
So far my overall impression of the Barricade chassis from MSI has been a pleasant one. The only thing that concerns me currently is the overall size of this chassis. But I will find out if this chassis is big enough to handle standard sized computer components during the installation portion of this review.

Comments are closed.