Lian Li PC-V359 Micro-ATX Modular PC Case Review
PC-V359 Hardware Installation
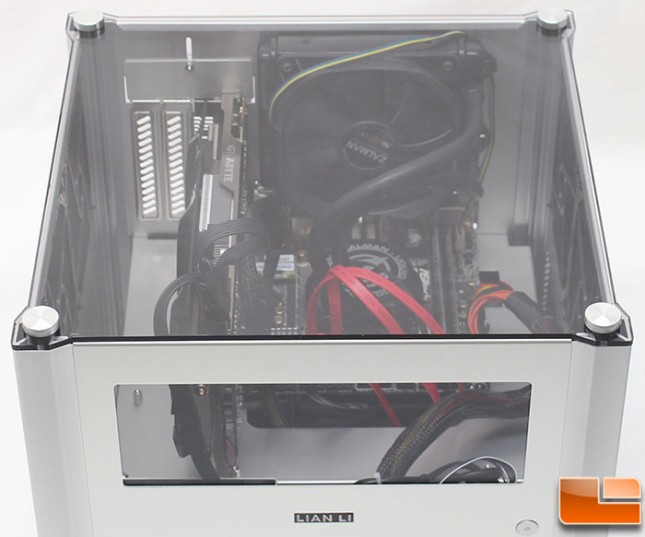
Overall, the installation goes pretty easy with no major surprises. With everything installed properly, we can replace the three panels and the top. The view through the top acrylic panel is very nice and provides a full view of the motherboard and video card. With the power supply and hard drives on the bottom layer, they are fully hidden from view.
For my process, I installed the power supply first, here I encountered the first small surprise. While there is a small hole on the motherboard tray for the auxiliary power cable, it will need to be fed through the hole before the power supply is installed as there is not enough space between the power supply and the motherboard tray to fit the power connector.
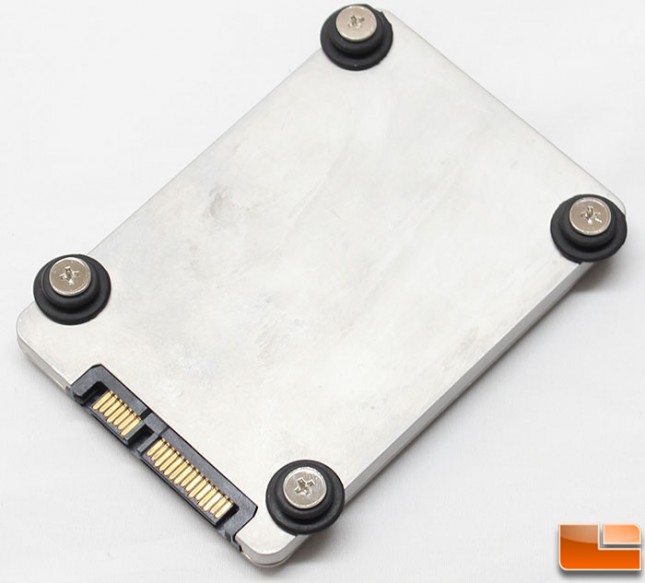
Attach the anti-vibration rubber washers to the bottom of the drive with the large part of the washer against the drive. This will allow the drive to slide into place on top of the hard drive cage.
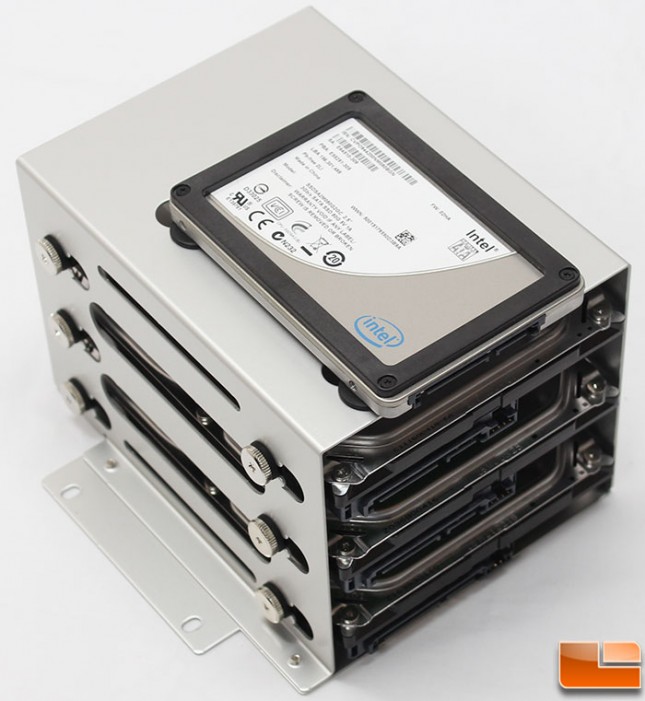
Installing 3.5″ hard drives into the cage is a little difficult as there are no rails to support the hard drive while it is secured to the cage. Granted, this is not a case breaking issue, just a little gotcha to be aware of. The drives easily go into place and the anti-vibration grommets will reduce noise from the drives spinning. The 2.5″ drive on the top of the cage easily slides into place and feels secure with just the rubber feet.
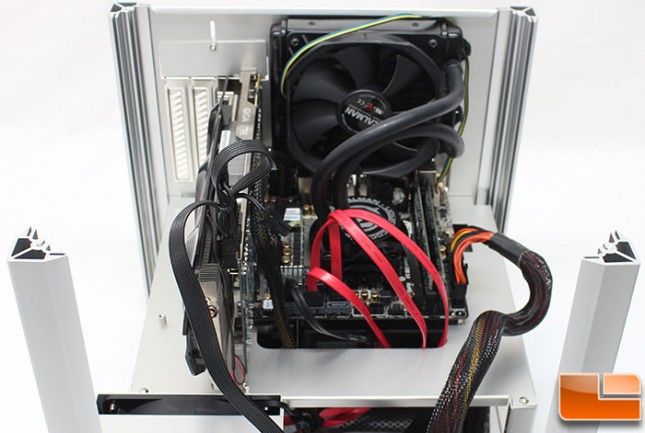
With everything installed, the cables are easily hidden below the tray. The test system installed uses a Mini-ITX motherboard, so we are able to use the hole in the motherboard tray. A standard Micro-ATX board would go to the edge of the motherboard tray, and we would use the space at the end of the tray to route cables. A Zalman LQ310 AIO Liquid Cooler is installed replacing the rear exhaust fan. If a push/pull fan configuration was desired, another fan could be installed outside the case, or the radiator could. The rubber grommets on the back panel are split, which would allow the routing of the tubes through the exhaust hole and into the liquid cooling holes.
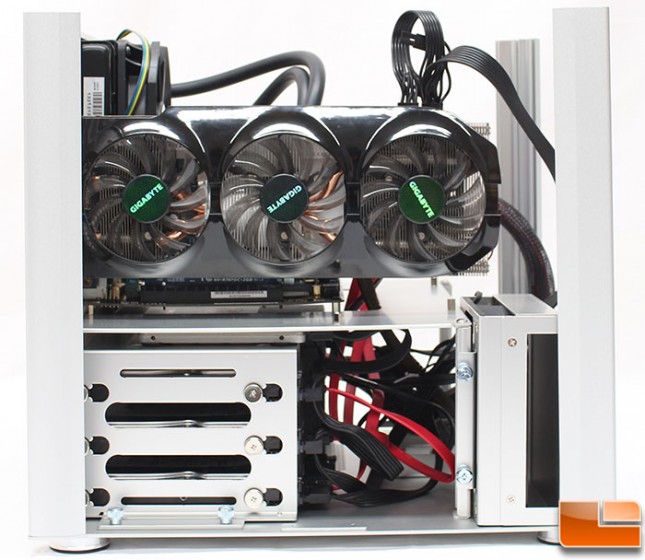
Taking a look at the left side of the case, we can see the Gigabyte HD7870 video card, which is 10.25″ and there is still a little room for longer cards; the PC-V359 supports video cards up to 12.6″. On the bottom layer the hard drive cage slides into place, however it needed to be properly maneuvered to get it to fit correctly. I found it easiest to connect the data cables while the cage was outside the case and move it into place all together. There is no fan guard on the front intake fan so a little caution will be necessary to insure the cables do not come into contact with the blades.
