LG Optimus G Pro E980 AT&T 4G LTE SmartPhone Review
LG Optimus G Pro Features
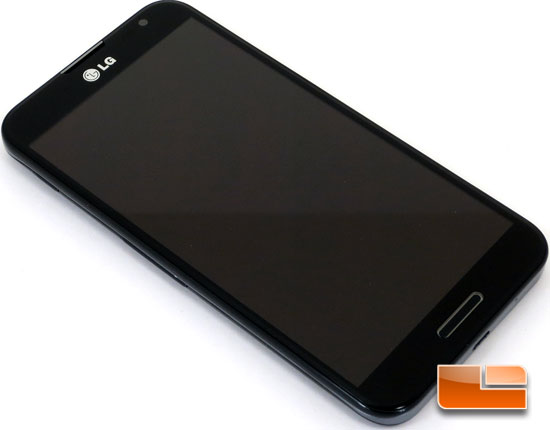
First impressions of the LG Optimus G Pro didn’t let me down. At first glance I liked the overall look, and I first noticed that there is an actual button on the front of the Optimus G Pro. That’s a change from the Optimus G that we reviewed last year that had no physical buttons and all touch buttons on the front. Personally I’m not sure which I prefer, but they both worked great.
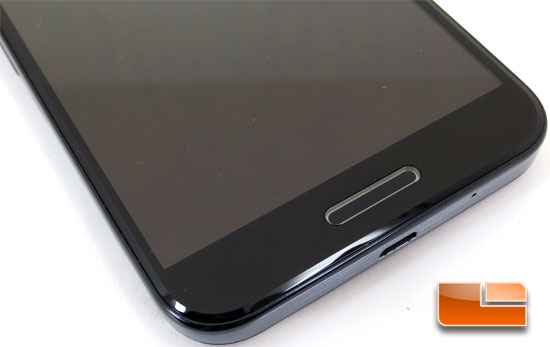
As we look a little closer at the bottom of the LG Optimus G Pro, the physical button is a fair size when it comes to the width, it did find it to be a little on the narrow side in the other direction. I would likely have become used to it after a week or so, coming from my iPhone 4 though, it was just a bit narrow compared to what I’m used to. On either side of the button we have the touch sensitive buttons for the back and menu buttons.
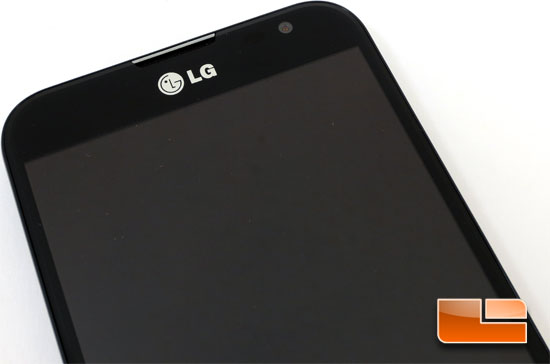
Up at the top edge of the Optimus G Pro it’s kept pretty simple, in the upper right corner there is the front facing 2.1 mega pixel camera, speaker and the LG logo.
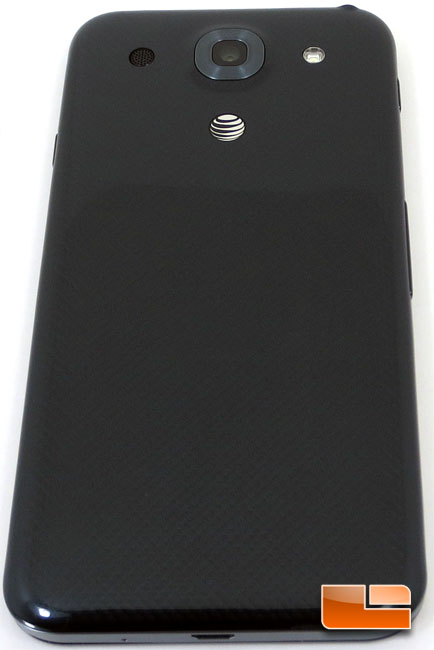
Flipping the LG Optimus G Pro over, the back cover has the carbon fiber look to it, overall sharp looking. Though I doubt that matters to horribly much as most people will cover that up with a protective cover.
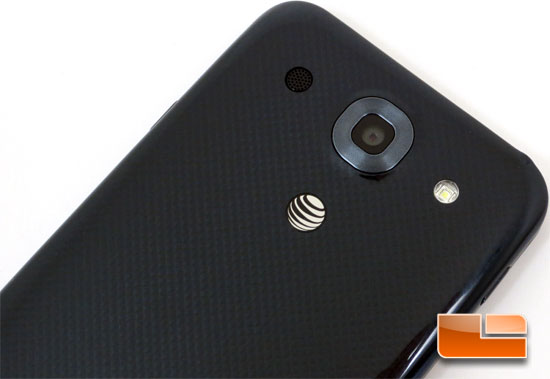
The LG Optimus G Pro features a 13 mega pixel full HD camera. The camera on the LG Optimus G Pro has a maximum resolution of 4160 x 3120 and can record in full HD 1080P! To the right of the camera is the LED flash and to the left is a speaker.

Up top we have the 3.5mm audio jack as well as a couple of sensors to aid the functioning of the phone.

Along the left edge of the LG Optimus G Pro we have the QuickButton as well as the volume control rocker button. The Quick Button allows you to attach an application to the button, and anytime you press that button, it will open up that particular application. It defaults to QuickMemo, but that’s easy enough to change in the settings.
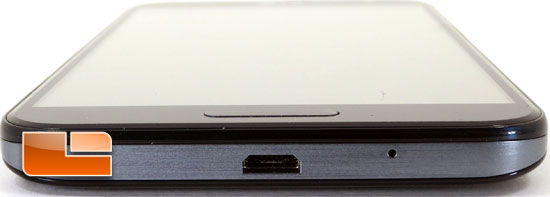
Along the bottom of the LG Optimus G Pro we have the Micro-USB port for charging and connecting to your PC for larger updates, and syncing data.

The right side of the LG Optimus G Pro is kept pretty simple and to the point, the only feature that we have here is the power button that also serves to put the Optimus G Pro to sleep
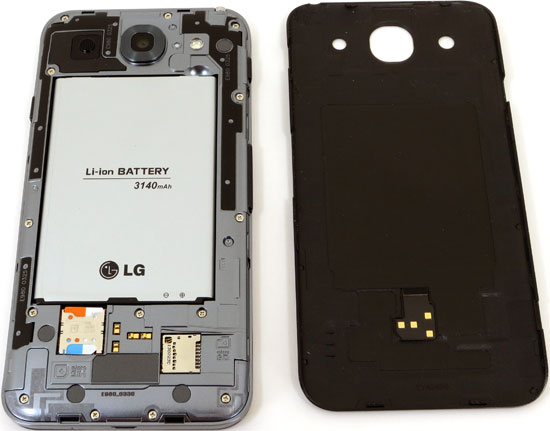
Removing the back cover of the LG Optimus G Pro is quite a bit simpler than on the previous iteration. The Optimus G needed a very small Torx wrench and something to pop the cover off. This time around it can be easily removed by hand without the use of any tools. Once the cover is removed we have access to the battery, SIM card, and the micro SD slot.
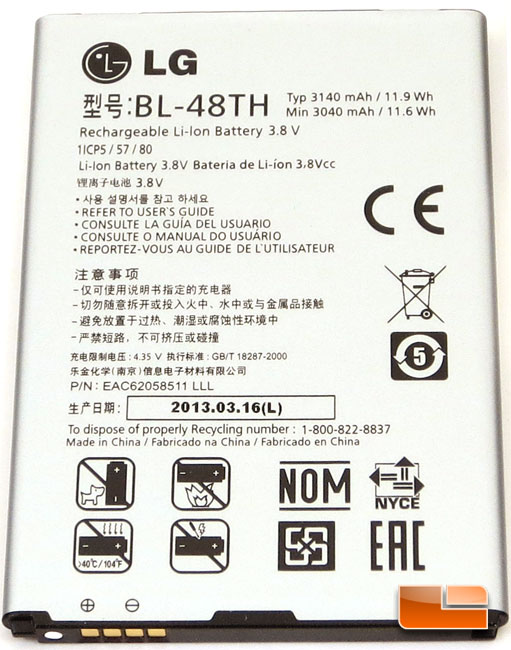
One of the biggest differences between the Optimus G and the Optimus G Pro is the ability to change the battery. In addition to needing a small Torx wrench to remove the back cover of the Optimus G, the battery is fastened down in the phone chassis with glue or double sided tape (didn’t want to risk damage by prying on it to hard). The Optimus G Pro is quite a bit different from that, and the battery easily pops out. The battery in the LG Optimus G Pro is a 3.8 Volt battery with a typical Amperage of 3140 mAH. If you’re in need of a replacement battery for the LG Optimus G Pro, you can search for BL-48TH and find them for ~$24.

Comments are closed.