Intel NUC DC3217BY Review w/ Windows 8
Building The Nuc
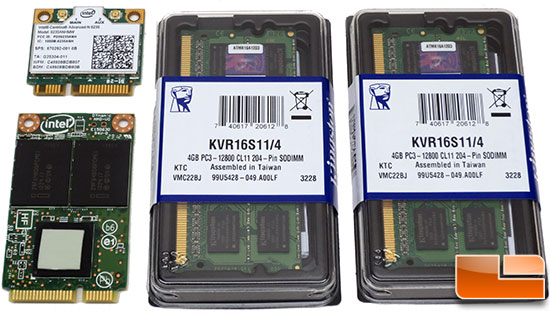
Since the Intel NUC is a barebone DIY kit we needed to add three major components before firing up the tiny little system for the first time. When it comes to memory we turned to the largest and most respected memory company in the world, Kingston. The NUC officially supports up to 1600MHz DDR3, so that is what we wanted to use. We went with a pair of Kingston 4GB 204-pin DDR3 SO-DIMM laptop memory modules with part number KVR16S11/4. This means we will be running 8GB (4GBx2) dual channel at 1600MHz with CL11 timings at 1.5V. These modules each cost $19.49 shipped and are backed by a lifetime warranty, so you are looking at $38.98 for adding a memory kit like this.

When it comes to wireless and storage responsibilities we turned to Intel. The Intel Centrino Advanced-N 6235 offers dual-stream (2×2), dual-band, 802.11n Wi-Fi plus Bluetooth 4.0 support for under $30 shipped. Hard to find something better with those features and price tag. When it comes to finding a mSATA SSD there are plenty to pick from, in fact Newegg currently offers 24 of them ranging from 20GB all the way up to 256GB. We went with the Intel 525 series 180GB SATA III (6 Gbps) drive. This LSI SandForce SF-2281 powered drive uses 3 x 64GB 25nm MLC NAND Flash chips and does work with Intel SSD Toolbox software for easy maintenance. This mSATA SSD isn’t available yet, but should be priced around the $199 price point.
- Intel Nuc – $320
- Intel Centrino Advanced-N 6235 – $30
- Intel 520 series 180GB SSD – $199.99
- Kingston 8GB SO-DIMM Kit – $38.98
- 3-prong notebook power cable – $3.00
After adding up the rough costs of all the components in the NUC we are looking at a hardware cost of right around $592! The little tiny NUC looks like it costs a fair bit to build and you still need to install an OS on it. Windows 8 Pro currently runs $55 shipped, so we are looking at a final build cost of ~$650.
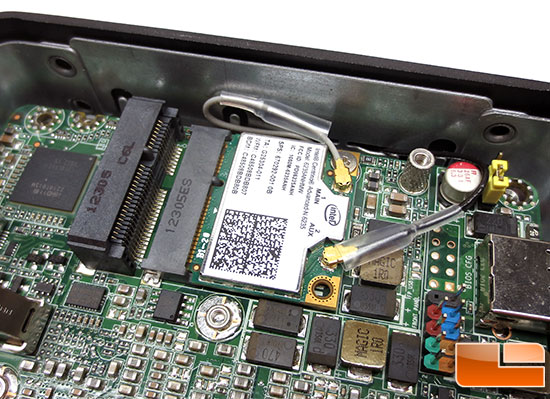
To install the memory, SSD and wireless card in the NUC you are looking at about five minutes of work. You first need to install the wireless card by placing it in the half-height mini PCIe slot and screwing it down. Once it’s tightened down you can pop on each of the wireless antennas and the wireless card has been properly installed.
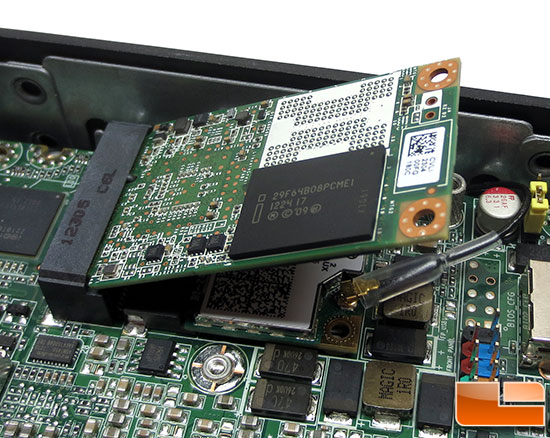
To install the mSATA SDD drive you need to use the full-height mini PCI slot. Just like on the wireless card you put it in at an angle and then hold it down flat for the screw to be put in place.
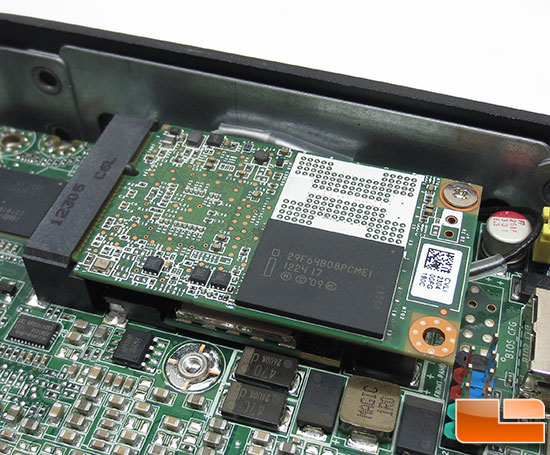
Once you get the screw slightly tight you are done installing the wireless card and the SSD.
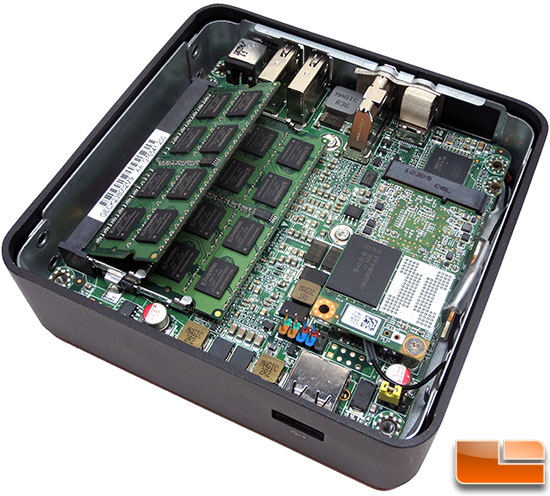
Next up is the 204-pin DDR3 SO-DIMM memory modules! The Kingston modules easily slid into each SO-DIMM socket at an angle and then were easily laid flat and clipped into place with the retention mechanism. Installing the memory takes just a few seconds.
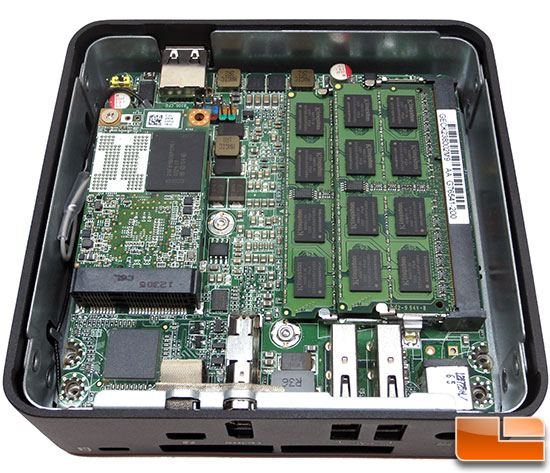
Once all the components are installed you’ll end up with a fully assembled NUC that looks like what is shown above. All that is needed is a #1 sized Philips screwdriver and about five minutes of time to get the job completed.

Comments are closed.