How To Build a Water Cooled Mini-ITX SFF PC w/ Ivy Bridge & Kepler
The ASUS P8Z77-I Deluxe mini-ITX Z77 Motherboard
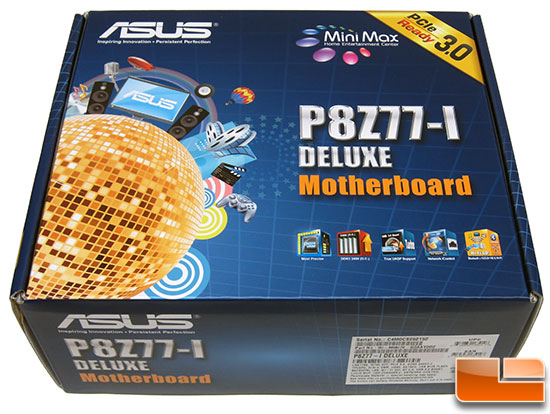
For this system build we wanted the best Mini-ITX motherboard that money could buy that used the Intel Z77 chipset and for that there was only one choice, the ASUS P8Z77-I Deluxe! This motherboard runs $199.99 plus shipping and is unlike any mini ITX motherboard that you have ever seen before.
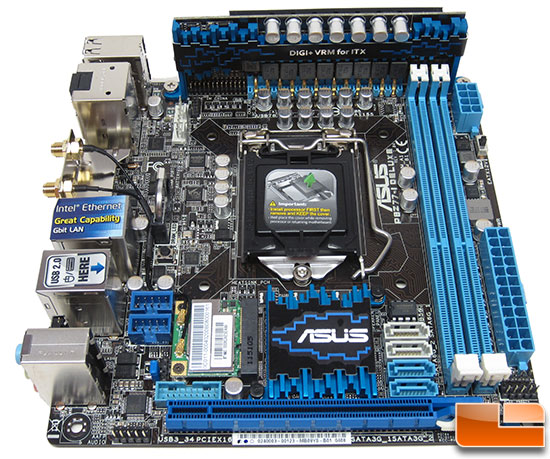
The ASUS P8Z77-I Deluxe Mini-ITX motherboard might be small at just 6.7″ x 6.7″, but the ASUS engineers that designed this board weren’t playing around. This board is loaded with all the latest and greatest features and is an awesome overclocker. For starters, it uses the Intel Z77 Express chipset, which is the latest and greatest chipset with native USB 3.0 support and designed to work perfectly with Intel Ivy Bridge processors. You then have a two DDR3 slots for dual channel memory and the board supports up to 16GB and has BIOS options for up to 2400MHz! You then have wireless LAN thanks to a WiFi IEEE 802.11a/b/g/n wireless card and hard wired LAN with an Intel 82579V Gigabit controller!
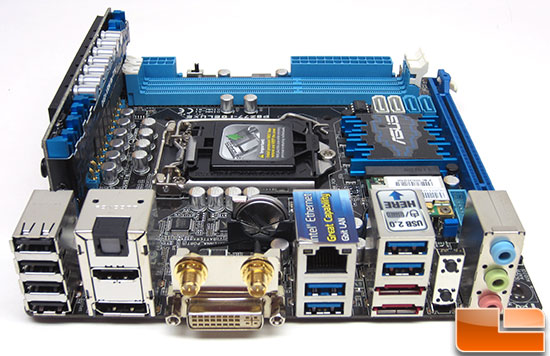
When it comes to the rear I/O panel the ASUS P8Z77-I Deluxe Mini-ITX has pretty much everything that you need. We have four more USB 2.0 and USB 3.0 ports, DVI, HDMI and DisplayPort video outputs, a single Optical S/PDIF out, two eSATA 3Gb/s ports, three audio ports and, of course, the wireless antenna mounts. The two black buttons next to the audio ports are the Clear CMOS button and the BIOS recovery button. The only thing that we wish this board had was two Display Port connectors. The reason for this is that you can run three independent monitors off Ivy Bridge processors with Intel HD 4000 and 2500 graphics, but you have to run two of them off DisplayPort connectors. We haven’t seen any Z77 motherboards with two DisplayPort connectors on them, so you can’t use this feature even though Intel is touting it as an option. Ivy Bridge processors only support DisplayPort 1.1, so you can’t daisy chain the monitors with the one port. We tried that for fun and it didn’t work out well. We have been told that Intel’s next generation processor (Haswell) will support DisplayPort 1.2, so only one connector will be needed.
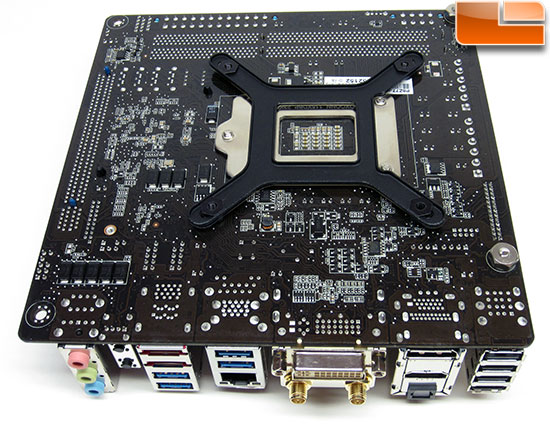
Since we are using the CoolIT Eco II water cooler we need to put the retention bracket on the back of the motherboard. This is done by adjusting the mounting holes to the proper position for them to lineup with the holes in the motherboard.

Once they are lined up you can screw in the metal standoffs and then you just tighten the waterblock down with some thumbscrews. The one thing that we hate about these water kits is that they don’t include any insulating washers that go between the motherboard and the standoff. This is a recipe for disaster if you ask us, and while the directions say don’t make them tight, we are sure some people have cut the trace routes on their board by installing this water kit.
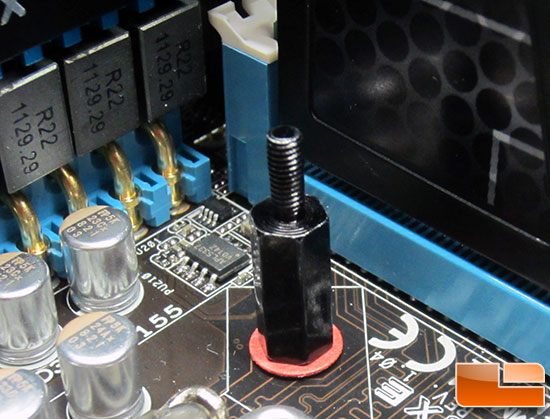
We picked up some thin paper washers that allow the standoffs to be tightened down a bit and ensured that we wouldn’t be gouging into our motherboard. You don’t have to do this, but it’s advisable.
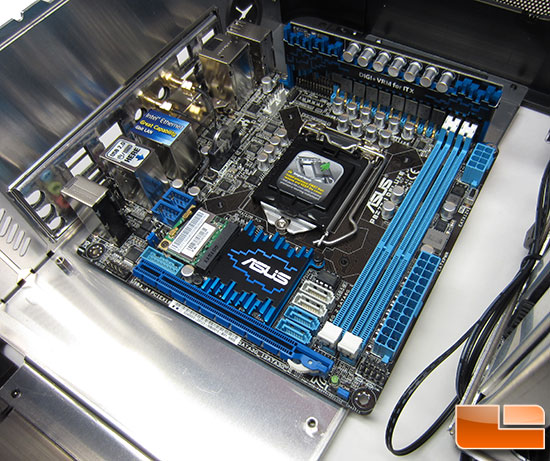
The next thing you need to do is install the ASUS P8Z77-I Deluxe motherboard. To do this you just need to pop in the rear I/O shield and put the motherboard standoffs in the case. The ASUS P8Z77-I Deluxe only has spots for two screws due to how the board is designed. The top two screw holes are being used to hold down the DIGI+ VRM riser card, so all you get are the bottom two mounting points. We were a little concerned by this, but we aren’t hanging a big CPU Cooler off the board and the rear I/O panel ports help keep the board in place anyway.

We installed the top 140mm static pressure fan and then popped off the protective LGA1155 socket cover that was protecting all 1,155 pins that are there.
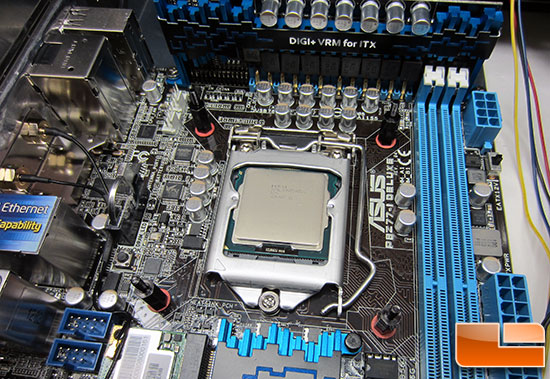
Installing the processor is a painless task that requires lifting a lever, aligning the processor the right direction and closing the lever back down to lock it into place. Our Intel Core i7-3770K Ivy Bridge processor was brand new, so we didn’t need to clean it off.
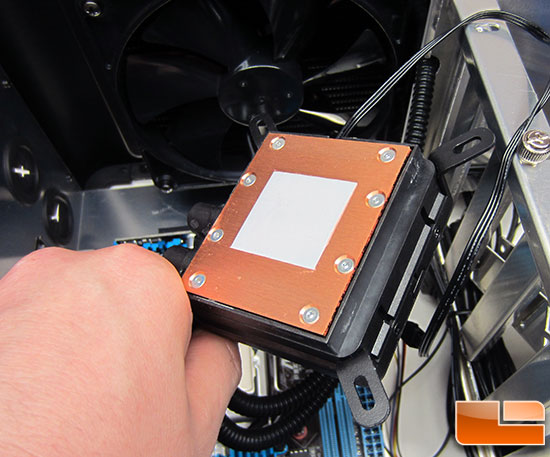
We were going to use some aftermarket thermal compound, but at the very last second decided to use whatever was pre-applied to see how it performs.
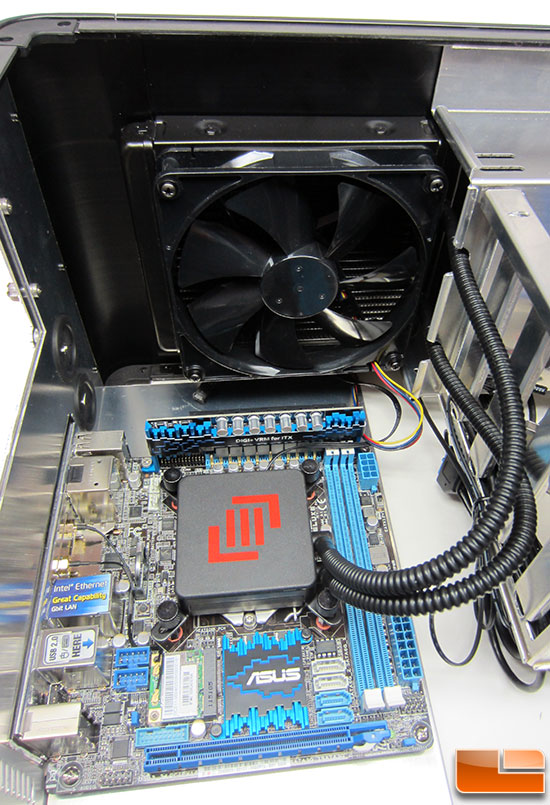
We then tightened down the four thumb screws in a crisscross pattern and the motherboard, processor and water cooler installations were complete!

Comments are closed.