Gigabyte GA-965P-DS3 Motherboard Review
The Layout: A Look At The Board
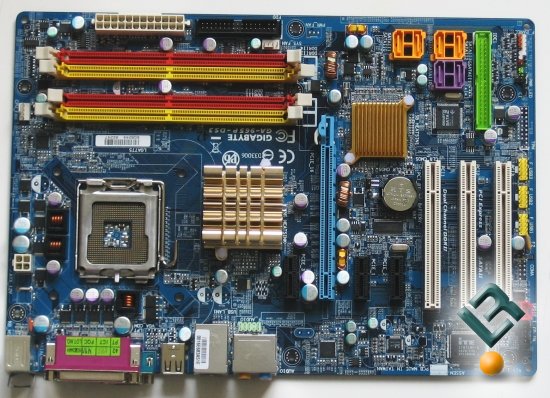
A quick look at the board reveals the typical Gigabyte blue that we have become accustom to over the years. The rounded corners are a nice touch, and as you can see, Gigabyte went with a passive cooling system on this board, opting for what really is a rather beefy heatsink on the northbridge. The southbridge is also passively cooled with a small heatsink.
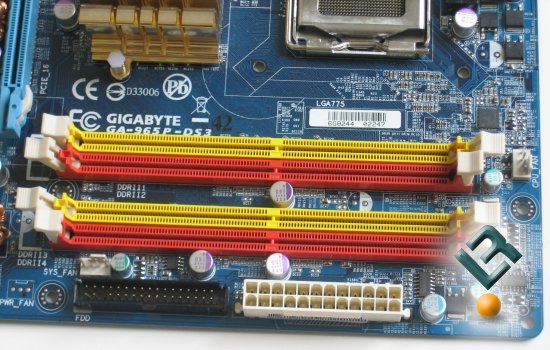
The top right of the board is where we find our DIMM slots. The DS3 supports DDR2 800/667/533 memory in dual channel configuration and supports up to 8GB by filling all four DIMM slots. To the right of the DIMM slots we have our power connector, and right underneath it we have have the floppy connector. Both of these are situated on the far edge of the board, which is the ideal position for these types of connections.
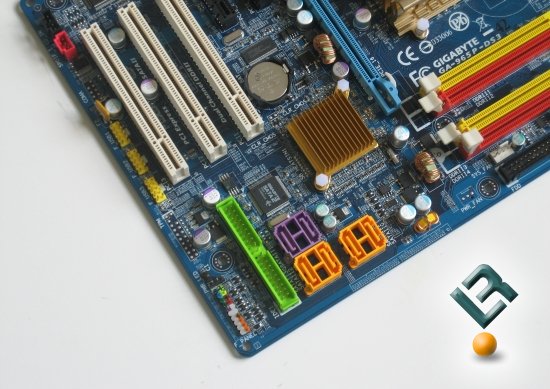
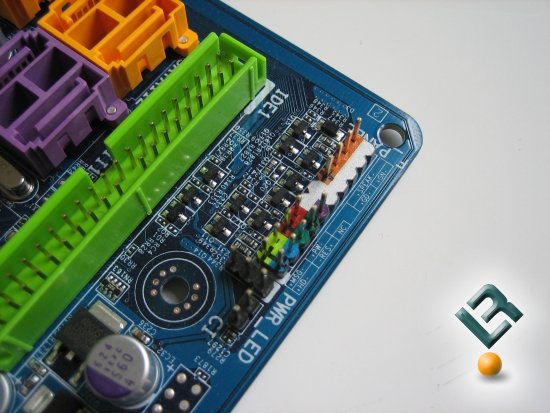
As we move to the bottom right of the board we can see the small heatsink that covers the southbridge. This seemed to be more than adequate, even in our overclocking, as it only got warm to the touch. Just to the right of that, we see our 6 SATA connectors. All of these connections are SATA2 compliant, and can be used in a RAID configuration. Underneath the SATA connectors, we have our lone IDE connector. The placement can be a little awkward with the front I/O panal connectors just underneath of the IDE connector.
Speaking of the front panel connectors, as you can see, they are quite colorful, which is very handy when you are setting up the board.
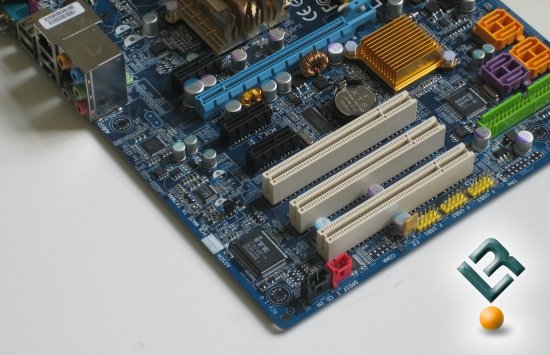
On the bottom left of the board, we have our pci and pci-e connections. The DS3 sports three legacy pci connectors, two 1x pci-e connectors, and one 16x connector. As you can see, this board is not able to run a dual video card setup. You will have to look at the DQ6 offering from Gigabyte for a Crossfire option.

Audio on the DS3 is provided by the Realtek ALC883 8 Channel Audio Codec which provides HD audio. This is a pretty popular audio chip.
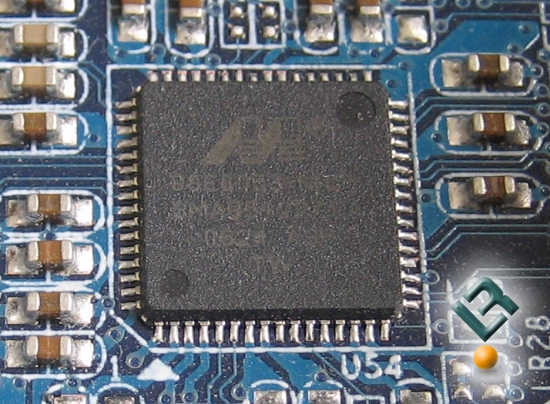
Lan is powered by the Marvel 8053 Gigabit LAN Controller.

The top left of the board is where we find our CPU socket, which is actually very accessible and clear for nearly any type of cooler you want to use on the DS3. Just above the CPU socket is where we find our 4-pin power connector, which is located very properly on the edge of the board. All in all, I would have to say that the layout of the board is very clean and well thought out. The only grip i would have would be the placement of the IDE connector, which should really be more on the edge of the board. Let’s move on to the bios!

Comments are closed.