Fractal Design Node 804 Micro-ATX Case Review
Node 804 External Impressions
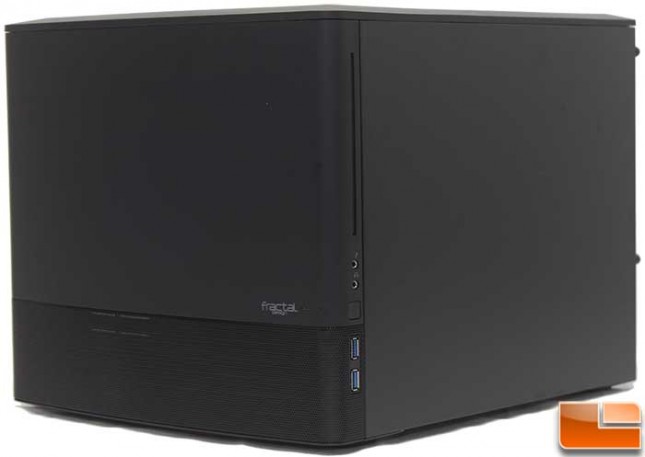
While previous Node cases have been offered in black and white, the Node 804 is only available in black. The exterior has a very simplistic design to it, there are no bright LEDs, or other design elements. Without them, the Node 804 can fit in virtually any environment.
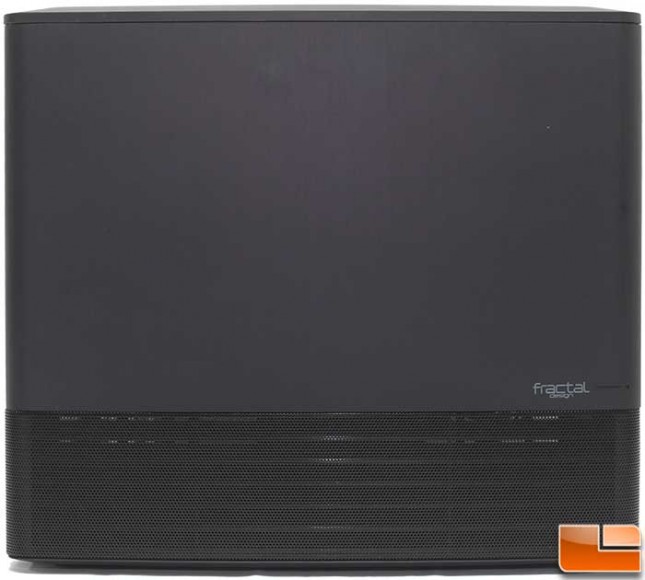
The front of the Node is made out of plastic, with a metal mesh opening at the bottom portion of the panel. Otherwise, the only other item on the front is the Fractal Design logo and the power LED.
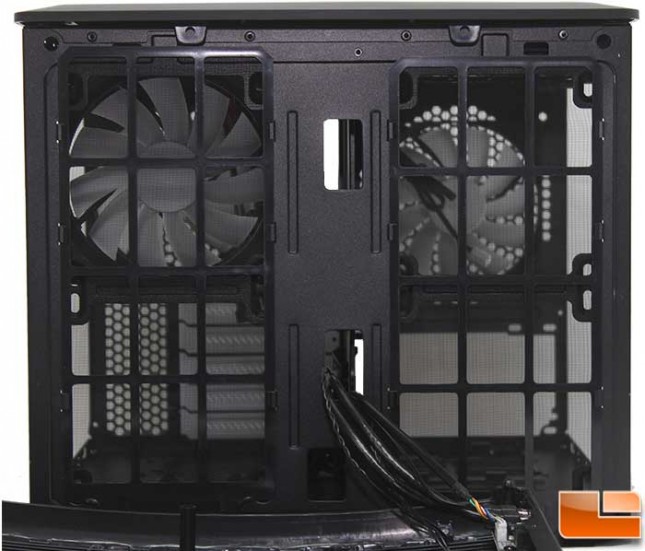
The front bezel pulls off the chassis with minimal force, pulling from the bottom was the easiest way to do it. With the front bezel removed, we see that Fractal Design has installed two large fan filters for the front intake fans. The front filters are removable, which we will see shortly.
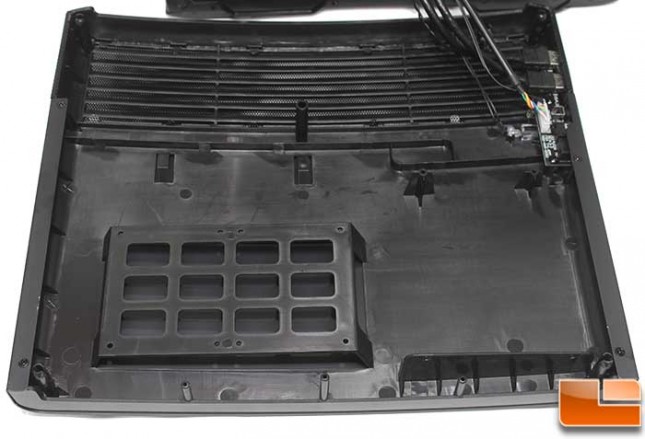
Taking a quick look at the internal portion of the front bezel, it has several important features. First, there is a simple drive cage that will hold two 2.5″ drives. To the right of the 2.5″ drive cage is a slim-line slot load optical drive bay. This is a nice way to allow an optical drive on a small case. Finally, at the bottom of the panel (the top of the picture), there are some air vents for the front intake fans.
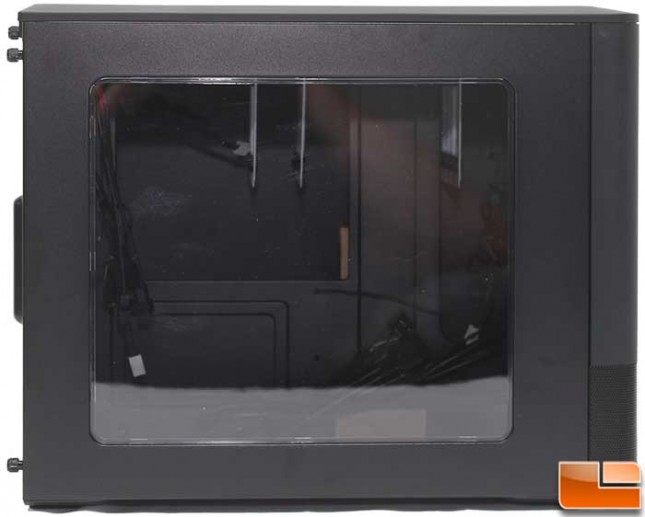
The left side panel, covers the majority of the side panel and will allow the viewing of the motherboard and video card. While the majority of the case is very basic, this window provides a view into the system components. Depending on the components selected, it can provide a little flash to an otherwise basic styled case.
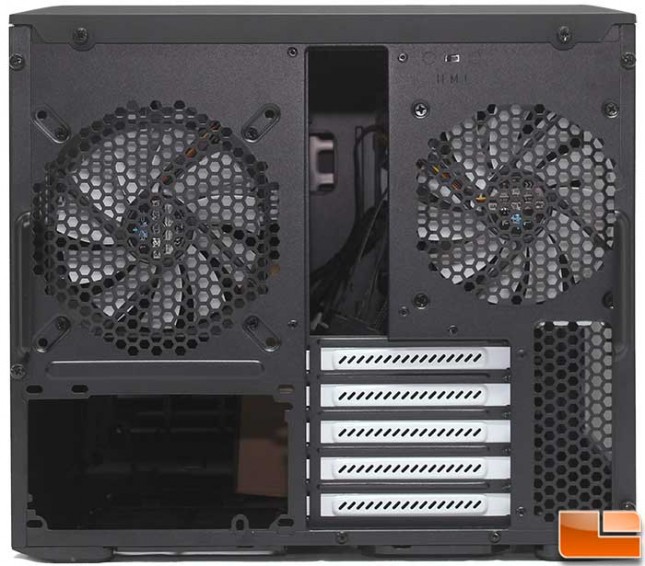
The back panel is where we get the first glimpse of how the internal components are going to be layed out. On the left, there is a 120/140mm fan that is placed above the power supply. On the right section, we can see the micro-ATX board will be installed here. Pretty standard features are visible, the motherboard I/O port key slot, with a 120mm case fan, and five expansion slot covers that have been vented. Also, we can’t forget the tiny little High/Medium/Low fan controller switch at the top.
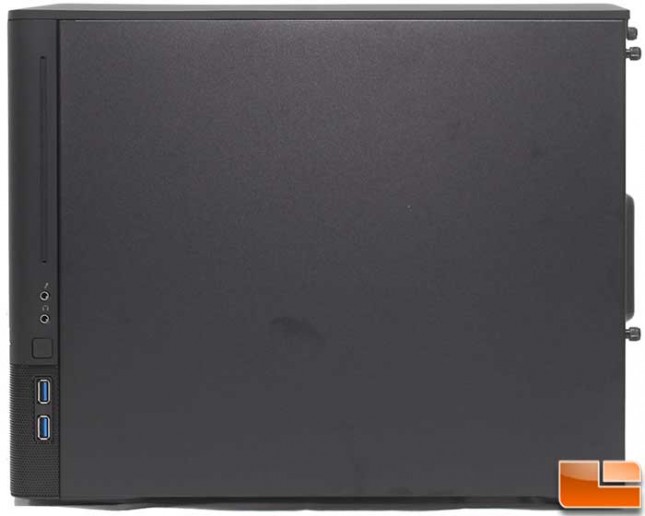
In contrast to the left side panel, the right side panel does not have a window, this panel is pretty basic. It is held in place with two thumbscrews and then a pull on the back handle will pull it away from the case. On the edge of the front bezel, we do find the slot load optical drive, and the standard front I/O cluster.
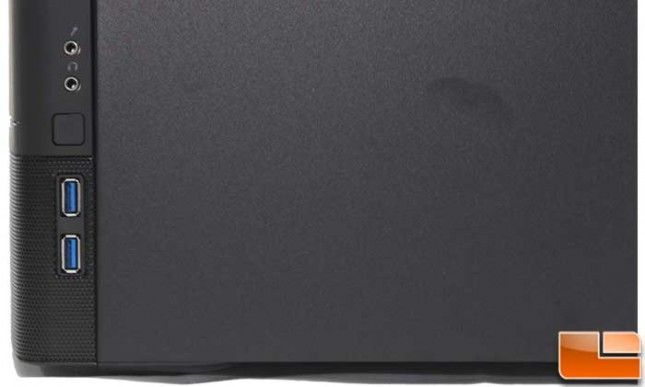
Right below the slot load optical drive bay, is the front I/O cluster. Nothing unusual here, from the top, a microphone and headphone jack, power button, and finally two SuperSpeed USB 3.0 ports. It’s great they are located here, however keep this in mind when choosing this case.
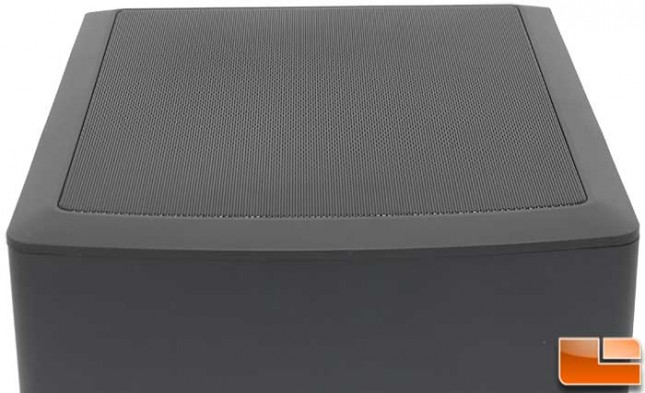
The majority of the top panel is a wire mesh, to provide additional airflow. Like the front bezel, it is removable. However, instead of pulling it straight up, it slides towards the back of the case slightly and then it can be removed.
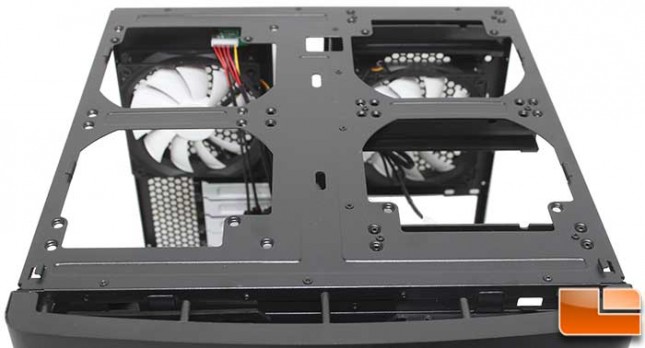
With the top removed we can see the mount locations for the optional top exhaust fans or top liquid cooling radiators. You have the choice of four 120/140mm fans or liquid cooling 240mm radiators, one thing to keep in mind is that in some instances the liquid radiators will limit other features. On the motherboard side, a large radiator can have issues with memory heatsinks. With on the power supply side, the hard drive bays might pose a problem.
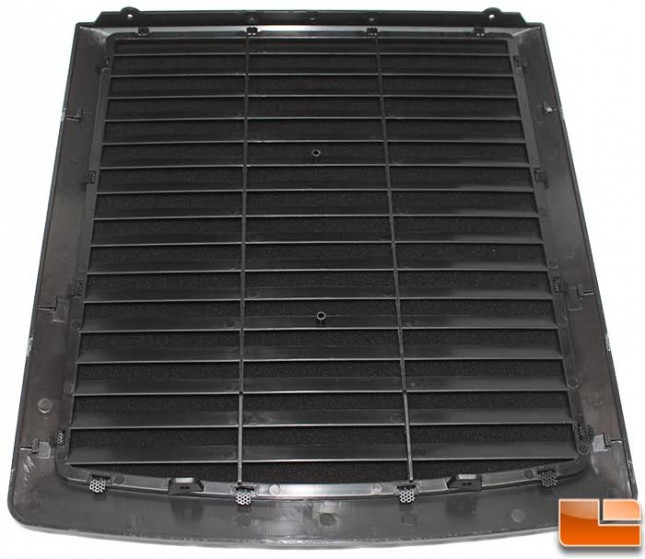
With the top bezel removed, we took a look at the under side. Here we find the entire area is covered in a louvered plastic, which holds a foam filter in place. This provides strength to the top panel while keeping the exterior view very simple looking.
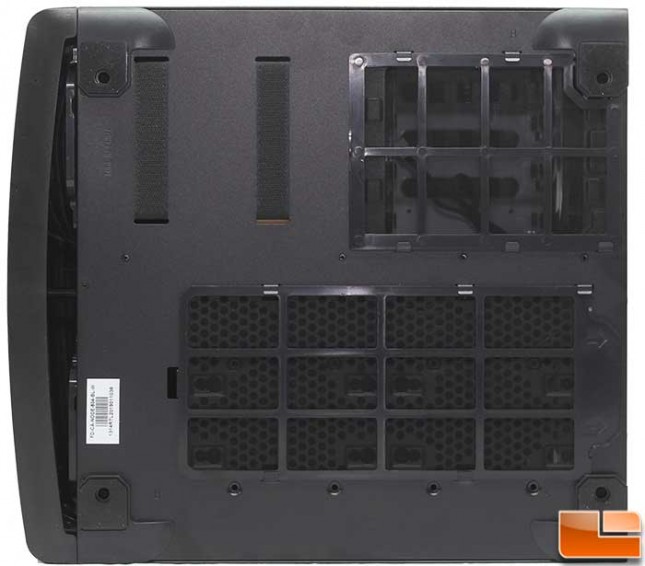
The bottom view is fairly plain, however we do see two filters, the one at the bottom of the picture is for the motherboard side, if a couple of bottom mounted fans are installed. The top (smaller filter) is for the power supply. Next to the power supply filter is two velcro straps looped through the case. At the front of the case, there are two small pull tabs, these will remove the front intake filters for easy cleaning. I really like easy front filter cleaning since those seem to get the dirtiest, and while I understand this implementation, it does mean that to clean the filters, the case has to be lifted, which will limit the number of times they’ll be cleaned. Maybe an option would be to have them removed from behind a hidden panel at the top or the side; yes, I realize I’m being a bit finicky.
