Fractal Design Meshify S2 Case Review
Meshify S2 Interior Overview
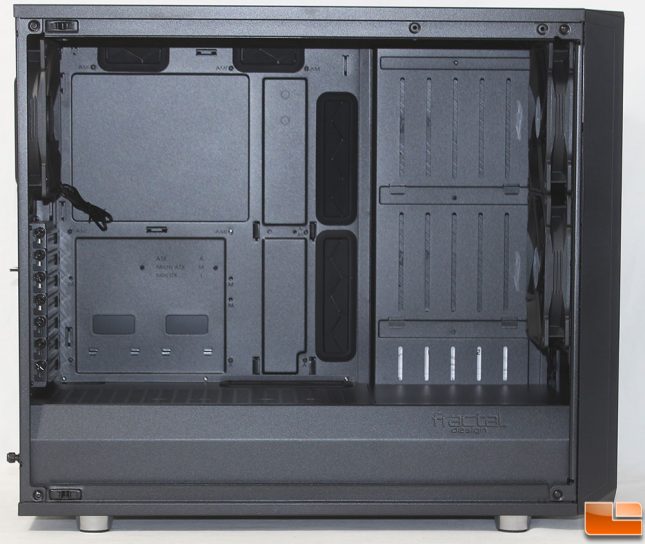
With the Tempered Glass side panel removed, we can take a look at the interior of the Meshify S2. There is a large amount of space on this side of the case, with the front fans installed, there is 440mm of space for the longest graphics cards. I quickly noticed the four large holes in the motherboard tray for cables, which are all protected with rubber grommets. Fractal Design has pre-installed the motherboard stand-offs, while placing a guide stand-off in the middle. For those that are unfamiliar with the stand-off locations for the various motherboard sizes, all of the stand-off locations are clearly marked, which makes installation easy.
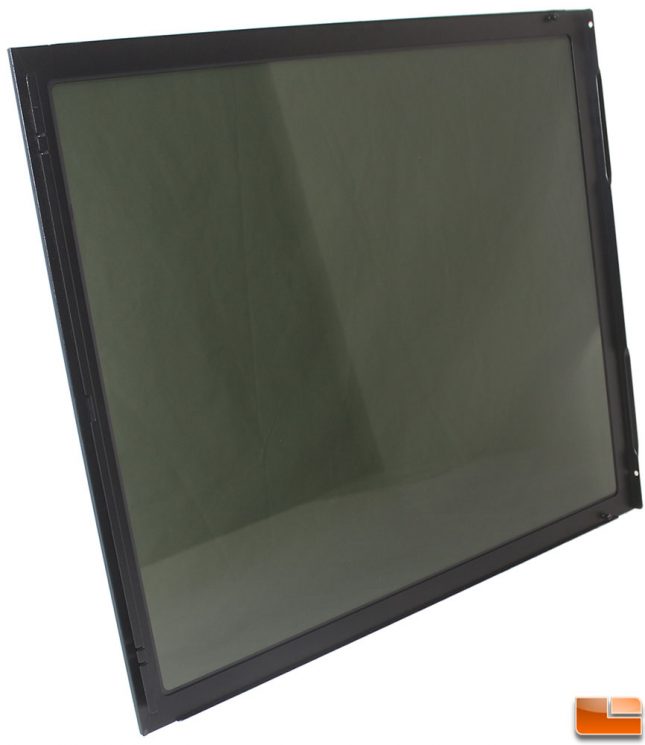
After removing the two thumbscrews on the back panel, the Tempered Glass side panel stayed firmly in place. There are two little handles on the back that you use to lightly pull the panel away from the case. Once the panel has swung out from the chassis a little you can slide it off the front guide. The front guide will keep the front edge of the panel secure on the chassis, while two little push pins will keep the back edge secured to the chassis. These two little push pins make the rear thumbscrews unnecessary for most people; I would still use the thumbscrews if you are transporting the system, or just want a little extra security.
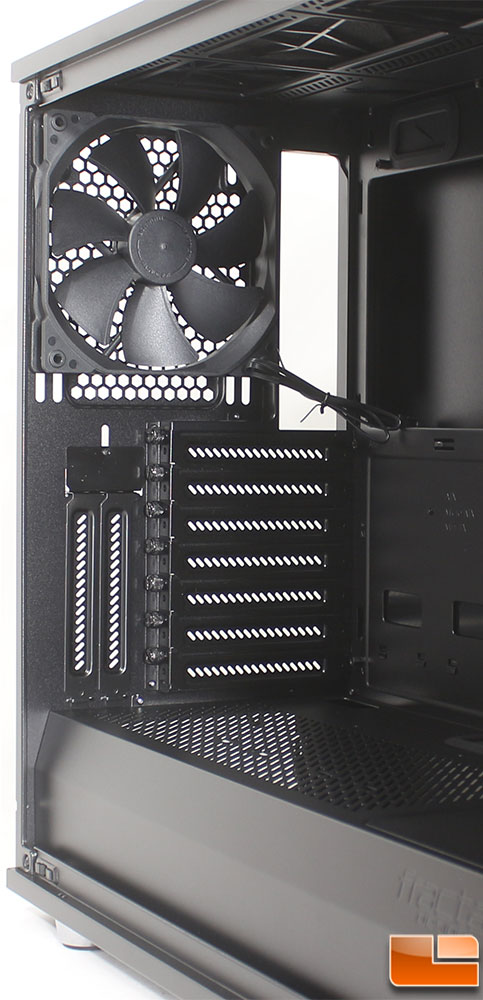
Nothing too exciting checking out the back panel. Like we would expect, Fractal Design has used thumbscrews to secure the vented expansion slot covers. As we saw previously, the two vertical slots secure outside the case, as they are right next to the thumbscrews for the expansion slots. If you wanted some additional space at the top of the case or need the room for a liquid cooler, the rear X2 GP-14 140mm exhaust fan could be moved down closer to the expansion slots. If you want to use a tall CPU cooler, you are limited to coolers that are under 185mm in height.
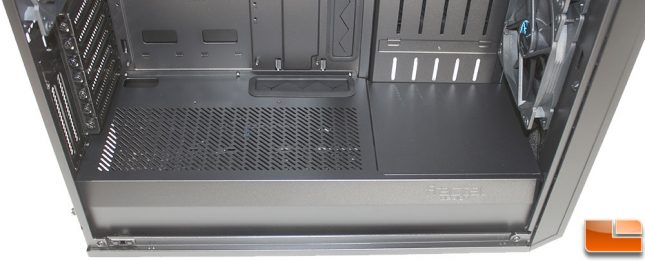
On the full length power supply cover, there are a few things to point out. First, there are two holes for cables to pass through, the one at the back is good for the front Audio cable, while the one in the middle is good for most other cables. The majority of the cover is vented, but it also has a few extra features too. If you want to show off your 2.5″ drives, you can mount them here (instead of behind the motherboard). The other option is if you prefer to mount your graphics card vertically, you can purchase the Flex VRC-25 PCIe Riser for $39.99; there are screw holes on the cover to mount the Flex VRC-25 adapter. Finally, for those that might want to install a third 140mm fan at the front (or a 360mm liquid cooling radiator), there is a section of the power supply cover that can be removed to accommodate these.
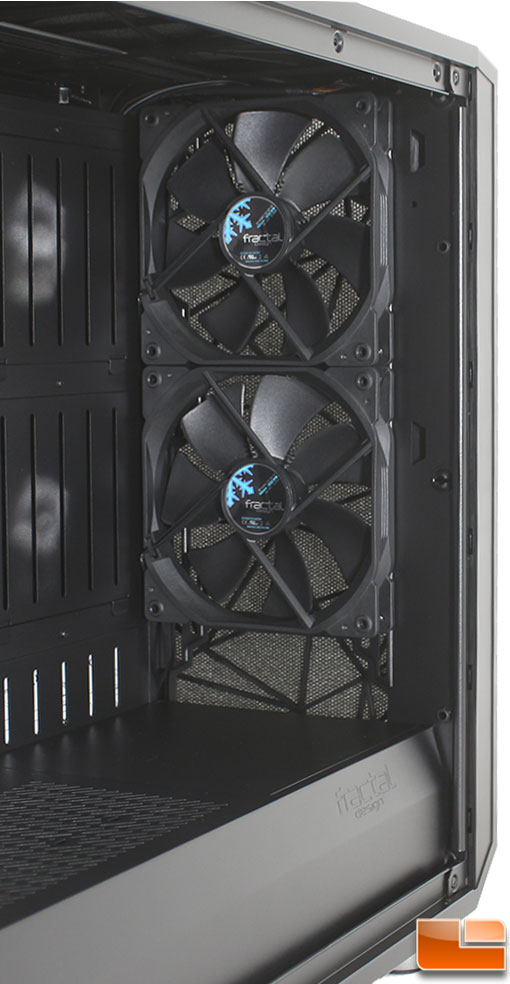
For front intake fans, Fractal Design has included two of their Dyname X2 GP-14 fans. These fans are 140mm, and are rated for 1,000RPM; with a sound level of 18.9dBA and a 68.4CFM airflow rating. In addition, the fan blades have noise reducing features such as notches, Fractal Design Trip Wire, perpendicular bades and hydraulic bearings. It is possible to add a third fan to the front panel, however you will need to remove the front section of the power supply cover. There are two downsides to these fans, they aren’t PWM fans, and there are no LED’s. With a Tempered Glass side panel, most people will want to have some form of interior lighting.
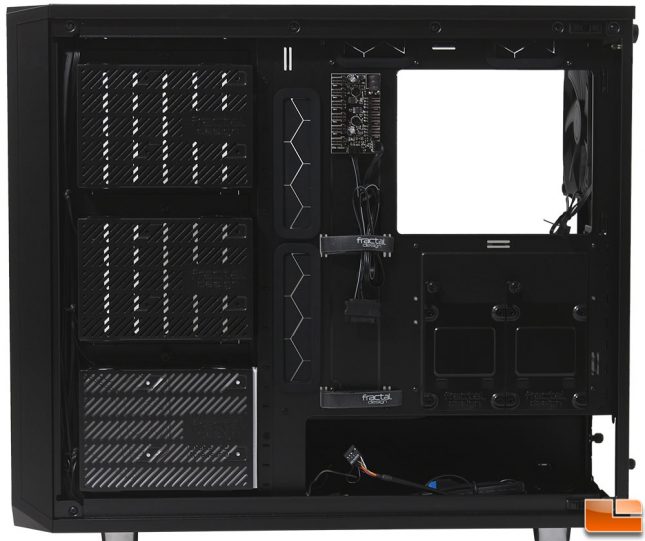
Flipping the case around, we can take a look at the back of the motherboard tray. A few things immediately stood out. First, Fractal Design has installed three 3.5″ hard drive cages, and two 2.5″ drive trays (which can also be moved to the front if you want). Then the large CPU cooler bracket cutout should be large enough to support all modern motherboards. Between the tray and the side panel, there is 23mm to route your cables. To keep them organized, Fractal Design has pre-installed two velcro straps, and fourteen cable tie locations spread out mostly along the edges.
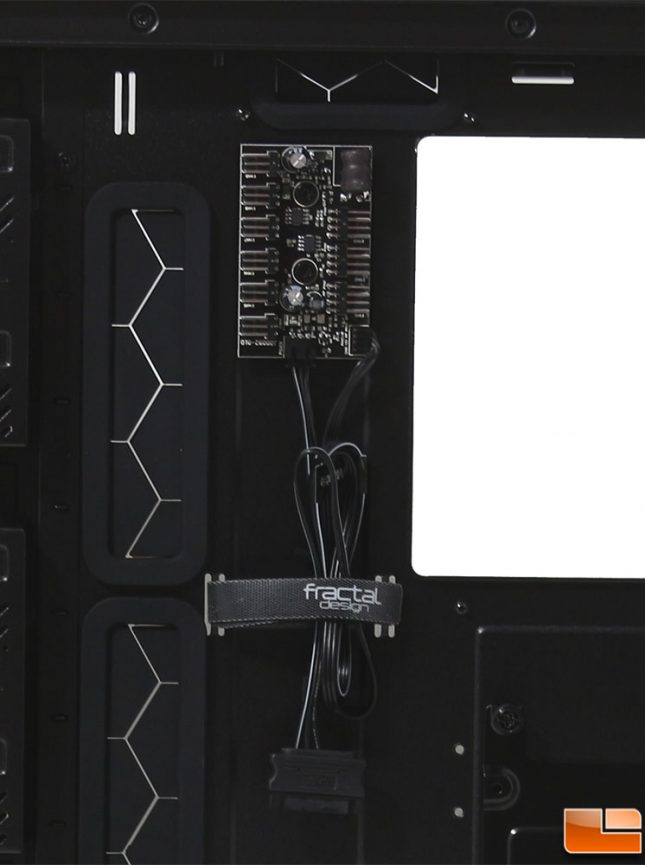
As we mentioned earlier, Fractal Design has included their Nexus+ PWM fan hub that supports up to nine fans. This breaks down into six non-PWM 3-pin fans, and three PWM fans. The six non-PWM 3-pin fan headers are along the left side of the hub, while the right side has the three PWM fan headers, along with a connector that is used to connect the hub to your motherboards CPU_Fan header (or really any PWM fan header). At the bottom of the hub is a normal SATA power connector. It’s a simple design, but it works; it’s too bad that it only supports three PWM fans.
Now it’s time to build a system in the Meshify S2 and see if there are any surprises.
