Fractal Design Arc XL High Airflow Full Tower Case Review
ARC XL Hardware Installation
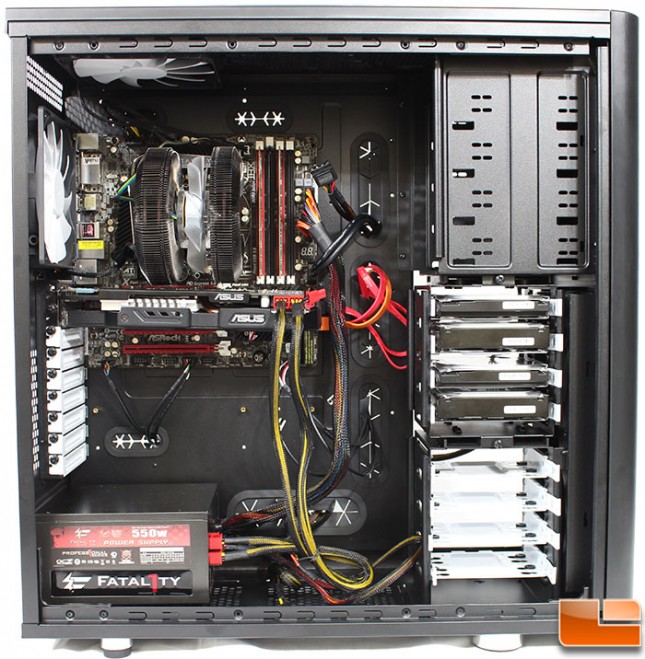
With the amount of space in the ARC XL, installing any components should be a breeze. There were no surprises when doing the install with the case itself, however the main motherboard power cable was a bit too short for proper cable routing. So instead of going behind the motherboard tray like it should, it has to go on this side; an extension for the power cable would resolve this issue.
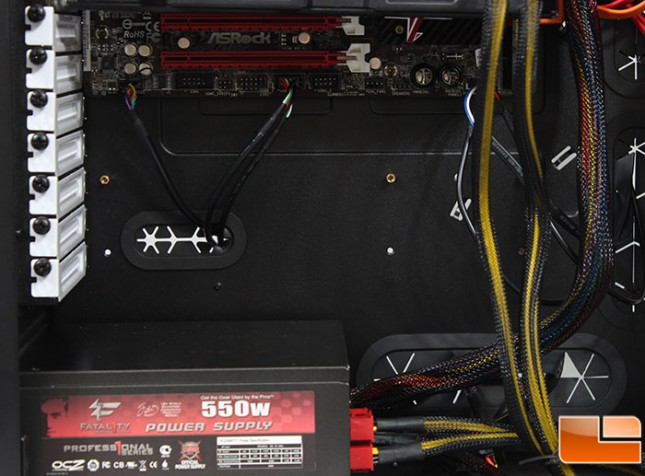
The ARC XL supports the largest of motherboards, E-ATX, and XL-ATX. The install was done using a micro ATX motherboard, there are two additional sets of standoff locations below it. The ones with the brass standoffs installed is for a standard ATX motherboard, while the holes that are in line with the small cable routing hole is for the larger motherboards.
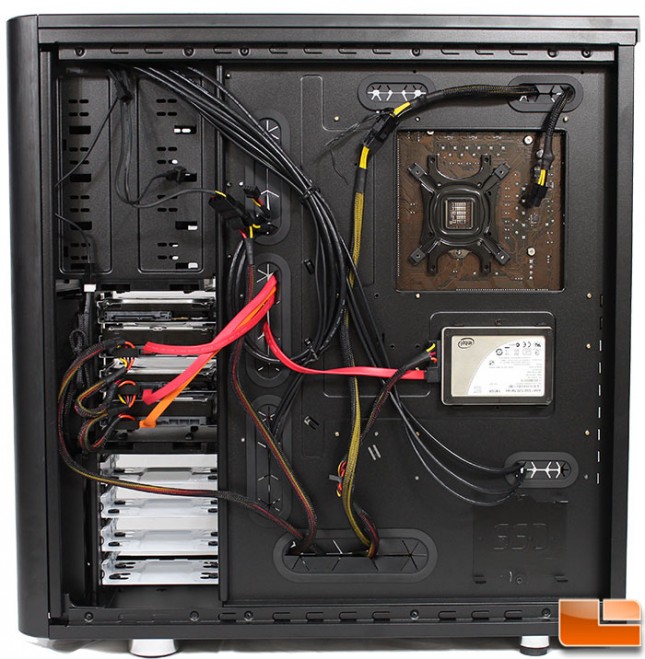
Installing the hard drives is done front the motherboard side of the case, while the connections are completed on the backside of the motherboard tray. With the cable management holes, routing the cables is very easy. While routing the cables, the rubber guards stayed in place while meant less headaches. The cables that come with the case are long enough to reach the motherboard connections.
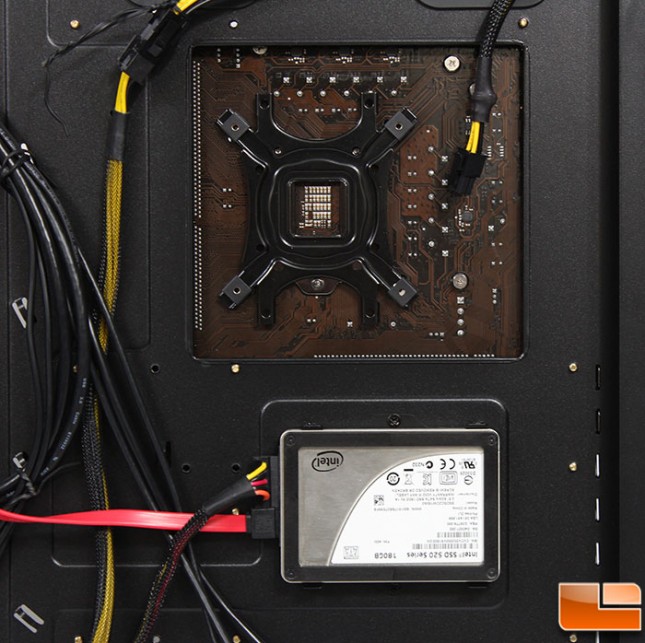
The CPU cooler support bracket hole is large enough that it should support the majority of CPU locations. To the left of the cooler support bracket is the first memory slow, while below it would be the first PCI-E slot. An Intel SSD is installed in the first hidden SSD location, the tray comes off the case by two screws, then attaching the SSD with four additional screws. Reattaching the SSD tray to the case is done easily, nothing was obstructing the installation. Using a straight SATA cable will be necessary, however the power connection is a little more forgiving as there is 1 inch of space between the motherboard tray and the side panel.
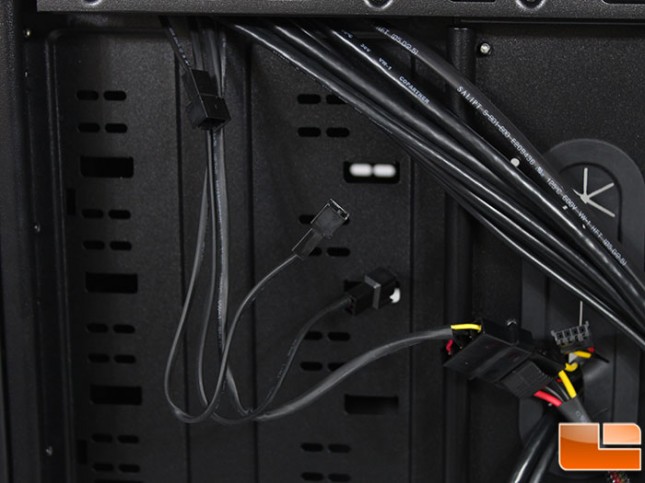
The integrated fan controller is done by adjusting the power voltage going to the fans. It uses a 4-pin Molex connector for power, and standard three pin fan connectors for the fans. Using the top mounted switch the power can be adjusted between 5V to 7V and 12V.
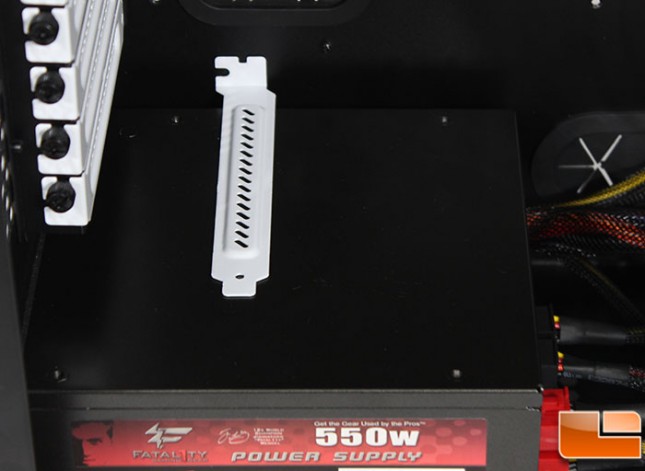
There is a good 5/8inch gap between the power supply and the motherboard tray. What its good for I couldn’t tell you, however I thought it was interesting.
