Fractal Design Arc Midi R2 Mid Tower Case Review
Arc Midi R2 External Impressions
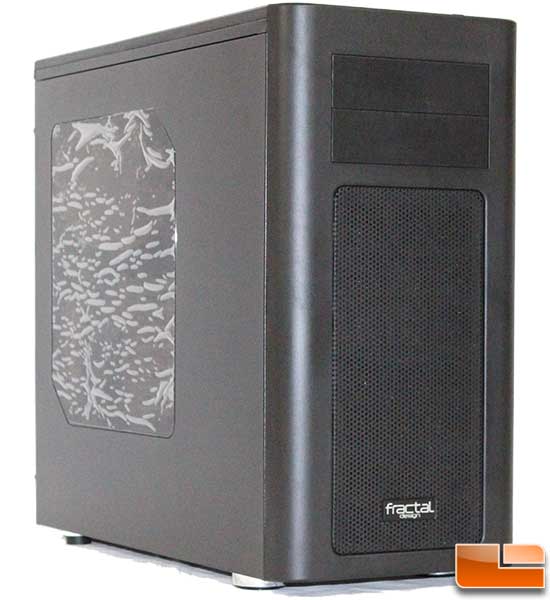
Taking a look at the front of the case, we can see the two 5.25” device bays at the top; which is a common place for them. The majority of the front bezel is made out of a heavy duty plastic.
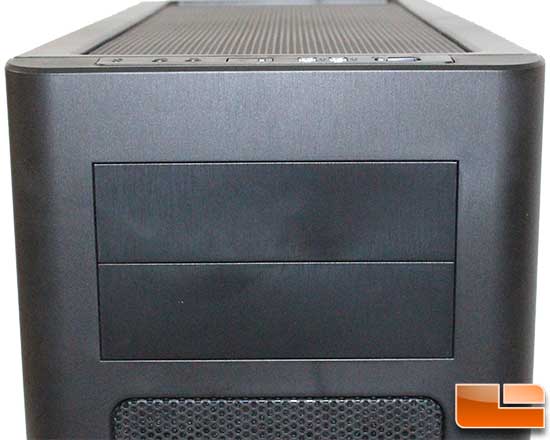
The 5.25” drive bay covers are solid rather than having mesh; some might argue mesh covers allow more airflow.
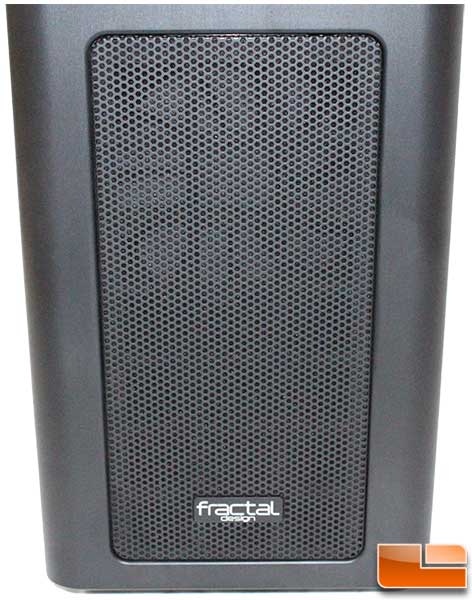
Below the 5.25” drive bays, we find a large metal mesh area that has the Fractal Design logo. In this area, I would expect to find the fans.
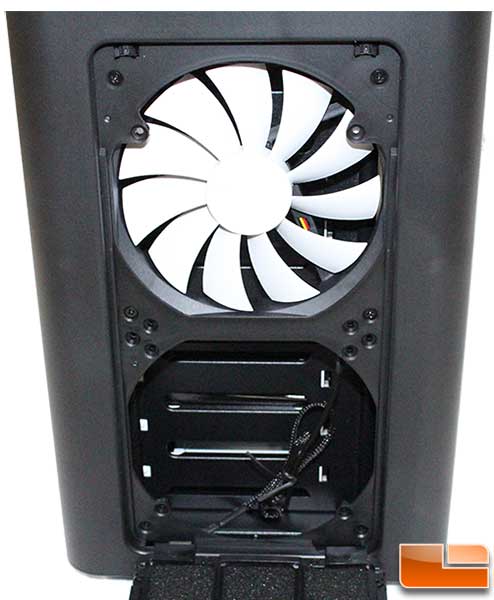
Sure enough, removing the front mesh reveals the included 140mm Silent R2 intake fan, rated at 1,000RPM. There is plenty of room to install another 120mm or 140mm intake fan. The fans will need to be installed from inside the case, which is again a common method. Another option would be to install up to a 240mm water cooling radiator, if the hard drive cages are removed (or repositioned).
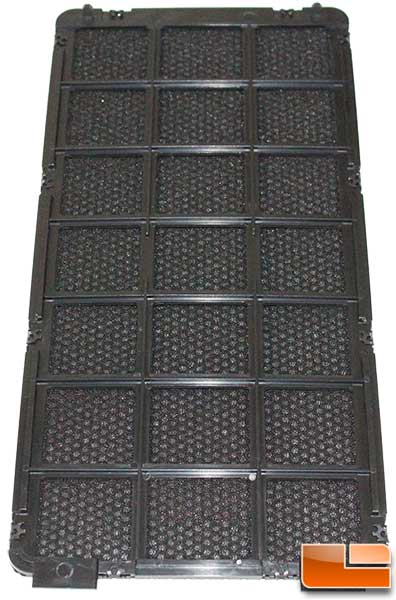
As this is the main air intake, a filter is necessary. Right behind the metal mesh bezel is a foam filter. I was a little surprised at the weight of the mesh portion, I don’t believe that through casual use any damage can come to it.

One issue I always have is in order to properly clean the intake filter you need to take off the front bezel, which can be a headache. Fractal Design has done a nice job by implementing a couple of click latches to allow the front fan intake filter to be removed for cleaning!
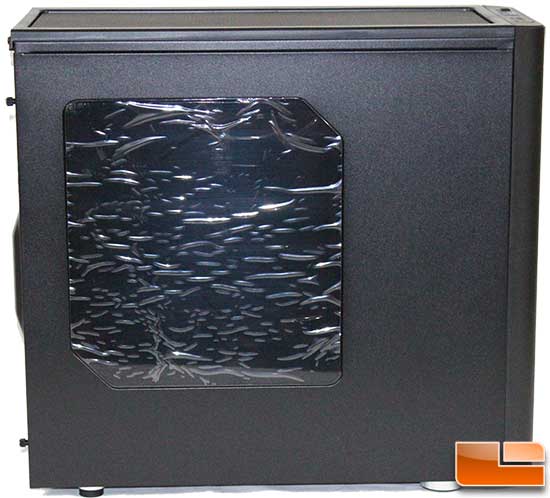
The main side panel has a smoked window that comes protected by a sheet of plastic. The side panel is held on by two thumbscrews in the back of the panel. In addition, there is a little handle to help removing the panel once the thumbscrews are taken out.
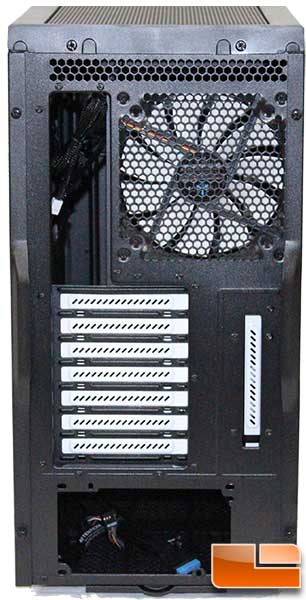
The back panel is where the exterior connections are made, here we can see that there are some vents at the top. Below the vents is the standard keyboard I/O plate and a 120mm/140mm exhaust fan. In the middle of the back panel is the 7 expansion slots, with an extra expansion port in the event one is necessary, for example an add-in USB or eSATA port. Finally is the ATX power supply opening. At the very bottom is a power supply fan filter that comes out the back of the case. Unfortunately, there are no external water cooling ports.
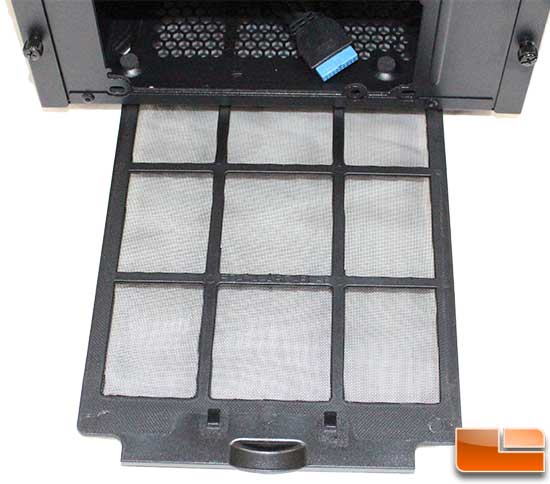
As previously mentioned, at the bottom of the case, a power supply filter can be pulled out. It covers a large portion of the bottom of the case. This is helpful to make it easy to clean.
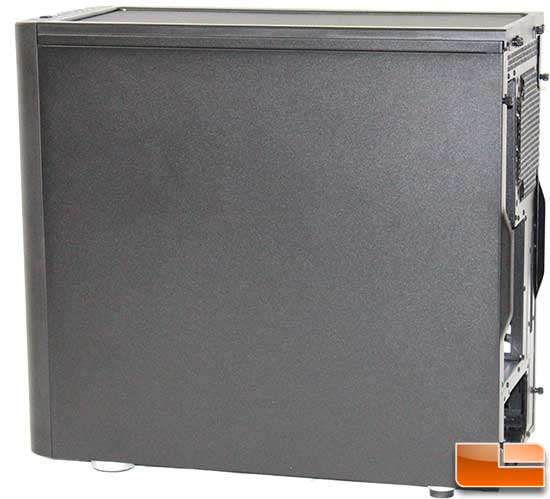
The back side panel is plain, there is nothing really to look at here. Like the windowed side panel, it is held in place by two thumbscrews and has a little handle to help remove the panel.
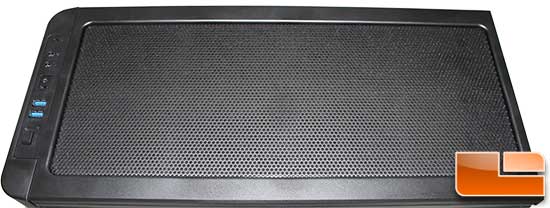
Like the front bezel, the top panel is plastic with a large metal mesh area for airflow.

The front I/O panel is actually on the top of the case. Here the usual items are found; reset button, microphone/headphone jack, power switch and two USB 3.0 ports. In addition there is a simple fan controller that will adjust the voltage on the fans from 5V to 7V to 12V.
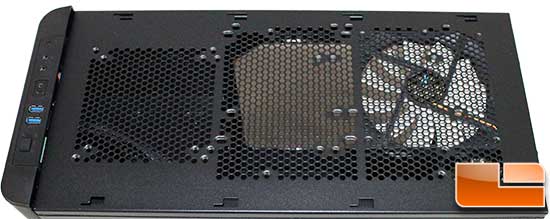
After removing two screws at the top of the back panel, the top bezel can be removed. Here we find an area to install up to three fans, one is included. Other option is to install up to a 240mm water cooling radiator.
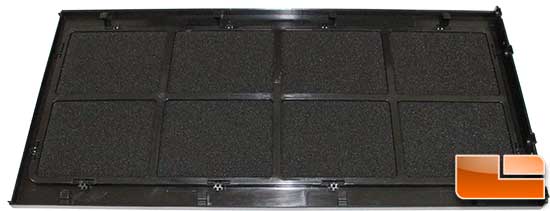
Fractal Design has gone the extra step of including another filter on the top bezel. While this area is usually an exhaust (since heat rises), some might wish to use it as an intake so the included filter is an added bonus.

The bottom of the case is pretty normal. The large power supply and bottom fan filter are located here. It is easily slid out the back of the case for cleaning; this makes it so there is no need to tip the case to clean the filter. In addition, there are four feet to keep the case raised off the ground. Each of the feet has some rubber added to keep it from sliding around as well.

Comments are closed.