EKWB Predator 240 AIO Liquid CPU Cooler Review
Predator 240 Packaging and a Closer Look
Having worked with a couple EKWB products in the past, on a personal level, and reading several reviews around the web, I knew what to expect in terms of packaging quality. Needless to say, if you haven’t done either, you will be happy with EKWB starting with just the simplest item: the packaging.
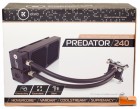
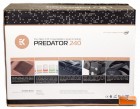
The outside of the box is very slick and easy to read and understand. The front side of the box gives us a nice picture of the Predator 240, lets us know that it’s designed to handle overclocking, expandable, and easy on the ears. There is jargon on the bottom: Hovercore, Vardar, CoolStream, Supremacy, and DDC, but we’ll find on the bottom of the box what exactly most of this stuff is. The back side gives us a few key points regarding this cooler, while the sides tell us why liquid cooling is beneficial. The rest of the box is filled with logos and the Predator 240 name.
Cracking open the box we find that the Predator 240 is contained in a formed plastic insert. This cooler traveled all the way from Slovenia to my house in Wisconsin and suffered zero damage, so the packaging did its job very well. Again the Predator 240 is an already assembled liquid CPU cooler from EKWB, which is a first of its kind in their arsenal; there is virtually no assembly required by you. This cooler is looking mighty easy to install, and I’m very happy to see that! The only items inside the box were the pre-assembled cooler itself, instructions, and two small bags with screws and cables in them – that’s it!
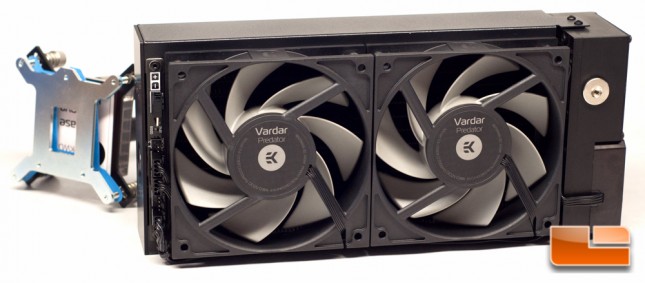
Pulling the Predator 240 out of the packaging, this is where you really understand that you have to do so little to get the cooler installed in your system. The fans are pre-installed and pre-wired to an integrated fan hub, as is the pump, so all you will have to do is connect a power wire and the PWM fan cable to your power supply and motherboard, respectively. This will give a very nice and clean appearance.
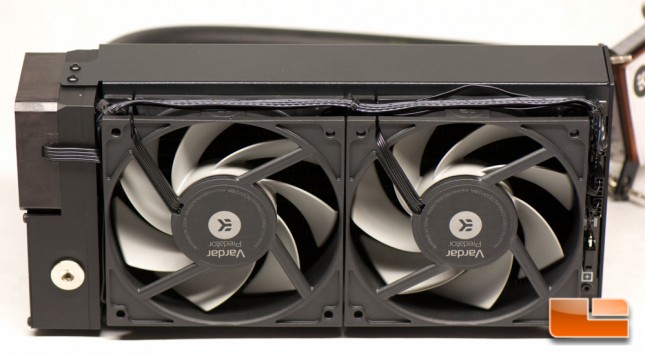
Here’s a look at how neat EK kept the wiring from the fans to the integrated fan hub. If you didn’t catch it, the fans included with this kit are Vardar fans, rated at 77 CFM at massive 3.16 mmH2O static pressure, producing a max noise level of 33.5 dBA.
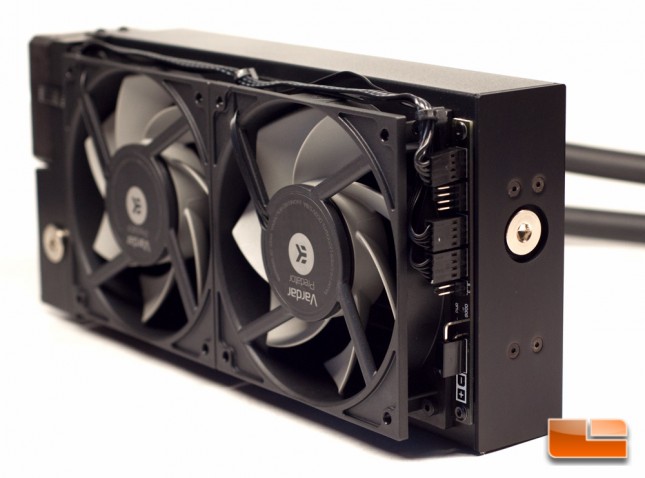
The next view you can see the fill port that EK built-in, should you decide that you want to expand this kit and cool more components.
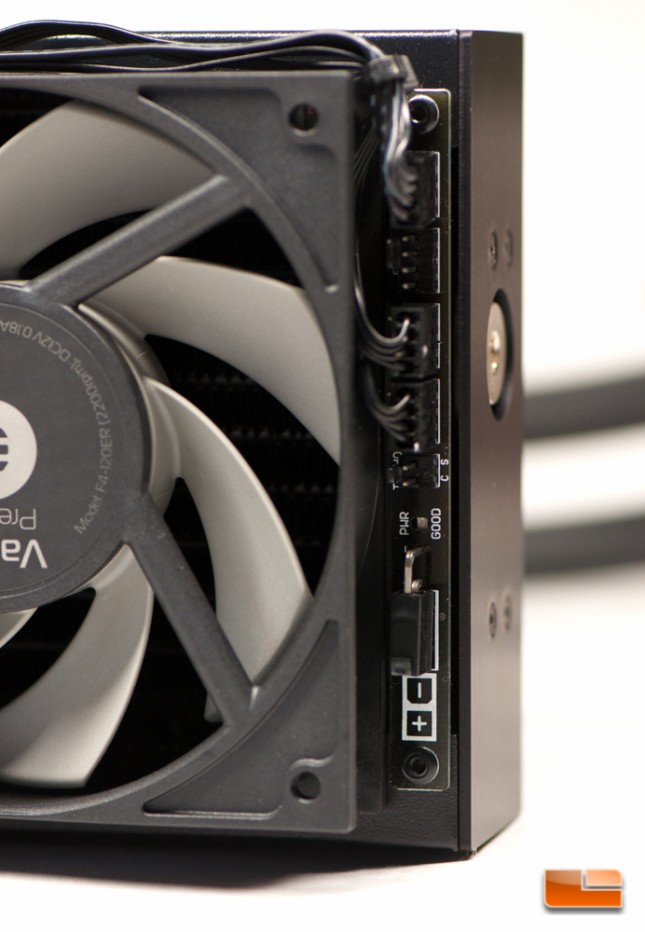
Zooming in on the integrated fan hub, you can see how everything connects.
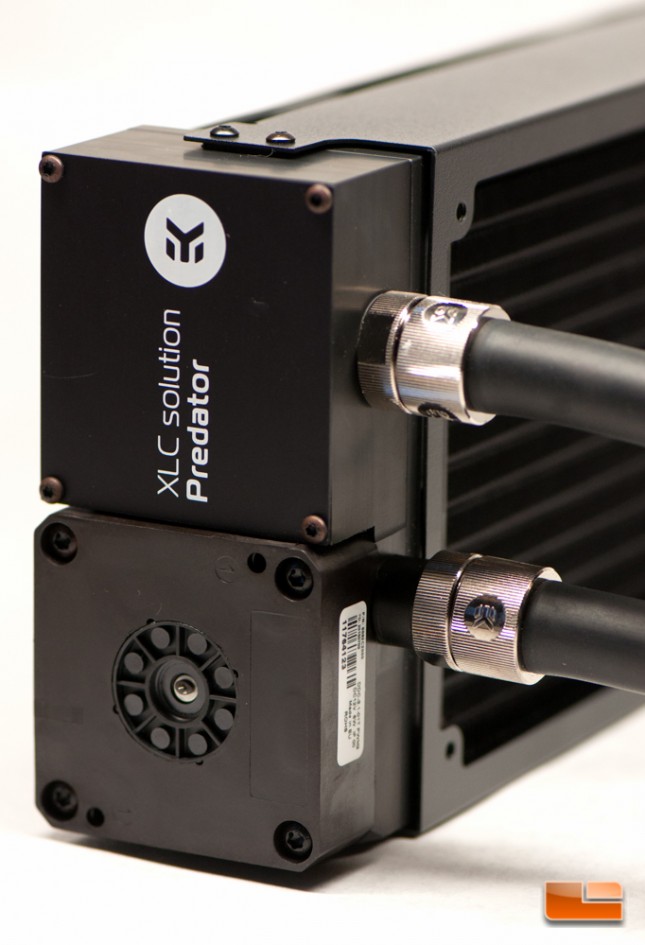
On the other side you can see how everything connects to the radiator. The reservoir and pump are integrated on the left hand side of this shot, which will add a little bulk to the overall dimensions of the kit, however the overall thickness of the reservoir/pump is not any larger than the radiator with the fans installed.
The tubes are connected to the reservoir/pump combo via compression fittings.
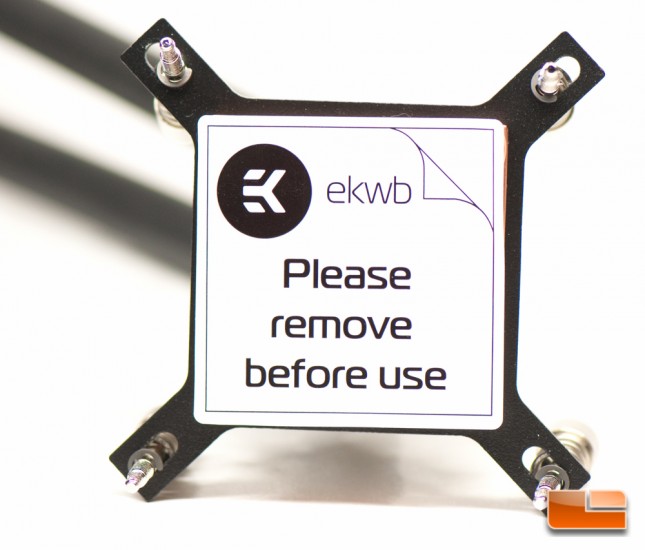
The bottom of the water block is protected with a sticker, which is highly understandable considering how much work they put into it
it’s polished to a mirror finish, and you can see how well it is polished below.
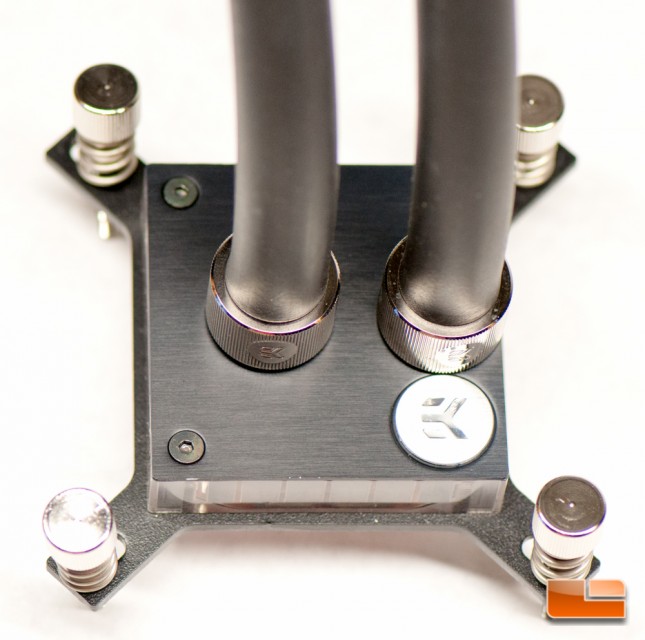
Looking at the top of the block, the tubes are also connected via a compression fitting. There is an EK logo up here, but it does not light up. However, there are two 3mm holes predrilled into the block where you can add LEDs of your choice. You will connect the block to your motherboard via pre-installed thumb screws.
Should you decide you want to expand your Predator 240, you will have to remove the tube on the CPU block end. EK includes very detailed instructions on how to drain, fill, and expand this cooler.
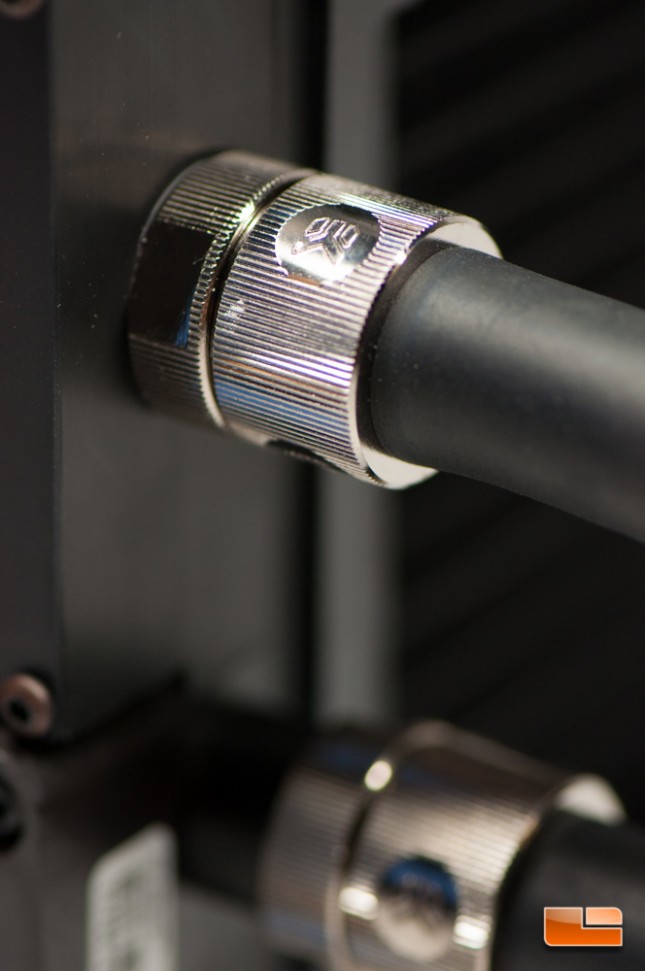
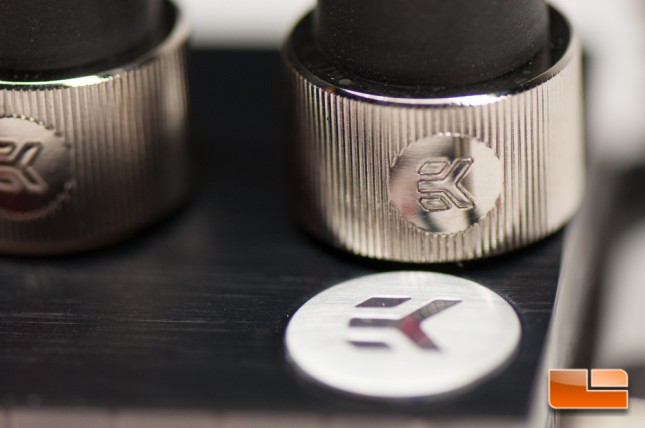
A couple close-ups of the fittings and the logo on the block:
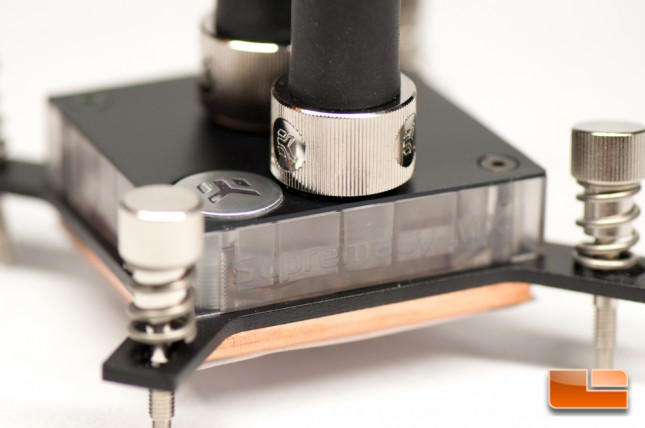
The water block used in this kit is called the Supremacy FX. This block was introduced into EK’s lineup in 2014 and designed to provide the best performance at the best price. The block is comprised of a copper base, an injection molded transparent MABS polymer, and a black anodized brushed aluminum top cover.
Looking closely through the acrylic side, you can actually see the channels cut into the copper.
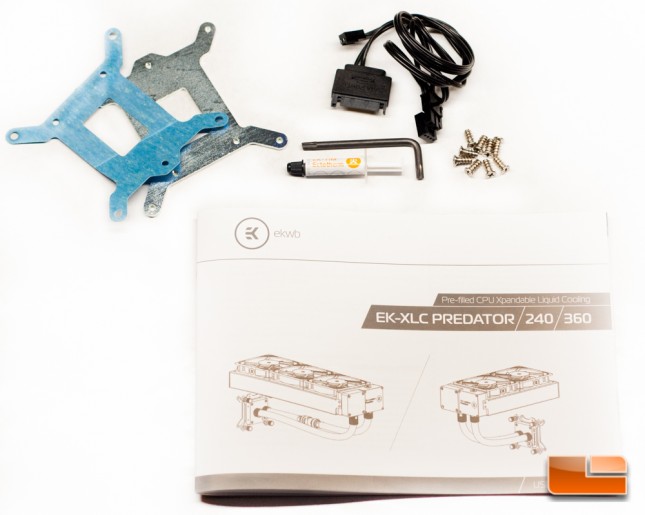
Included with the kit are screws to mount the radiator to the top (or a location of your choosing) of your chassis, a SATA power cable, a PWM connector, a Torx wrench, EK-TIM Ecotherm, a new socket backplate, and a very detailed and easy-to-read instruction manual.
This wraps up the introduction to the cooler and the packaging, so lets move on and see how easy this slick looking liquid CPU cooler is to install!

