ECS Z170 Claymore Motherboard Review
Legit Reviews Test System
Intel Z170 Test Platform
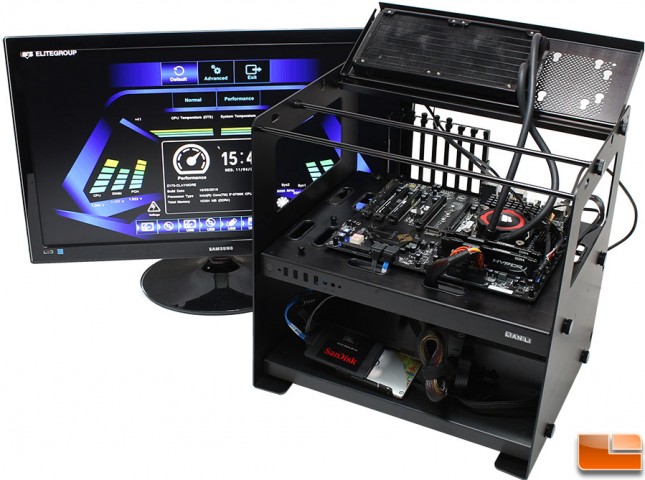
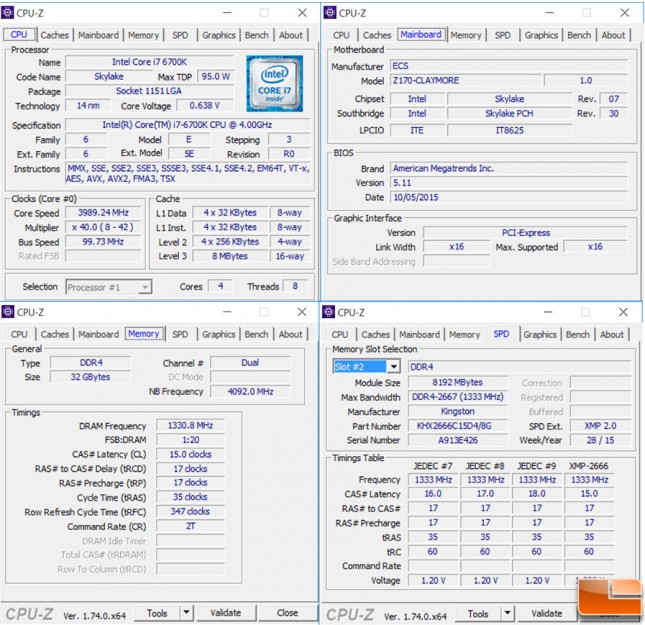
Here is a quick look at the specific components used in the test system:
| Intel LGA 1151 Z170 Test Platform | ||
| Component | Brand/Model | Live Pricing |
| Processor | Intel i7-6700K | Click Here |
| Memory | Kingston 32GB DDR4 2666MHz | Click Here |
| CPU Cooler | Corsair H105 | Click Here |
| Video Card | eVGA GTX 970 SC | Click Here |
| Hard Drive | Intel SSD Pro 2500 180GB | Click Here |
| Hard Drive 2 | Sandisk Ultra II 480GB SSD | Click Here |
| Power Supply | Corsair CX750M | Click Here |
| USB 3.1 Type C | Kingston DataTraveler microDuo 3C | Click Here |
| Operating System | Windows 10 Pro 64-bit | Click Here |
Testing Process
The above listed components will be installed on an open air test bed. Windows 10 will be a fresh install with all the latest patches, drivers and firmware available at the time we begin the testing.
All testing will be done in a temperature controlled room that maintains a 72F (22.2C). A 24-hour burn in is done to allow the thermal paste time to cure before doing any thermal testing.
Where possible, we will use integrated benchmarks, and run them three times averaging the results. In situations where there are no integrated benchmarks, we will use FRAPS to an analyze the performance, doing the same game run three times before averaging the FRAPS results.
Installation Process
Installing the ECS Z170 Claymore is extremely simple, assuming you’ve installed a motherboard before. Everything is well thought out, with plenty of space around the CPU socket to install an AIO liquid cooler with ease. If you install your memory after installing the GPU, there won’t be any issues with the clips as the clips on that side of the memory slots are just guides, the actual clip is towards the outside edge of the motherboard. For both the memory and front panel connections, ECS prints the configuration right on the motherboard, making one less trip to the manual to see exactly how to set it up.
BIOS
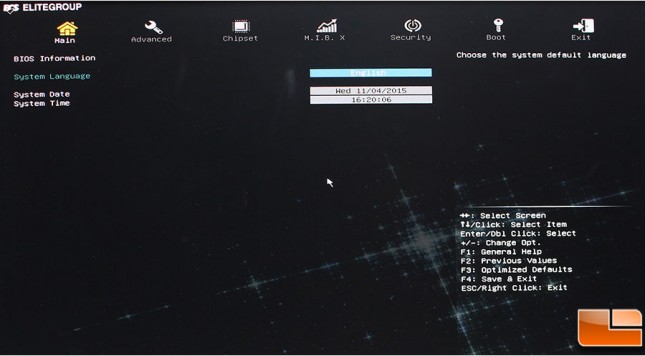
We had a bit of an odd experience with the ECS BIOS. There appears to be two different graphical UEFI BIOS screens, they both provide the same information, just look a little different. On the default screen, ECS provides the options to run in Normal or Performance mode, and adjust the boot order. Beyond that the “Advanced” BIOS menu options will need to be used, which looks like a standard graphical BIOS screen.
Now that we have the system up and running, let’s get to some Overclocking and benchmarking.


