ECS X79R-AX Black Series Motherboard Review
UEFI BIOS
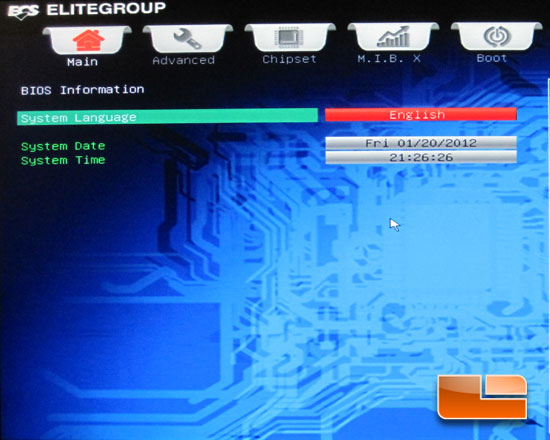
Firing up the ECS X79R-AX Intel X79 motherboard for the first time it’s always a good idea to stick our head into the BIOS. ECS has their implementation of UEFI BIOS on the X79R-AX, it’s not as rough looking as some we have seen in the past, though it’s not quite as smooth as the ASUS UEFI BIOS is. We can see the mouse cursor in the middle of the screen, unfortunately that is where it will stay. On the LR test bench I use my Razer Copperhead mouse and the two didn’t seem to play nicely together. When we first stick our head in to the ECS UEFI BIOS on the X79R-AX we are presented with the ‘Main’ page. The ‘Main’ page allows us the set the system language, date, and time. Nothing very exciting but all a necessary evil.
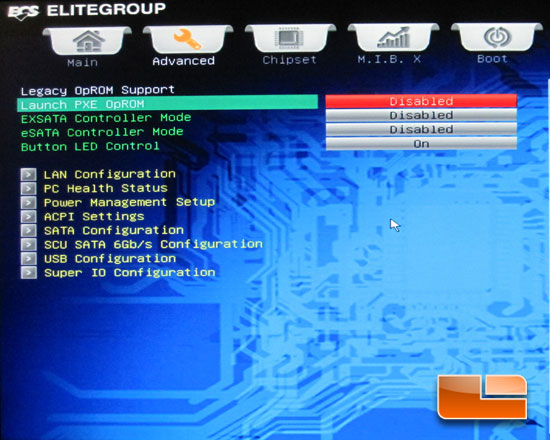
The ‘Advanced’ tab of the ECS X79R-AX UEFI BIOS will bring us to a number of sub-pages for features like, LAN Configuration, PC Health Status, Power Management Setup, ACPI Settings, SATA Configuration, SCU SATA 6Gbps Configuration, USB Configuration, and Super I/O Configuration. Along the top of the page we have the ability to enable or disable a few more features.
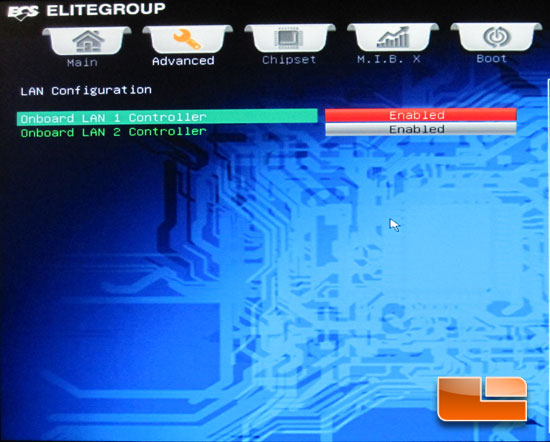
The LAN configuration allows you to enable or disable either of the dual RealTek RTL 8111E Gigabit Lan ports.
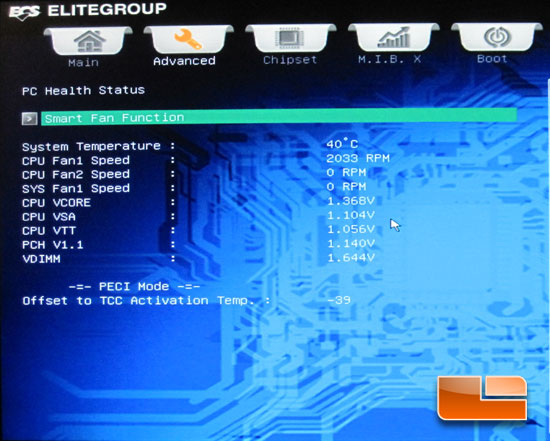
The PC Health Status lets us see the various temperatures, fan speeds, and system voltages on the ECS X79R-AX
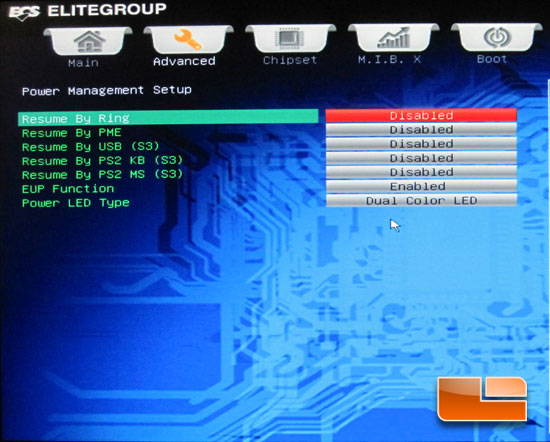
The ECS X79R-AX has a few power management features that can be enabled depending on your needs.
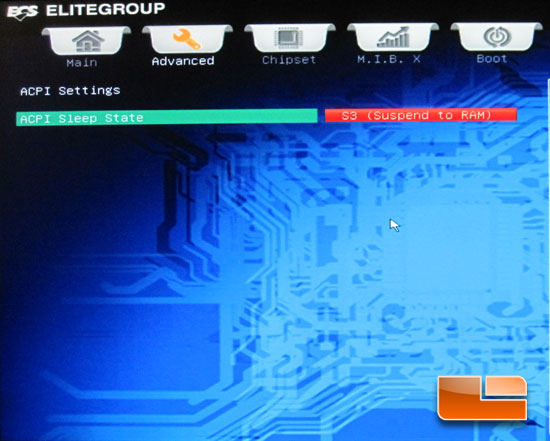
The ACPI Settings page allows us to toggle between three modes, Suspend Disabled, S1 (CPU Stop Clock) and S3 (Suspend to RAM).
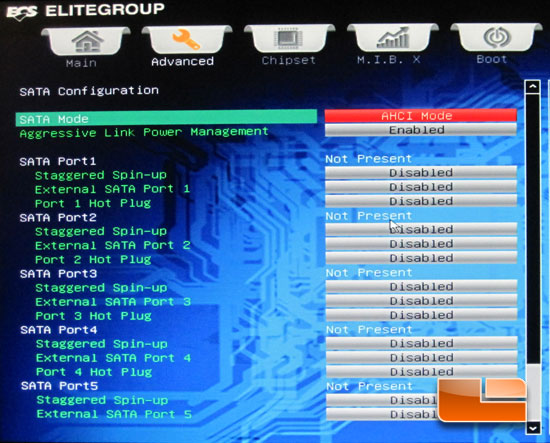
The default configuration for the Intel SATA ports on the Intel X79 chipset on our ECS X79R-AX is AHCI. We can also switch to IDE mode, and RAID mode.
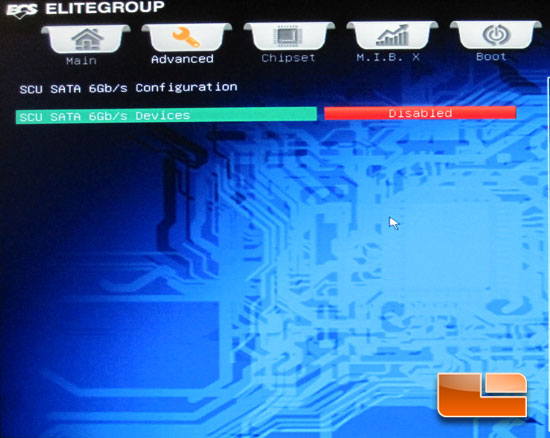
The SCU SATA 6GB/s Configuration must be set to enabled to be able to use the SAS ports on the ECS X79R-AX. For more information on the SAS ports and how to take advantage of all 12 SATA ports on the ECS X79R-AX you can take a peek here.
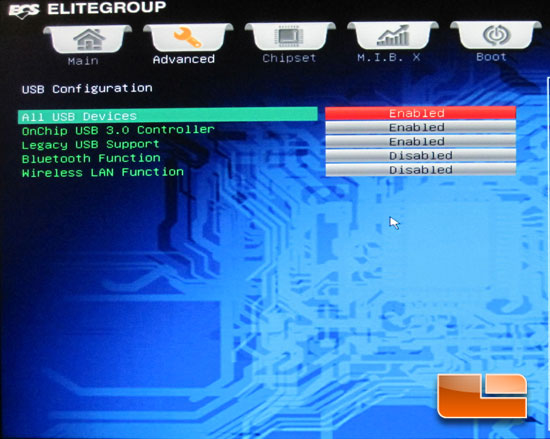
The USB Configuration tab is a bit misleading. In addition to the USB functions of the ECS X79R-AX we can also enable or disable the Bluetooth and Wireless LAN functions of the board.
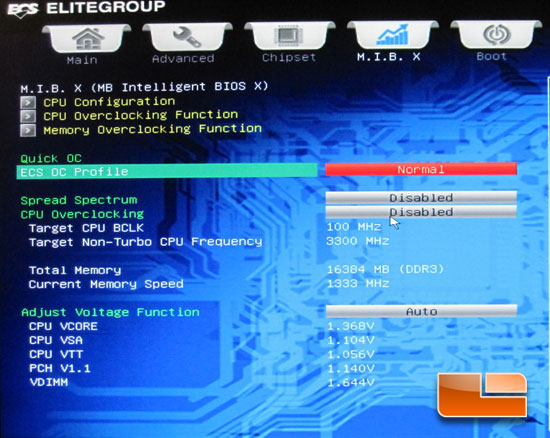
The M.I.B. X tab of the ECS X79R-AX UEFI BIOS is where we can find all the goodies and tweaks needed to overclock our Intel Core i7 3960X. Above we can see the initial look and settings.
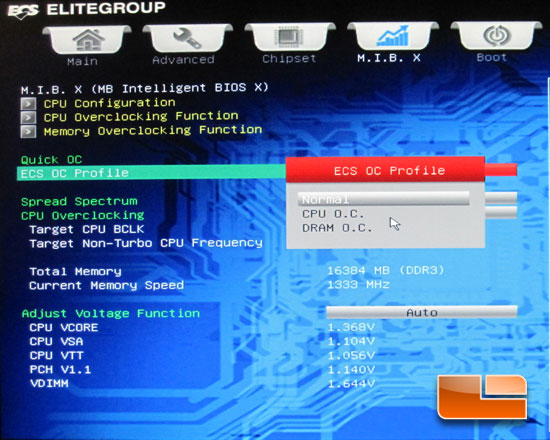
In order to do any of the overclocking you need to set the profile you want to use. Normal allows overclocking of the CPU on this page, but you can’t tweak the memory.
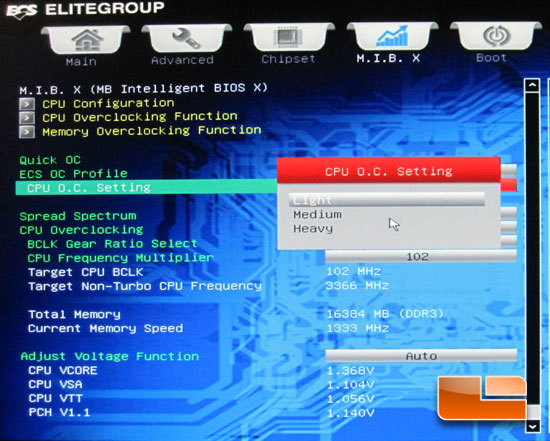
When you have the ECS X79R-AX set to CPU O.C. you can set a factory preset set of parameters. You will have the different presets to choose from; Light, Medium, and Heavy. At a quick glance it looks to tweak the CPU Bclk and not the multiplier. We will take a closer look at the settings it uses once we get to the overclocking section of the review.
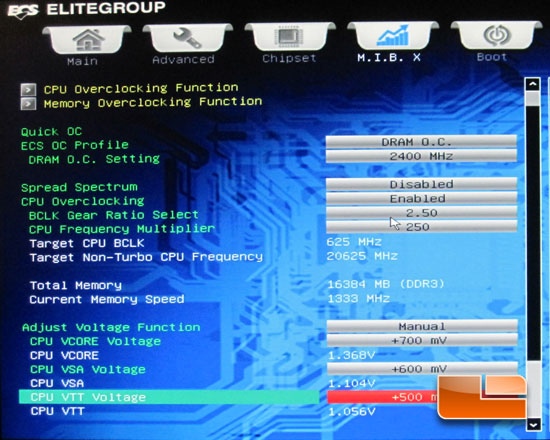
Setting the ECS OC Profile to DRAM O.C. we can push our memory to its limits. The ECS X79R-AX has a maximum memory multiplier of x24, this will bring your memory frequency to 2400MHz. When we are set to DRAM O.C. we maintain the access to the CPU Frequency, the ECS X79R-AX has a maximum Bclk of 250MHz. We also have the Bclk Gear Ration Select, aka CPU strap that has four options available; 1.00x, 1.25x, 1.66x or 2.50x. We also have access to our system voltages on the bottom of the page. Once we set the voltage function to manual we can offset the CPU Vcore by +700mV/-300mV, the CPU VSA by +600mV/-300mV, CPU VTT by +500mV/-200mV, PCH Voltage by +300mV/-200mV, and the VDIMM by +500mV/-300mV.
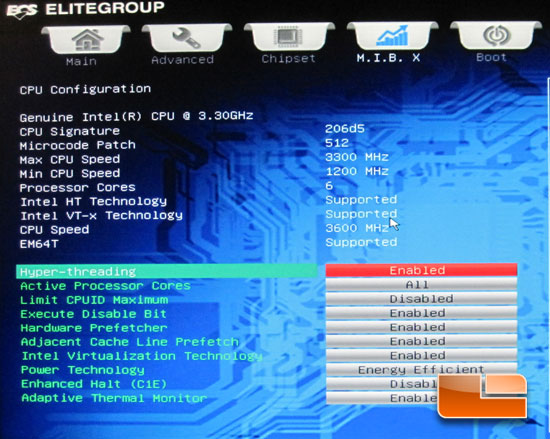
Heading in to the CPU Configuration we have to details on our processor as well as option that can be enable or disabled to suit your needs.
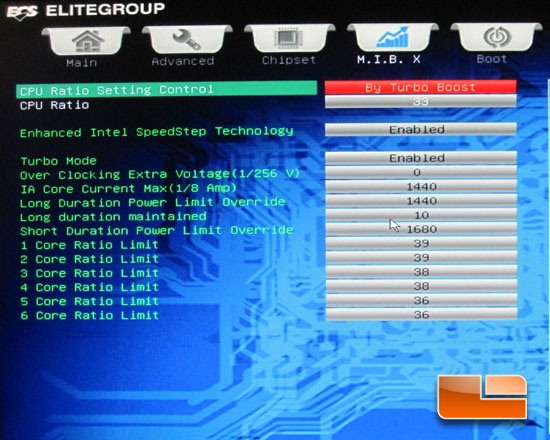
Leaving the Turbo Boost enabled on the ECS X79R-AX we can set the multiplier per core. The maximum multiplier per core on the X79R-AX is 65x.
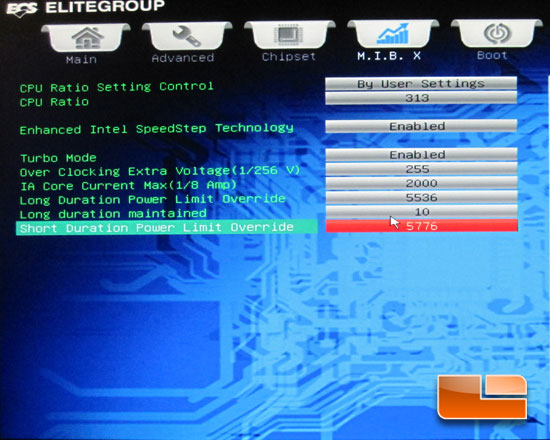
Switching the CPU Ratio Setting Control to ‘By User Settings’ we can increase the CPU Ratio of all of the cores at once, but we lose the ability for per core adjustments.
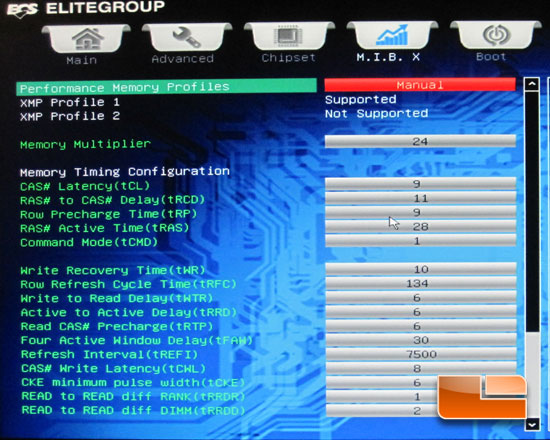
The Memory Overclocking function lets us set the XMP profile and all of the timings.
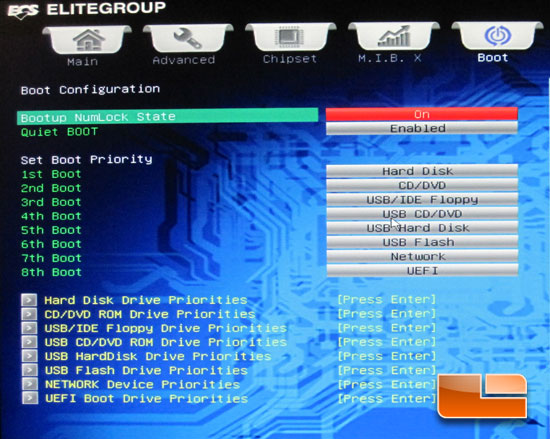
The ‘Boot’ tab allows us to set up the order of the devices we want to attempt to boot from.
The ECS X79R-AX also has a security tab which allows us to set the Administer Password.
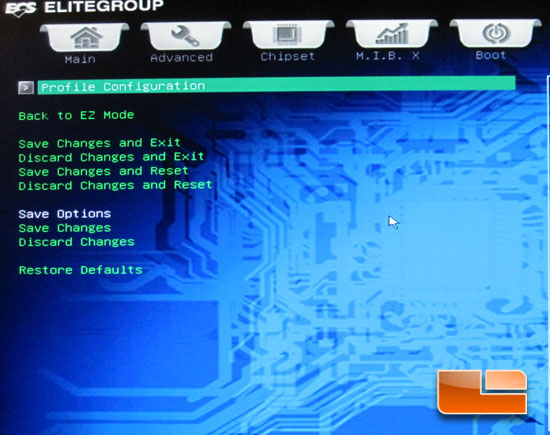
The final tab on the ECS X79R-AX is the ‘Save & Exit’ tab. Here we can save and exit, discard and exit, save and reset, and discard changes and exit.
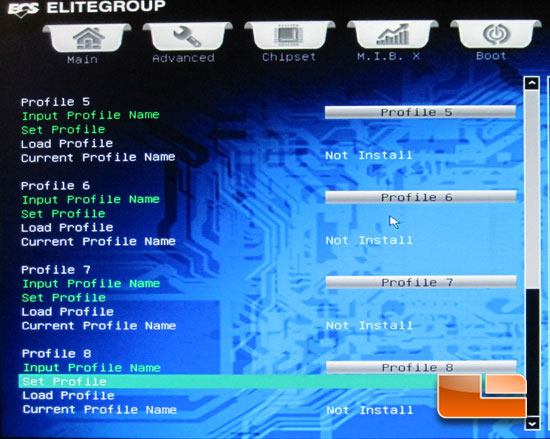
The ECS X79R-AX offers up eight profile slots to save your BIOS settings to.
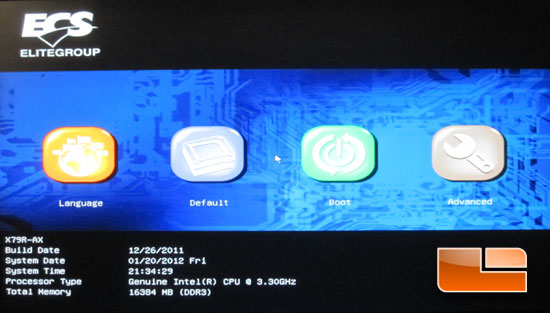
The ECS X79R-AX also has an ‘Easy Mode’ where we can set the language, default settings, boot order, and switch back to the advanced mode.

Comments are closed.