Corsair Obsidian 450D Mid-Tower Case Review
Obsidian 450D External Impressions
The Obsidian 450D continues the tradition of previous Obsidian cases of keeping a very simple but elegant design. Corsair has made a few changes to the overall design with the 450D, however it’s not a major overall.
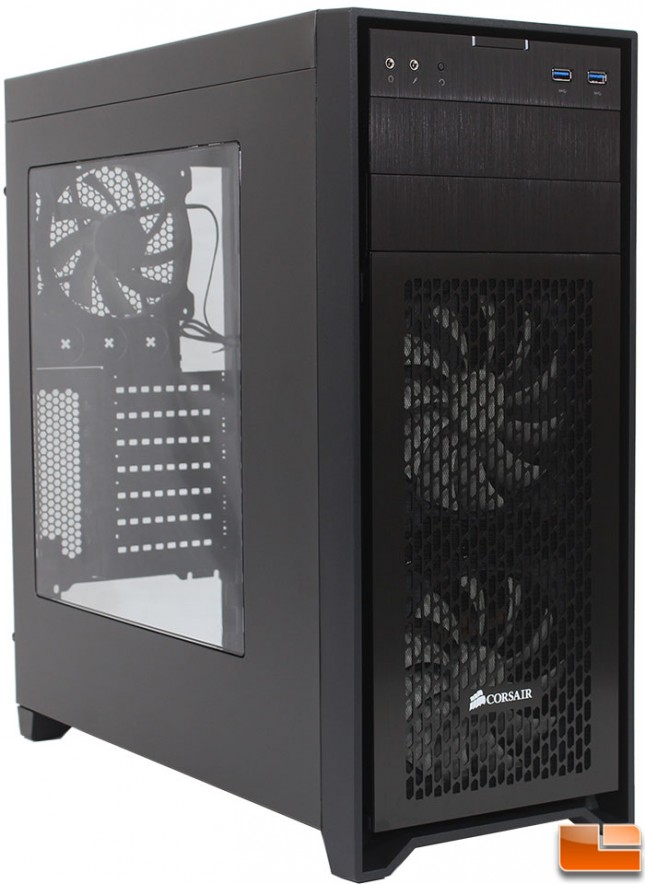
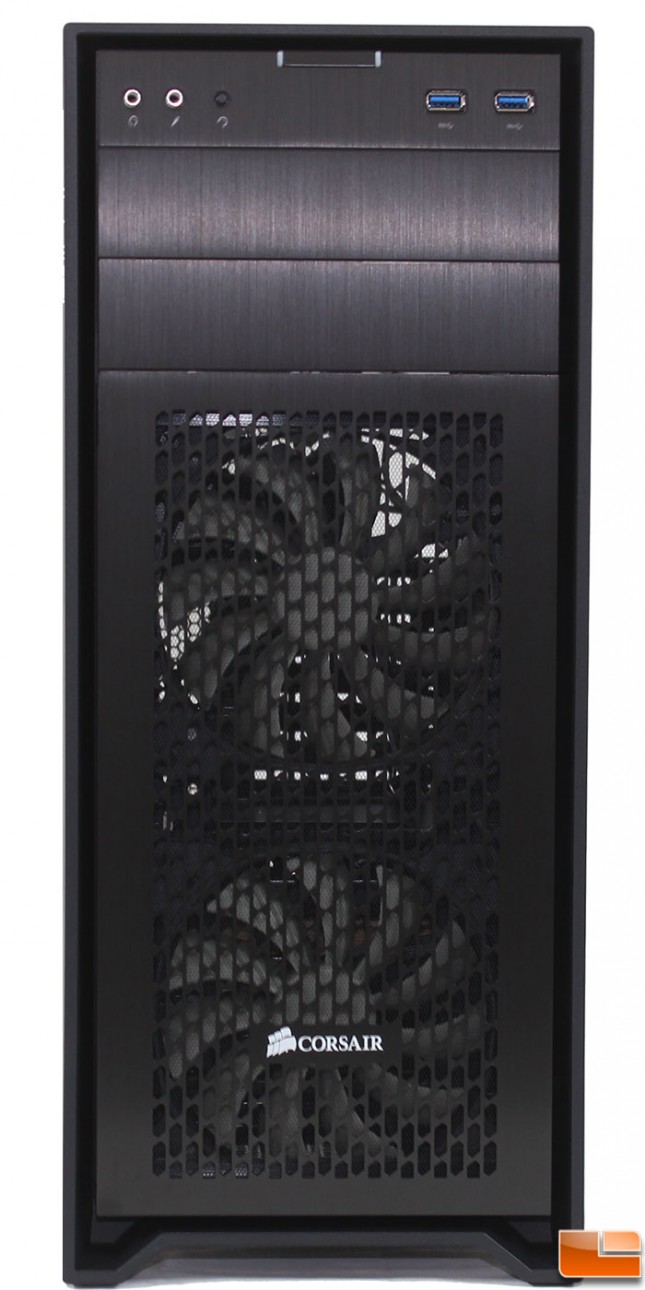
The front panel has a beautiful brushed aluminum finish, at the very top is the common front I/O panel. Two 5.25″ device bays are below the front I/O panel, followed by the large vented section for the front intake fans.
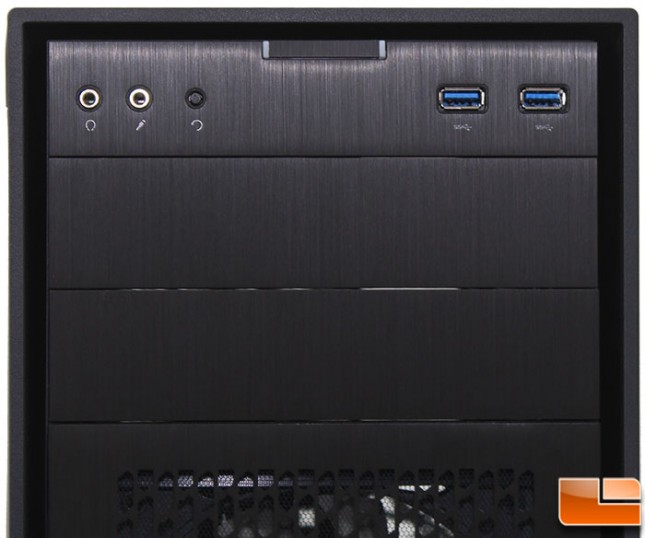
The front panel I/O is at the very top of the front panel. A large power button is placed right below the lip of the outer frame, while the other options on the front I/O include headphone/microphone, reset button, and dual SuperSpeed USB 3.0 ports. Below the front I/O is the two 5.25″ device bays, each of the covers have a brushed aluminum layer placed on the standard plastic cover.
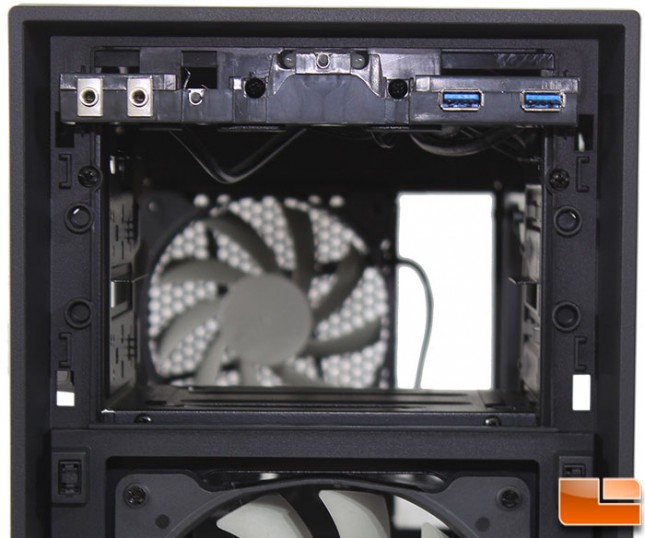
The bezel for the 5.25″ bays is removable from the inside of the case, it is held in place by four tabs (one in each of the corners) and is tight fitting. With it removed the 5.25″ device bays are accessible, it’s great that Corsair does not include any temporary covers for the bays, they are ready to be used. With the bezel removed we can see the bare connections for the front panel I/O.
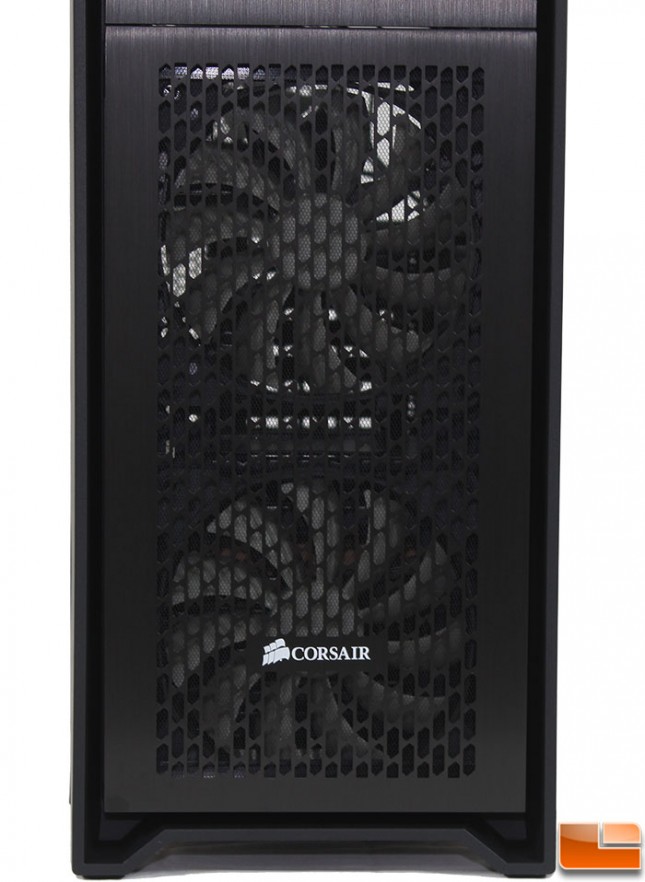
At the bottom of the Obsidian 450D’s front panel is a large vented area for the front intake fans. Like the 5.25″ device bay covers, this part of the front bezel is made out of plastic, with a brushed aluminum surface. Corsair has placed their name on the panel, which stands out against the black case.
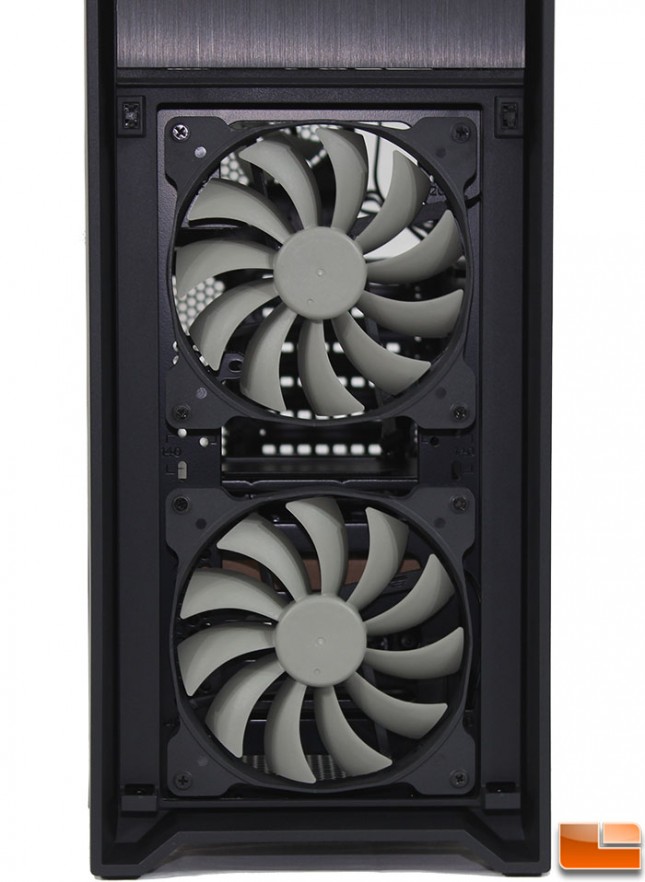
Access to the front AF140L 140mm fans is extremely easy as the front filter is held on by two push clips, and a slide in type hinge at the bottom. This method of removal is great as it makes it extremely easy to clean the front filter or change fans.
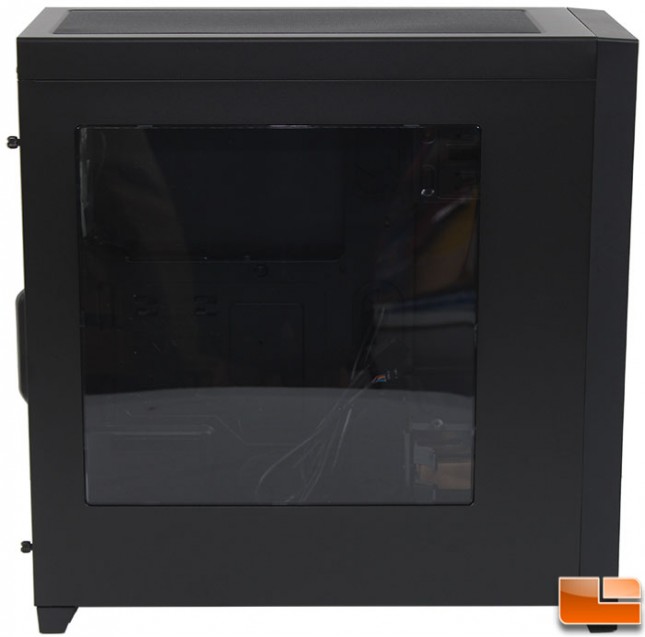
The side panel has a large window that utilizes clips on the inside to secure it to the metal panel, so there surface is flawless. The window is crystal clear with no blemishes. We will be able to see how clear it really is once the system is built.
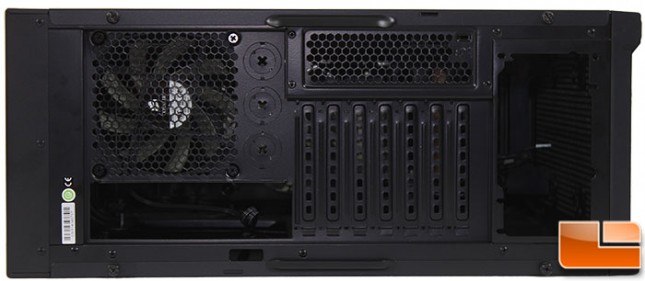
On the back panel, we find standard items. On the left (what would be the top) is the 120mm exhaust fan and the motherboard I/O key slot. Next to the fan are three liquid cooling holes that are not pre-punched and protected by rubber protectors. Next is a small air vent, and the seven expansion slots. Finally, at the right (rather the bottom of the case) is the power supply location.
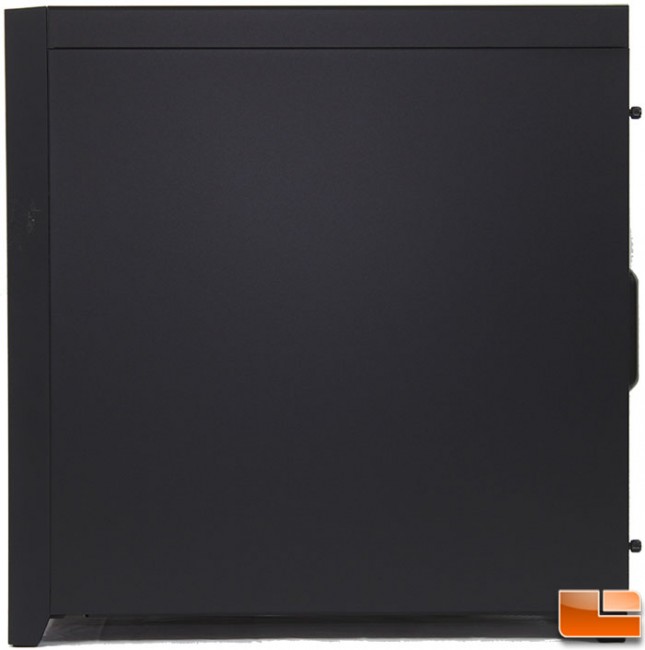
The right side panel is plain, nothing to be concerned about here. Possible for a little mod on this side to show off the 2.5″ drive mounts.
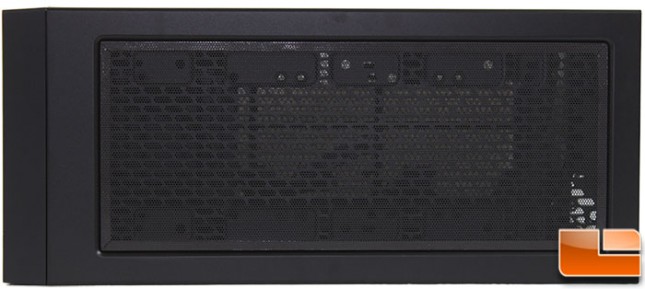
The top panel is mostly vented and has a small fabric filter in place as well. The filter comes off very easily as it is held in place by a magnetic strip all the way around the edge. Peel it off and you get access to the fan mounts. With the filter off, you can install 3 120mm or 2 140mm exhaust fans, or install a large liquid cooling radiator.
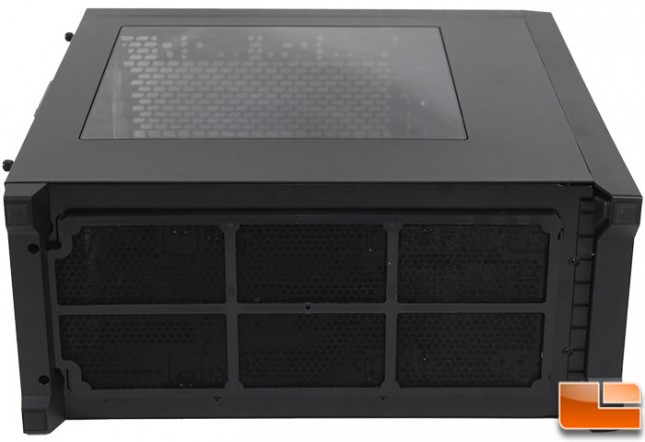
The bottom of the case is covered by one large filter, to cover the optional bottom mounted fans and power supply intake. While many fan filters are removed from the back, this filter is removed from either of the two sides since it is held in place by tiny magnets. There is approximately one inche of space provided by the legs of the case to remove the filter and provide ample fresh airflow.
