Corsair iCUE 4000X RGB Case Review
iCUE 4000X RGB: Build Process
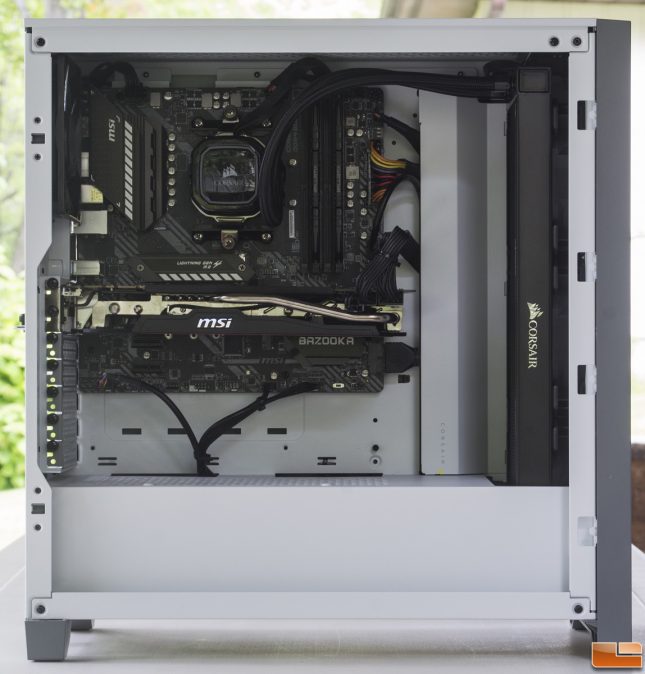
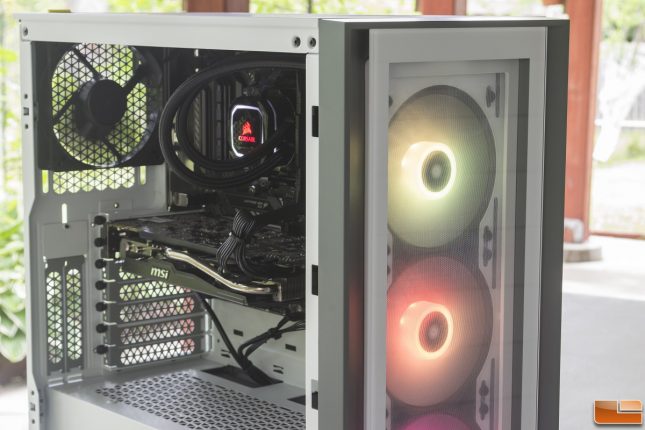
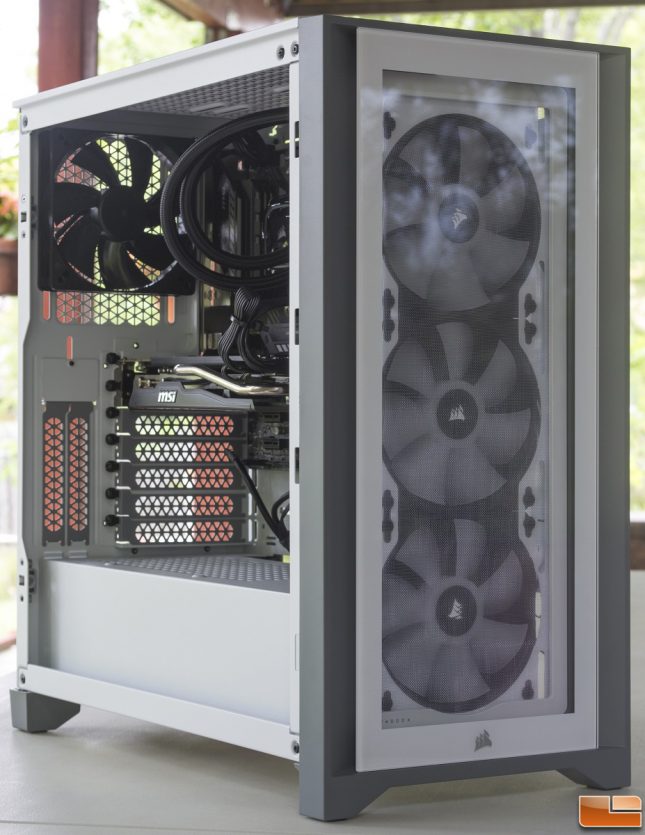
The build process was very straight forward and I did not run into any major problems when putting things together. The iCUE 4000X RGB had enough room at the front to fit the 360mm radiator of the Corsair H150i RGB PRO XT liquid cooling unit. The front fans were able to pull an adequate amount of air into the case and over the components. If you opt for the 4000D Airflow variant, you will see slightly cooler temperatures overall due to the vented front panel.
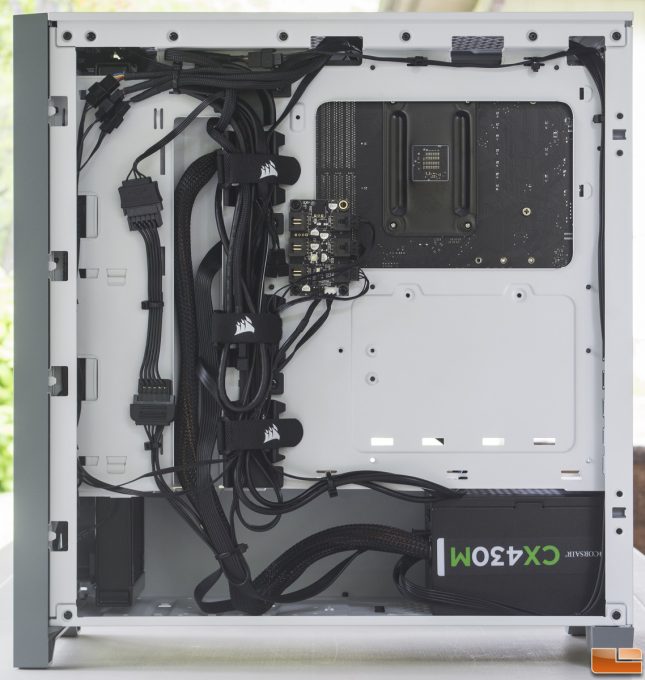
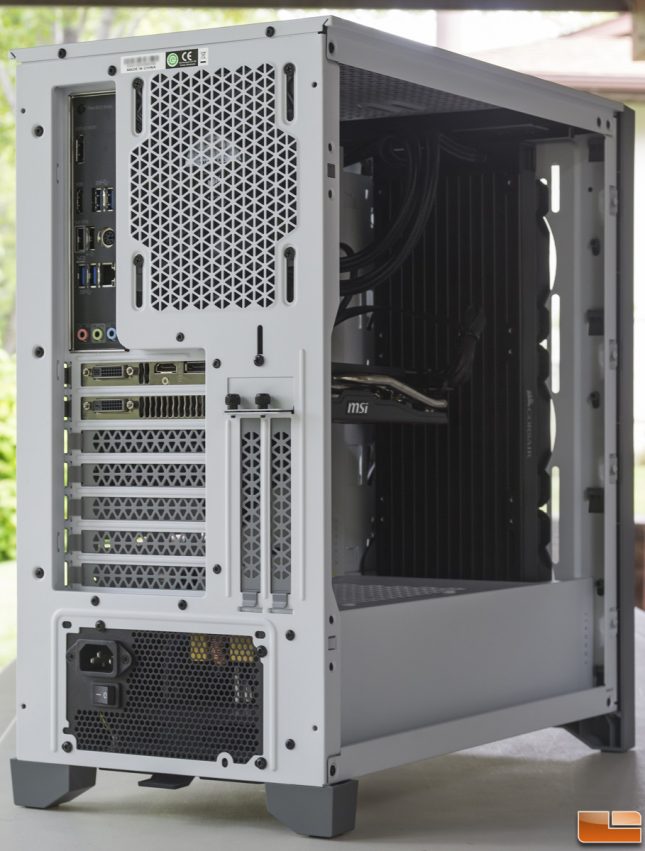
I am very thankful for the many cable tie-down points and the cable routing channel. There was a cable tie-down point in almost every place I needed one to be. They existed even at the bottom of the case where the power supply unit rests. With the provided Velcro straps on the cable routing channel, I did not need to use any zip ties to manage these cables. The accessories box provided three additional Velcro straps, but they were not required for this build.
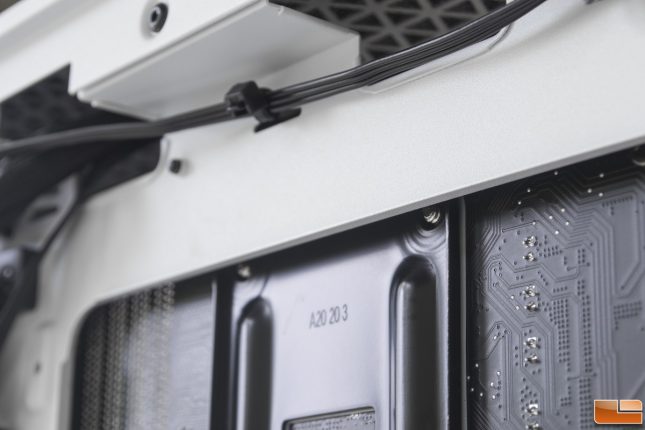
Although I did not have to remove and replace the stock AMD CPU mounting bracket to install the CPU cooler, be careful when installing your motherboard without the CPU cooler. Some motherboards have slightly different CPU socket locations on their PCB, so consider installing your CPU cooler onto the motherboard first before placing in the motherboard. This will save some headaches when trying to remove the CPU bracket as there is not enough clearance for it to come out.
I was able to get the CPU bracket out by removing the top three screws on the motherboard and then gently prying it away from the motherboard tray. That allowed just enough clearance to get this bracket out. I wished the CPU cutout slightly larger as there is still plenty of space to clear the CPU mounting bracket.
I have mix feelings about using a cable bar instead of traditional cable cutouts with rubberized grommets. The cable bar looks good, but you will most likely have to bend the 24-pin motherboard connector in a really tight angle. But after twisting it around some more and plugging it in, everything else was smooth sailing from there.
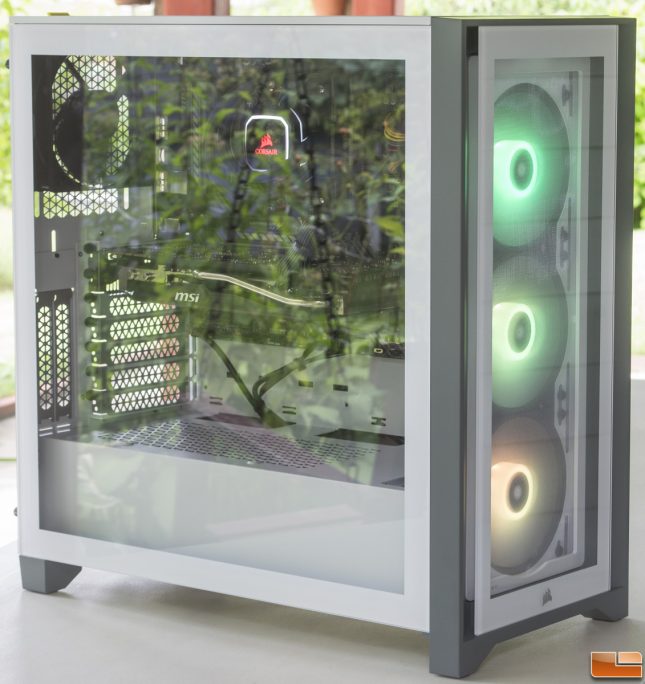
With the system powered on, the front LED fans lit up very nicely and were not very loud even at a maximum speed of about 1300 RPM averaged via MSI Dragon Center. The LEDs lit up the fan blades and were diffused evenly, and slow transitions were very smooth and not choppy.
The iCUE Lighting Node Core can support up to six Corsair RGB fans, so there is more room for expansion if you want to add more fans. But keep in mind, RGB capable devices nowadays require more cables for lighting. If you care a lot about aesthetic, you may want to take more time and effort with managing cables.
Airflow was mostly adequate with the iCUE 4000X RGB. The Ryzen 9 3900X in this system was overclocked to 4.2GHz all cores with 1.3 volts. Under this configuration at 20.5C ambient room temperature, the CPU managed 83.3C average under AIDA64 when running CPU, FPU, and cache stress tests. It is a little higher than what I am used to at least. This is most likely due to the SP RGB ELITE fans spinning at a maximum speed of about 1300 RPM. When switching to the ML120 Pro 120mm fans that came with the H150i RGB PRO XT, CPU temperatures averaged out at a much cooler 76.3C. This is because the ML120 Pro 120 fans are capable of 2400 RPM fan speeds.
I am very happy with the iCUE 4000X RGB as it is very simple to build with and provides adequate airflow. This helps to keep the internal components cool enough from thermal throttling. If airflow and performance is something you prioritize, consider the 4000D Airflow instead. But doing so, the 4000D Airflow does not come with RGB fans. As for someone who loves RGB lighting and aesthetics, the iCUE 4000X RGB is worth the extra premium in price. Just be sure to tidy up those extra cables.
In the next section, I will end this review with my final thoughts and conclusion.

