Corsair Graphite 780T Full Tower Case Review
Graphite 780T Internal Impressions
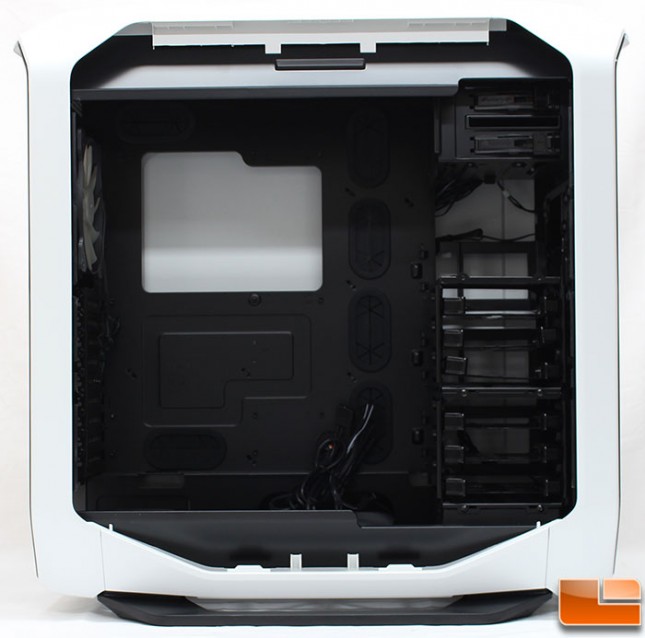
Removing the side panels is a little different than most cases. Most cases the panels come off by pulling it away from the side of the case, the 780T side panels are removed by pulling downward from the top of the case. The internal has been painted black which provides a nice contrast against the white exterior of the case. Taking a close look at the motherboard tray, Corsair has preinstalled the motherboard standoffs, with one of them having a large guide to make sure the motherboard is in the proper position. For cable management, there are four vertical and two horizontal holes to route cables.
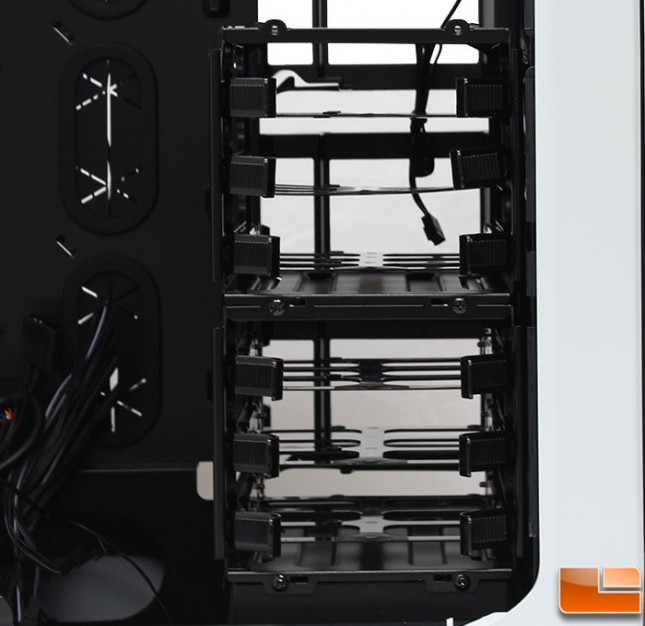
In the lower right corner of the front are two hard drive cages, each cage will support up to 3 drives. These cages use a tray design which is very common; squeezing the ends together release the clips that secure the trays to the cage. While Corsair has placed these cages on the bottom, they could be moved up and hung under the 5.25″ bays allowing for additional cooling to be installed on the bottom. Otherwise, the cages could be removed entirely which would allow the front panel to have up to a 360mm radiator installed on the front. One thing I quickly learned when looking to remove the 3.5″ drive cages, Corsair has secured them to the frame through the front panel. In order to remove the cages, you’ll have to remove the front intake fan long enough to remove a screw (and replace the screw if just moving the cage to the top).
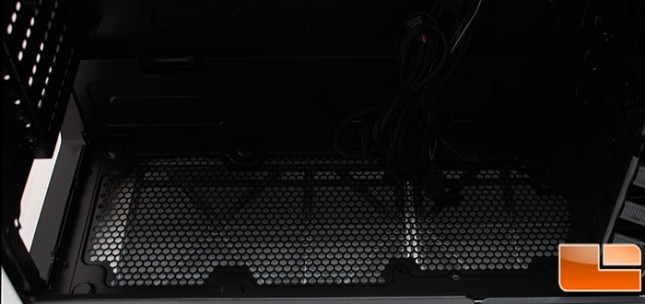
On the bottom of the case, we find plenty of room for large power supplies. There are four risers to raise the power supply off the bottom of the case, and thankfully Corsair has installed anti-vibration rubber feet for the power supply to rest on. If a standard (short) power supply is used, there is room to install a 120mm fan without removing the 3.5″ drive cages. If you do remove the drive cages, two 120mm fans or up to a 240mm radiator can be installed. There is also a large hole here to allow the power supply cables to be routed behind the motherboard tray.
The back panel there isnt anything unusual after looking at the back from the exterior. The nine PCI expansion slot covers are vented, and secured to the case with thumbscrews. Right next to the power supply, above the PCI expansion slots are the two external liquid cooling holes, and the a Kensington lock slot. The included 140mm fan is a A1425L12S-2 which has speed of 1,000RPM, and pushing 54.0CFM at 20dBA.
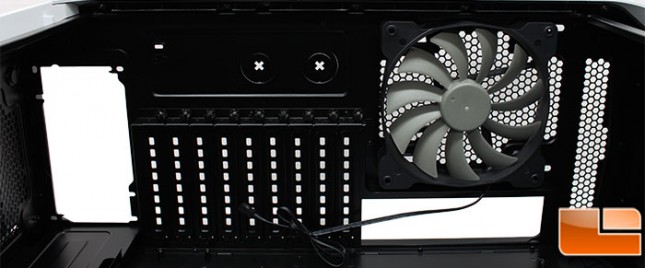
At the top of the case, we find plenty of room to install fans or liquid cooling. Three 120mm or two 140mm fans could be installed here. However, as the case is an enthusiast level case, liquid cooling is more likely, up to a 360mm radiator can be installed.
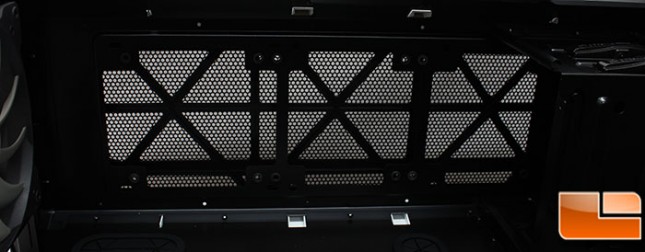
Turning our attention to the back of the motherboard tray, we find the usual suspects. Corsair has included ten cable tie locations to secure the cables out of the way. As the bottom is indented a little, there is approximately 1.5″ of space for cables, while behind the motherboard tray just a little over 1″ of space is available.
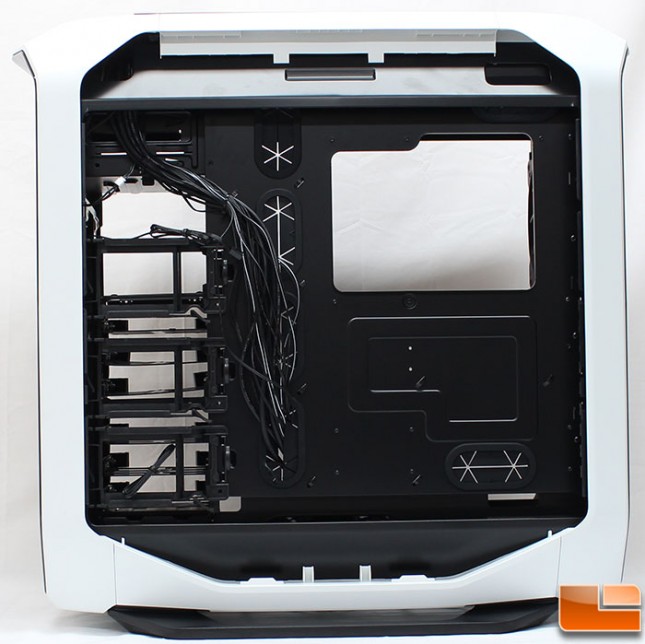
On the back side, there are three 2.5″ drive trays that use a familiar tool-less locking design, which we have seen on the Corsair Graphite 760T. While this is a great way to provide a place for 2.5″ drive to be installed, it does lead to a small issue. If you fill each of these trays with drives, when you need to change any of the 3.5″ drives, you will need to remove a 2.5″ drive in order to connect the SATA power and data cable.
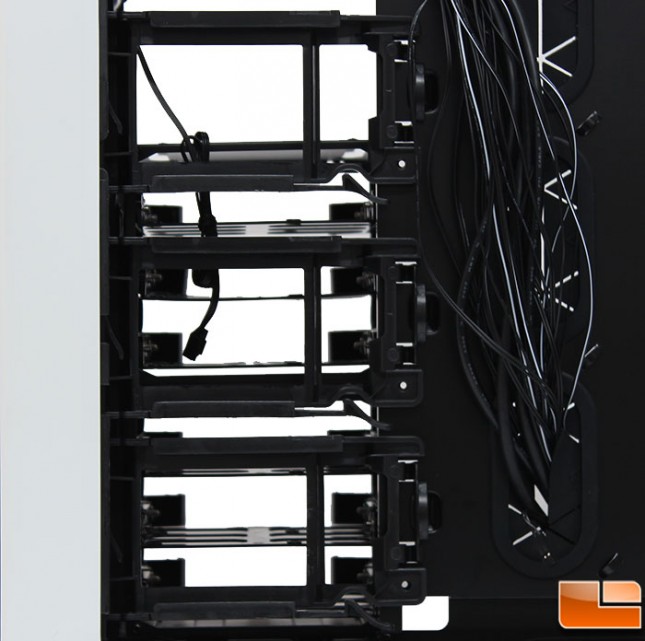
The trays easily lift out by pressing in on the finger hold. This makes it convenient when building the system. If taking the system to a LAN party and plan to have the back panel off, the trays can also be secured to the case to provide a little security.
