Corsair Graphite 760T Full Tower Case Review
Graphite 760T Hardware Installation
One last look at the interior of the Graphite 760T before we begin filling it with hardware. The 3.5″ drives slide into their trays without any issues and that is then slid into the cage. If necessary, the 3.5″ cage can be moved to being below the 5.25″ device bays, however with my components there is no need to move the 3.5″ cage.
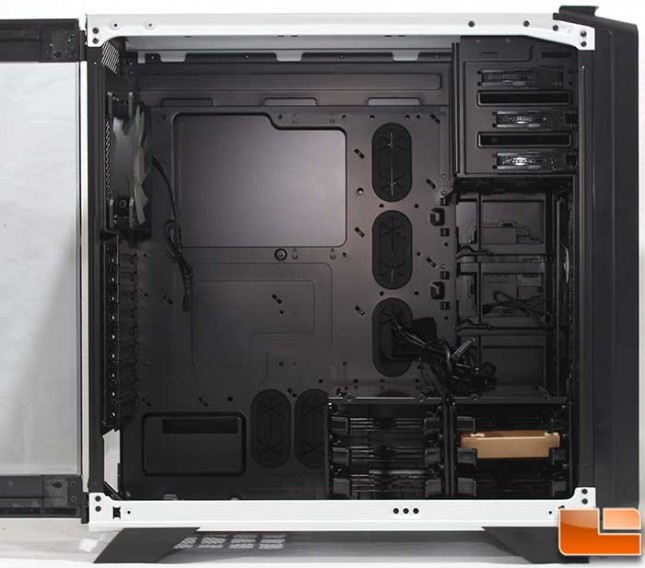
If you have built more than two systems, then there is nothing here that should raise any alarms. Everything gets installed exactly like you would expect. There is plenty of room to work inside the Graphite 760T since it is a full tower. A standard size ATX motherboard looks small inside this huge case. Other than mounting the motherboard and power supply the rest of building a system is tool-less. I like that while technically placed on the back side of the motherboard tray, the SSD’s are visible from the front, if you want to show off your hardware why hide those powerful SSD’s.
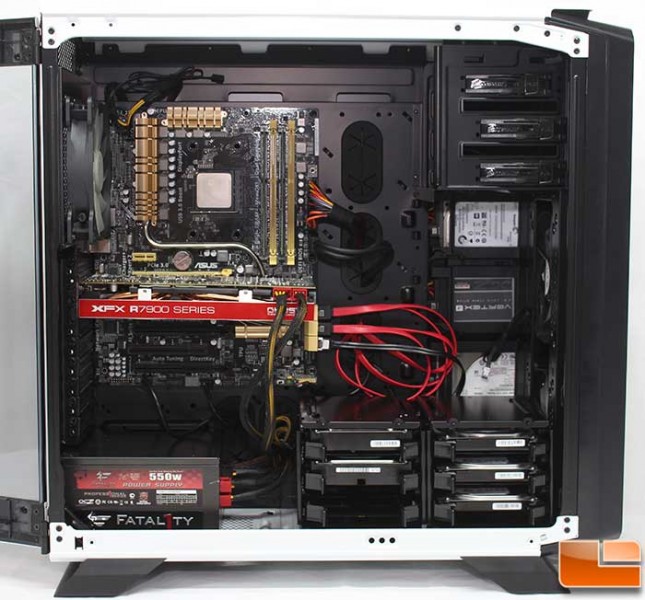
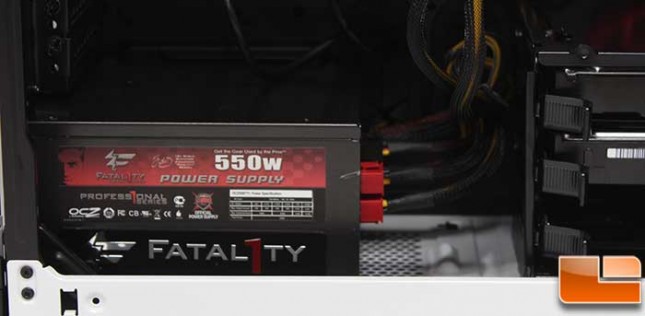
With the two 3.5″ hard drive cages installed, there is still plenty of room to connect cables to the power supply. As this is a standard ATX power supply, there is an additional support beyond it, which shows that Corsair has made sure there is more than enough room to install a longer power supply.
Cable management is done rather easily in the Graphite 760T, most cases have about 1 inch of space on the back side, with the side panel’s design, there is around 1.25″ of space for cables. The CPU support bracket cut-out is large enough to allow installing a CPU cooler at anytime.
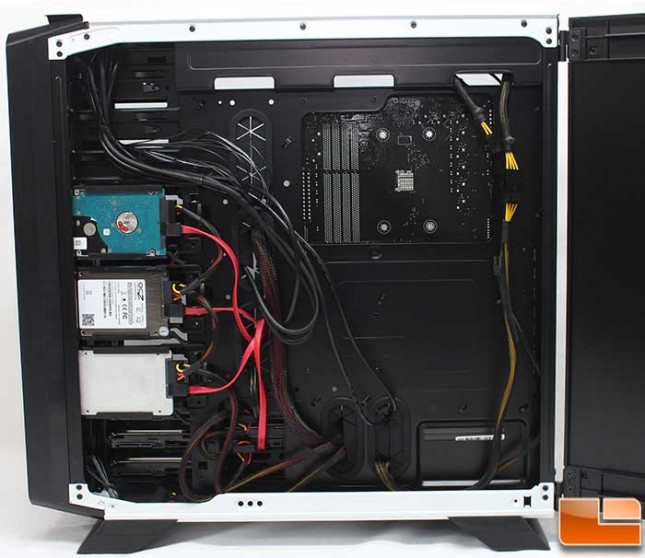
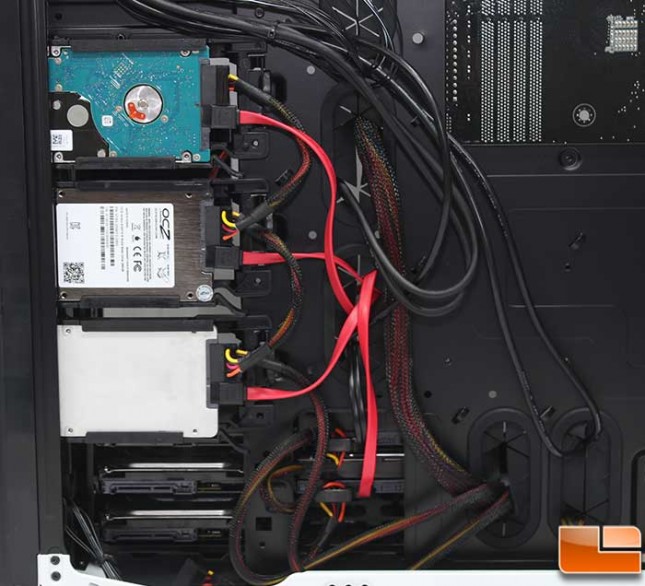
We have seen these types of 2.5″ drive trays on other cases so they’re not a new design, simply slide the drive into place and it will lock itself in place. When releasing the drive, it will pop out a little once the end lock is pressed out of the way. In this test build, a 750GB Seagate Hybrid drive, OCZ Vertex4 256GB SSD, and an Intel 520 Series 180GB SSD was installed, cabling for them was a breeze with no issues from the power cables being in the way to close the back side panel. The fourth 2.5″ tray has been removed to make it easier to connect cables to the 3.5″ hard drives installed on the other side, the drive tray can reattached after connecting the 3.5″ drive cables.
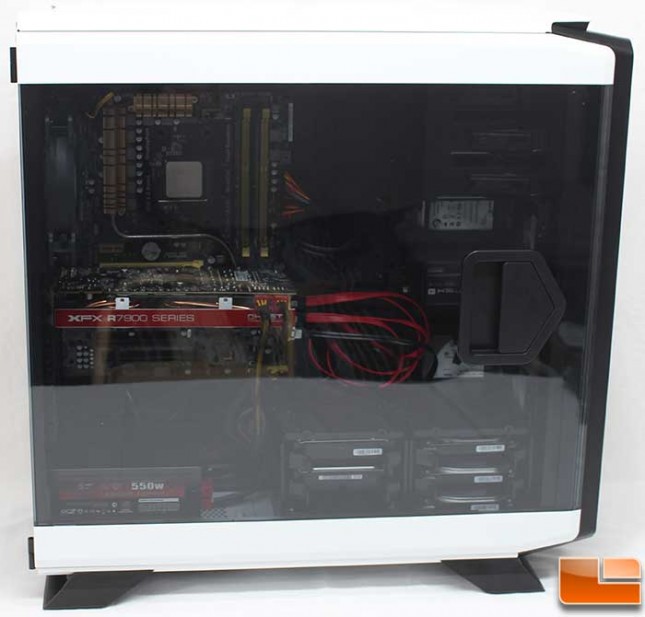
With everything in place, the side panels are closed. We can take a step back and take a look at the huge side panel window. As you can see, everything is easily visible, there is no hiding poor cable management in this case.
