Corsair Graphite 760T Full Tower Case Review
Graphite 760T Internal Impressions
The handle that was mentioned previously is used to open the side panel, instead of it coming off, it swings open on two small hinges. Of course if you prefer to remove the panel, once it is opened it can easily be removed from the case. Not only does the panel keep closed by the handle latch, it also has a couple of small magnets to help keep it closed.
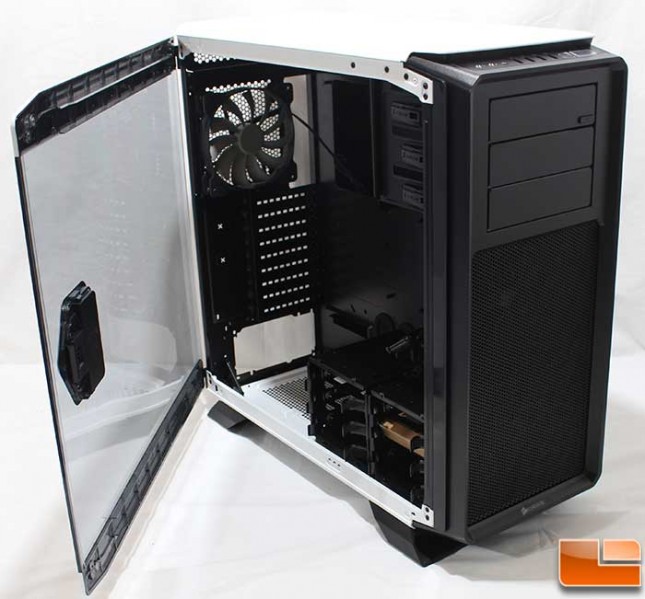
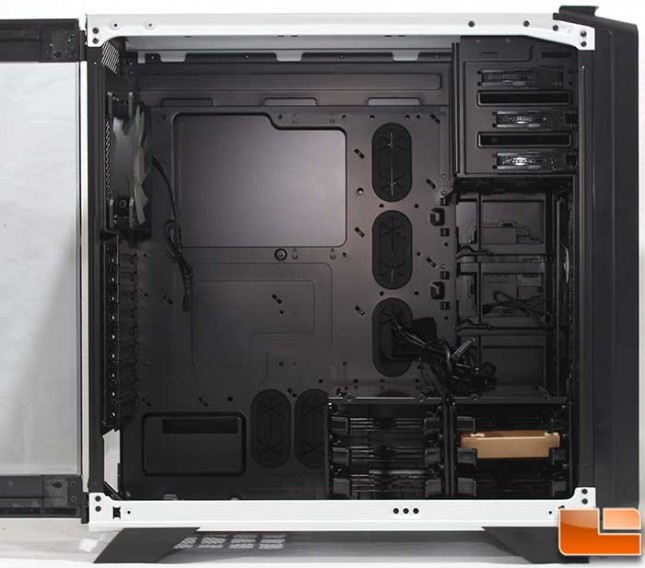
With the side panel open, we can take a look at the interior. Here we find the interior has been painted black, which gives it a nice contrast against the white part of the case. On the motherboard tray, we find the usual suspects; three cable management holes at the very top, three additional holes above the 3.5 drive cage, and two at the bottom near the power supply. Drive expansion includes three 5.25″ bays, and six 3.5″ drive bays. This could be expanded with an optional 3.5″ drive bay to be mounted below the 5.25″ bay. As for cooling options we have two fan locations at the front, one at the bottom, one at the back, and three at the top for a total of seven fan locations; liquid cooling is also an option in any of four locations.
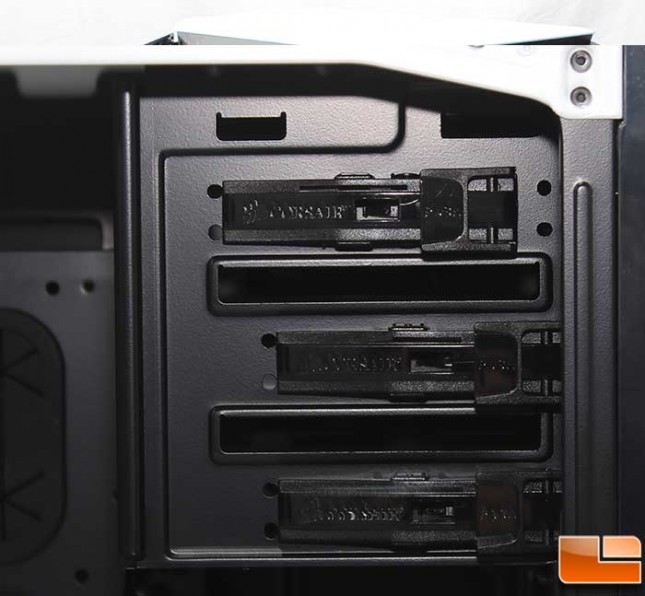
The 5.25″ device bays are tool-less using common brackets for installing devices.
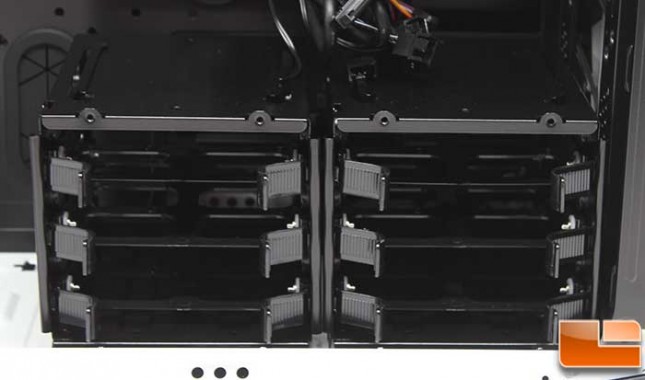
At the bottom of the case is two 3.5″ drive cages, each cage will hold three 3.5″ or 2.5″ drives. They utilize a tray design which we have seen before; a light squeeze at the ends release the clips holding the trays in place. Under the left 3.5″ cage, a 120mm fan could be installed; no fan filter is included. If necessary, the drive cages can be stacked, or removed, there is also an optional cage available from Corsair to expand the number of 3.5″ drives.
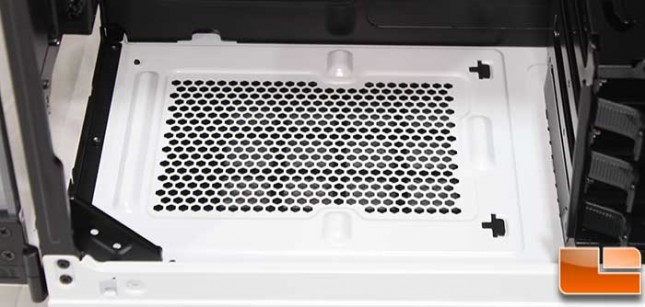
Next to the 3.5″ drive cages is the power supply, here another little twinge of disappointment. With the drive cages in place, it will support a standard ATX power supply without any issue, and has a large area for the fan intake. The risers for the power supply are metal and have no anti-vibration material on them. While this isn’t a show stopper, when buying an enthusiast grade case some features are just taken for granted, and this is one of them.
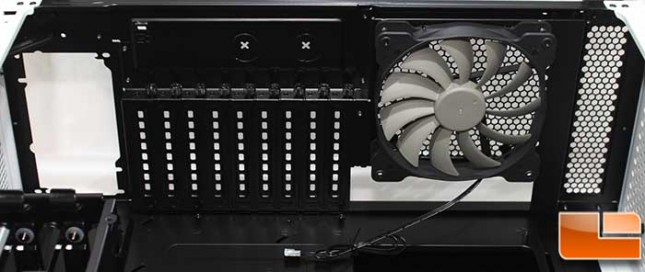
The back panel there isn’t anything unusual after looking at the back from the exterior. Right next to the power supply, above the PCI expansion slots is the Kensington lock slot that was mentioned earlier. The PCI expansion slots are tool-less using thumbscrews to secure them.
Taking a look at the back of the motherboard tray, we find fourteen cable tie locations, which will allow the cables to be routed how the users wants. Everything else is exactly as we would expect.
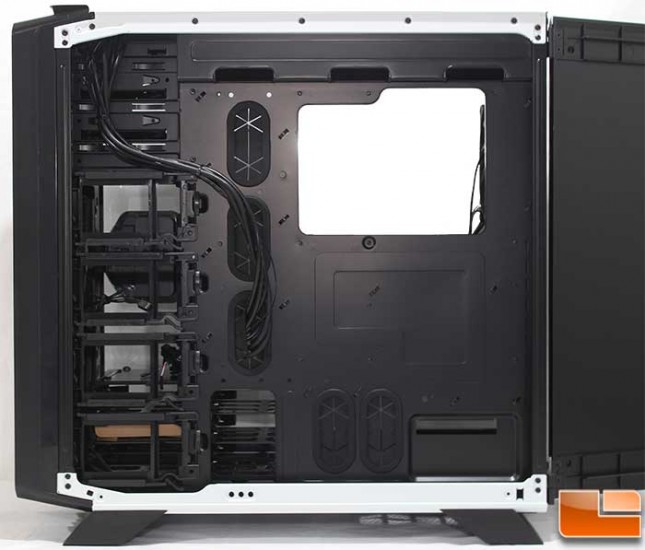
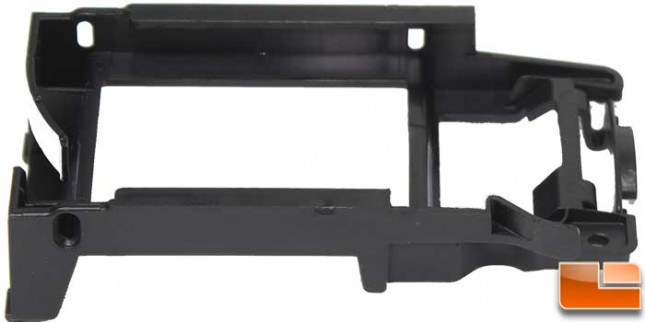
Four 2.5″ drives can be installed on the back side using a tool-less locking tray design. At the bottom, there is a hole for the 2nd 3.5″ drive cage to make it easier to access the drive conections, the downside is that the other 3.5″ drive cage, the drive connections can not be attached without removing at least the bottom 2.5″ tray. On each tray, there is a single screw hole that is used to secure the 2.5″ tray to the case.
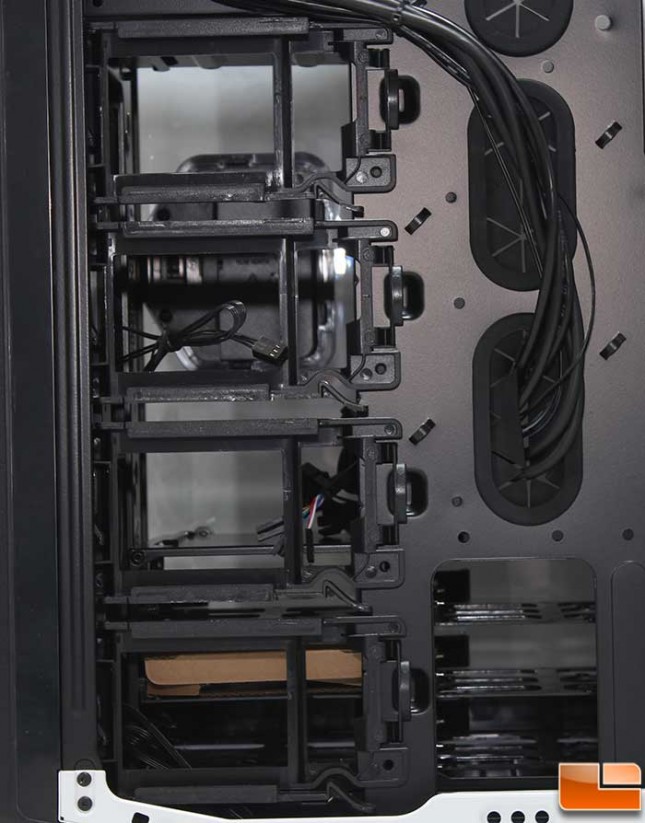
All four of the 2.5″ trays are easily removed, on the right side of the tray is a little finger area to press in towards the tray, then that side is lifted out and the entire tray can come out. This is a great thing as you’ll see when we begin to build the system.
