Corsair Crystal 570X Tempered Glass Case Review
Crystal 570X Exterior
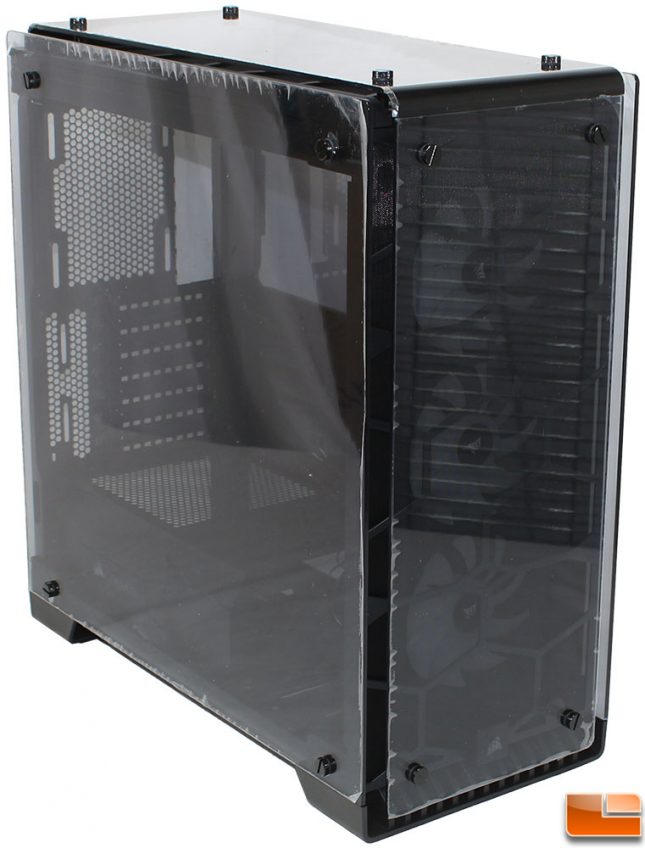
Corsair has done a great job at trying to protect the tempered glass panels from even the smallest scratches, by putting a plastic film on all the panels. I’ll begin by removing the film so we can see the case in all it’s glory.
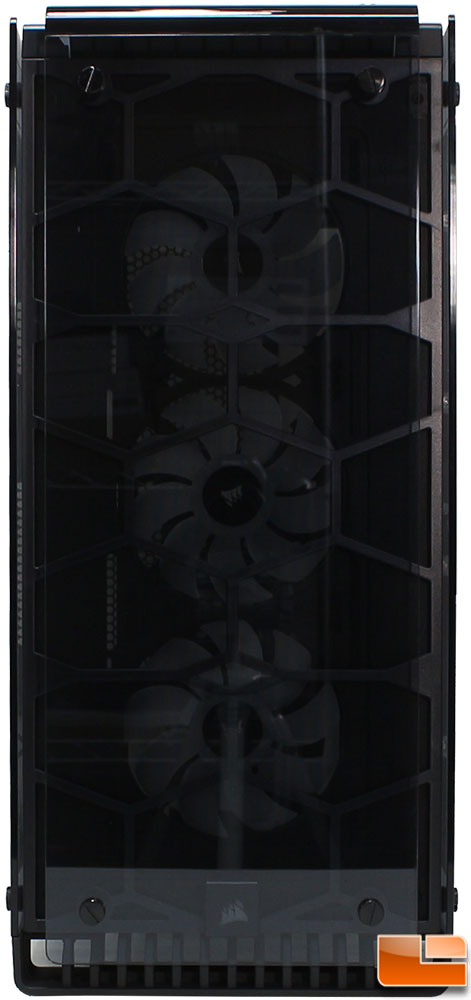
The front panel is pretty plain as it is entirely made of Tempered Glass. Held in place with four screws, it is a free float type of mounting, as it doesn’t touch the rest of the case. All the tempered glass is identical, with a smokey tint to it, giving it a sleek, mysterious look, but still allowing for easy visability of the internal components. Looking through the glass, we can quickly see there is a filter behind it, which is sitting in front of the three SP120mm fans. Corsair has placed their gaming logo at the bottom of the case, which is a nice unobtrusive location.
Turning our attention to the side panels, both of the side panels are identical. Like the front panel, they are entirely tempered glass, and uses the free-float method mounting system. There is absolutely no difference between these panels, I reversed the panels to make sure everything lines up and had no issues reinstalling them swapped around. Both panels will provide a view of the entire internal components, without modifications there is no hiding anything from view.
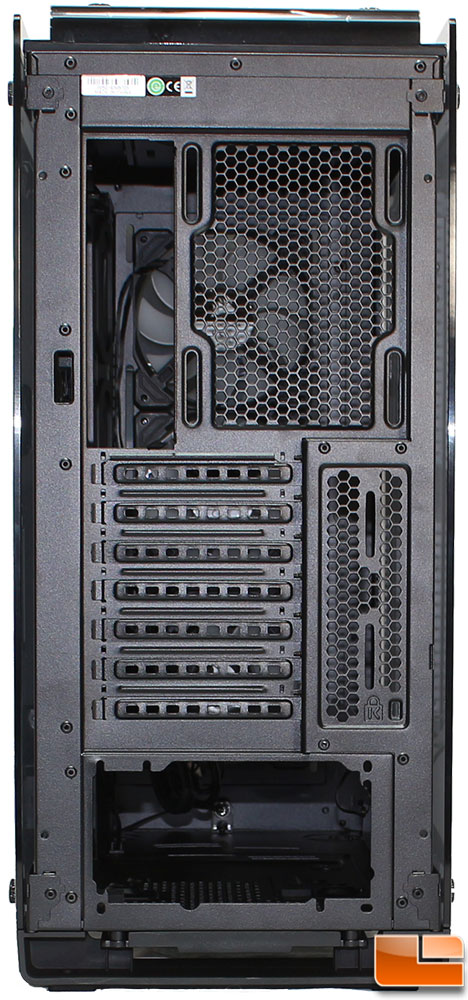
The back panel is pretty standard, at the top is the motherboard rear I/O key and room for an exhaust fan; Corsair did not include a rear exhaust fan, if you want one you’ll need to pick up a 120mm fan. Next we find the seven expansion slots, and additional airflow holes; a Kensington cable lock slot is included. The bottom we find the common power supply mounting location. Overall, nothing unusual about the back paenl.
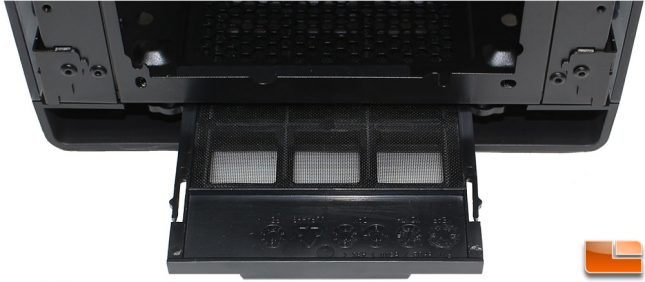
Like most cases with a bottom mounted power supply, the Crystal 570X includes a removable filter that slides out of the back of the case. I was surprised at how heavy duty the power supply filter is.

The fourth tempered glass panel is the top, this panel is cut to allow for the I/O cluster, and is held in place with four long thumbscrews. Like the other three panels, it is free-floating, resting only on the mounting brackets.
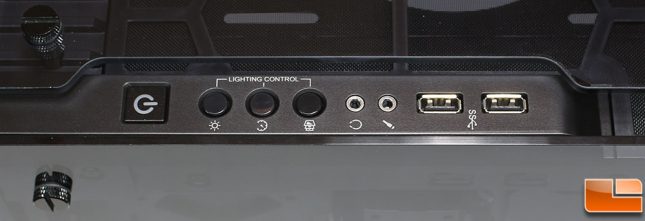
The top mounted I/O cluster includes the usual items: power button, headphone/microphone 3.5mm jacks, and two SuperSpeed USB 3.0 ports. The SuperSpeed USB 3.0 ports are black, instead of the common blue color, not a big deal though. Corsair has also included an external lighting controller, that provides three options color, speed and mode. This is an extension of the internal controller that can be purchased separately with the SP120 RGB fans, which we will see later. The color modes include White, Red, Orange, Yellow, Green, Blue, Violet and color cycling. Lighting modes include Breath & Flicker, Static, Breathing, and Flicker. Finally, the speed control includes three options, High, Medium and Slow. The one option here that I’d like to see, is a brightness control.
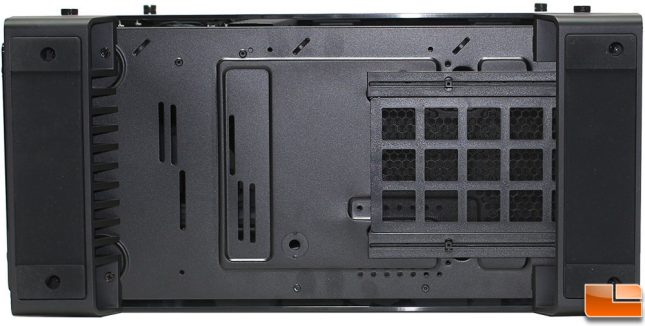
Turning our attention to the bottom panel, there really isn’t much to see here. This panel is solid except for the power supply fan intake, which has the filter covering it. Two feet of the case is provided by two large feet that have a rubber later to keep it from sliding around.
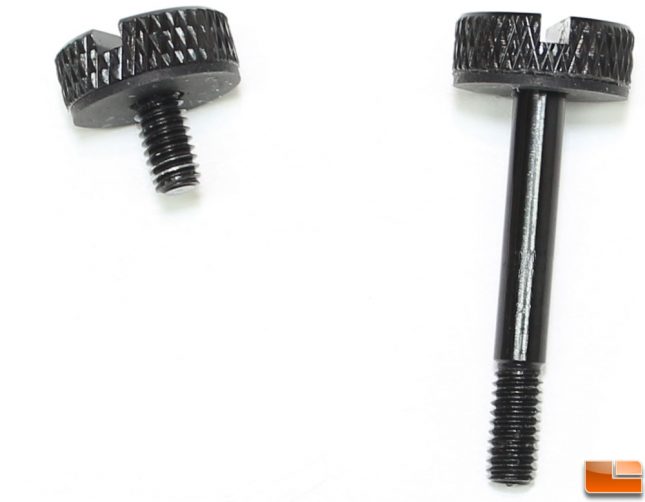
Corsair uses two different length of thumbscrews to secure the tempered glass panels. The top and front panels use long thumbscrews, while the two side panels use the short ones. Each of the thumbscrews has a piece of rubber attached to keep the metal of the thumbscrew from scratching up the tempered glass. From all the systems I have built, and deconstructed I have a large stash of thumbscrews. Pulling out several, I found that they all fit as replacements; of course they don’t have the rubber gasket but that’s easily remedied if I wanted to use alternative thumbscrews.
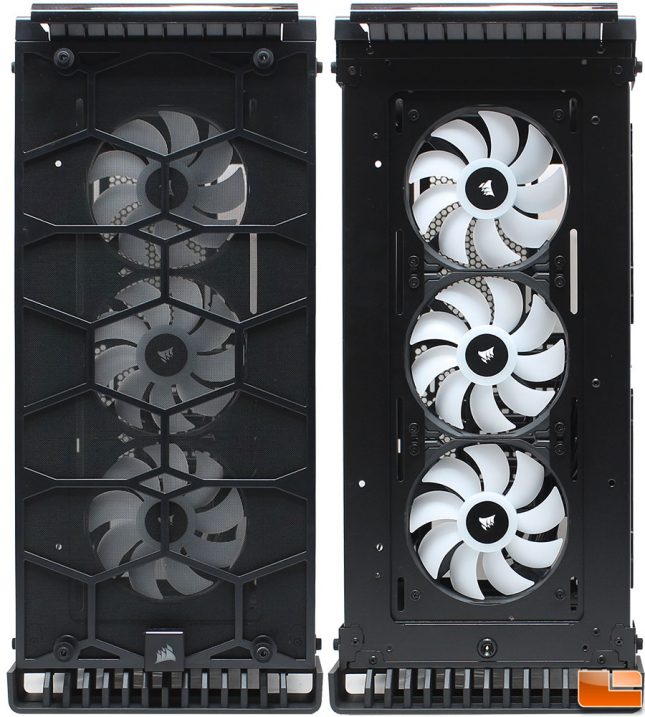
As we being to remove the tempered glass panels, we can take a look at the rest of the case. Behind the front panel, is the intake filter, which uses large honeycombs for supporting the mesh filter. The filter is held in place with magnets, and is easily removed from the case for cleaning; of course the front glass panel has to be removed first. Behind the intake filter is the three SP120 RGB fans. The SP120 RGB fans are rated for 52CFM with 26dBA at 1400RPM. The SP120 RGB series fans, use four hub-mounted LED’s to illuminate the translucent blades, which will allow them to have a nice glow. If you wanted to have the best RGB fans, you might opt to switch them out for the HD120 series, which uses 12 individually controlled LED’s, however that is not compatible with the included controller so that would need to be swapped as well. Removing the filter also exposes the LED behind the Corsair logo, which should light up nicely in white, and won’t clash with any color scheme you have the RGB fans set to.
Let’s open the case, and see what surprises Corsair has for us on the interior.

