Corsair Carbide Air 740 Case Review
Corsair Air 740 Interior
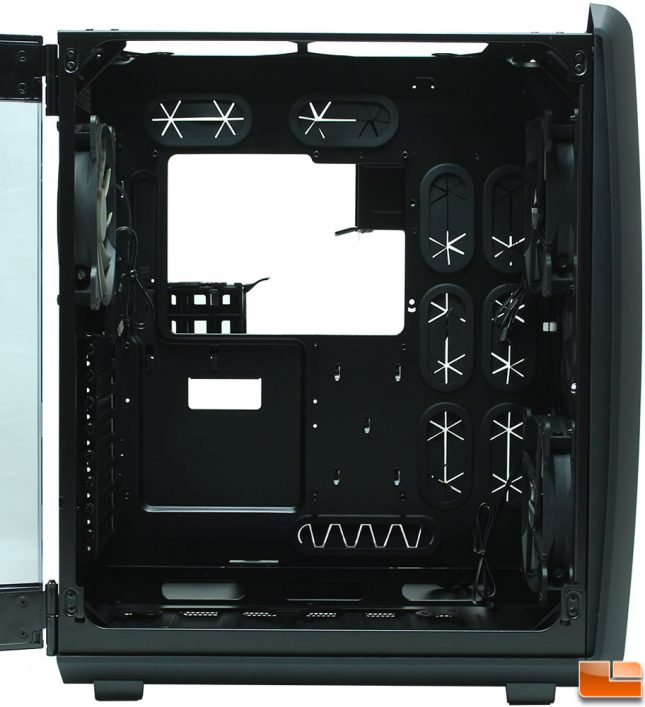
Getting to the interior of the Carbide Air 740 is easy, pull the handle and the side panel will swing open. It’ll open a full 180 degrees, and can be lifted off the hinge if you want to remove the panel to make things easier. The left side of the case is for the motherboard and there are several things that grabbed my attention right away. First the number of cable management holes in the tray, there are twelve of them! Nine of them have rubber grommets to keep things looking nice, while the bottom three are just rolled edges. Next the large hole in the motherboard tray will make installing CPU cooling brackets after installation very easy, although the hard drive cages might pose a slight issue. Corsair has pre-installed the motherboard stand-offs, with one of the stand-offs being a guide making it easy to install your motherboard without issues.
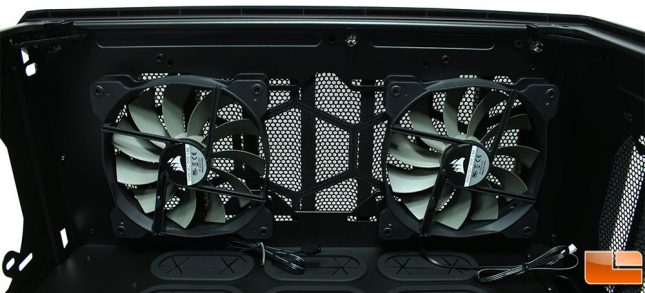
Taking a look at the front panel, we see the two AF140L fans which are rated for 1,000RPM pushing 67.43CFM with a large space between them. These can be removed and three 120mm fans could be put in their place. Another option is to install a radiator, up to a 360mm radiator will fit here.
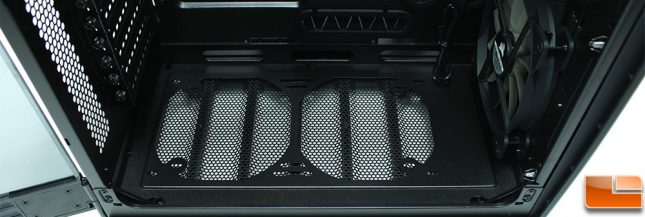
The bottom of the case allows for additional cooling as well. There is room for two fans, either 120mm or 140mm, or up to a 280mm radiator.
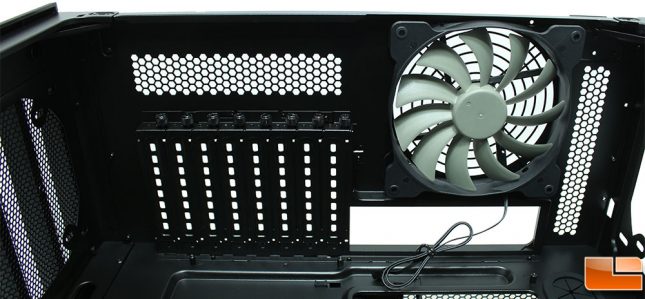
The back panel shows the eight expansion slots, the covers are held in place with thumbscrews. The rear exhaust is another Corsair AF140L fan, and of course that could be removed for a radiator as well.
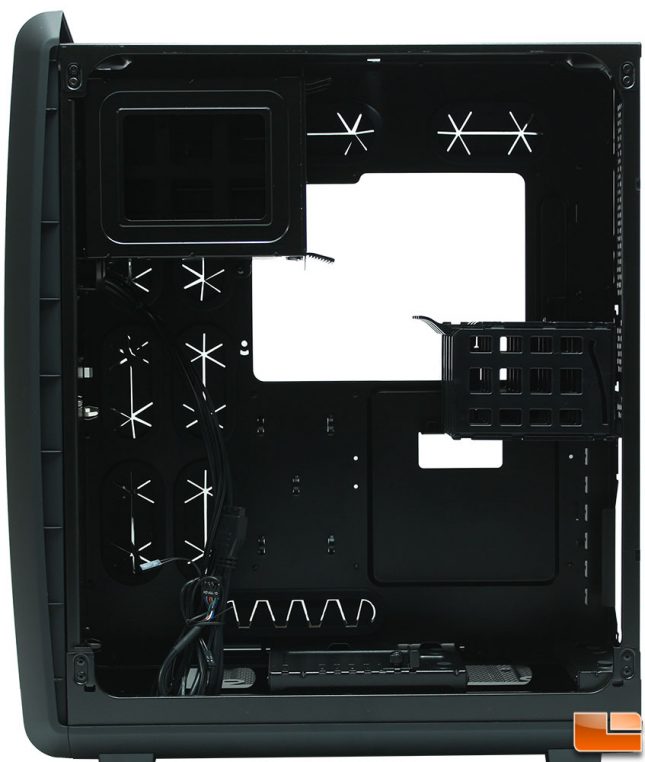
While the motherboard side panel is on a hinge, the power supply side panel is removed with a couple of thumbscrews and sliding the panel back. Here we can see the large amount of space that is available for cable management. There are only five cable tie locations, all clustered in one area right by where the power supply will be installed.

Like most cases, at the bottom there is a bracket to support the power supply. To allow for different power supply lengths, there is a bracket held in place with a thumbscrew that adjusts to allow for longer power supplies. On top of the brackets are several rubber feet to reduce any vibration noise.
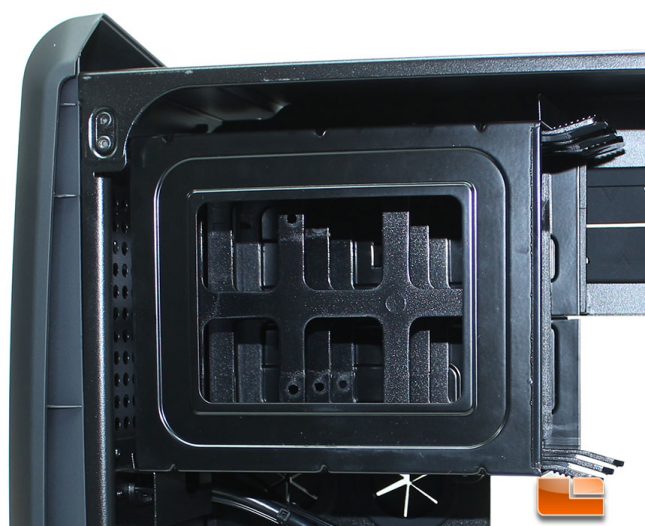
Using a standard tray design, the 3.5″ drive cage is at the top left of this side. The tray design is pretty common now, and we’ve all seen them.
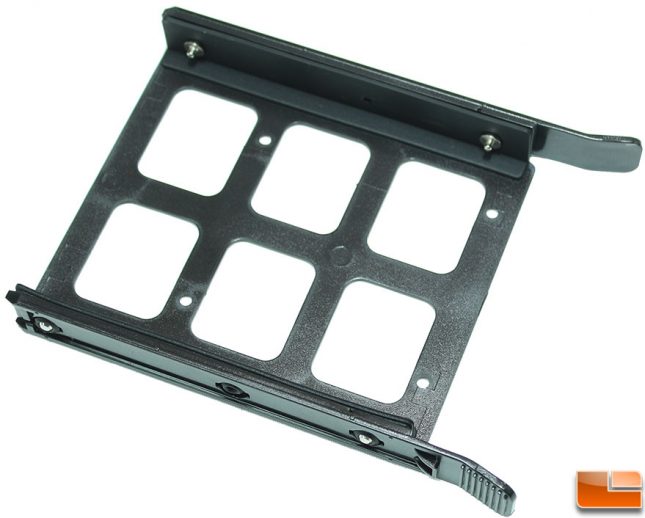
As we said, we have seen this 3.5″ tray design before in many different cases. However, Corsair has take the anti-vibration rubber a bit further than I have seen before. Instead of just mounting the metal prongs in rubber, they have placed L shaped rubber strips along both sides of the tray for the drive to sit on.
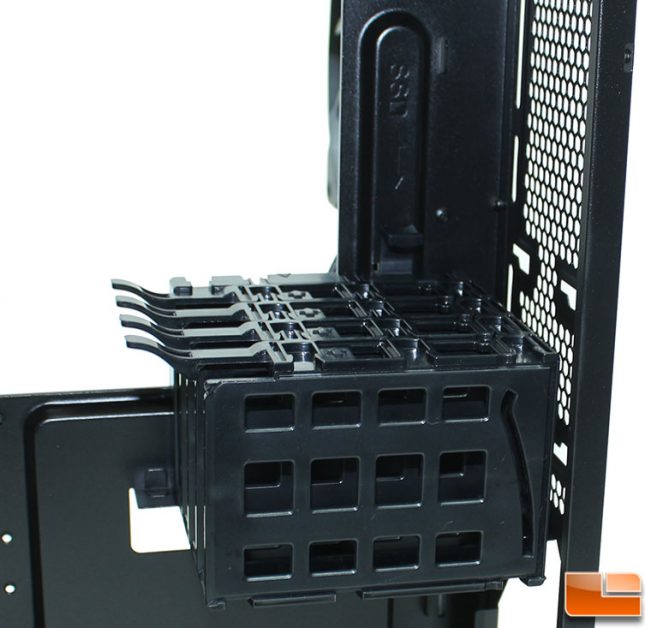
Just above the power supply sits the 2.5″ SSD cages. Drives slide into the cage and are held in place with the clips. Above the 2.5″ SSD cage you can install a single 80mm fan. There is a little space between the cage and the back panel, however even the slimmest 80mm fan I have wouldn’t fit.
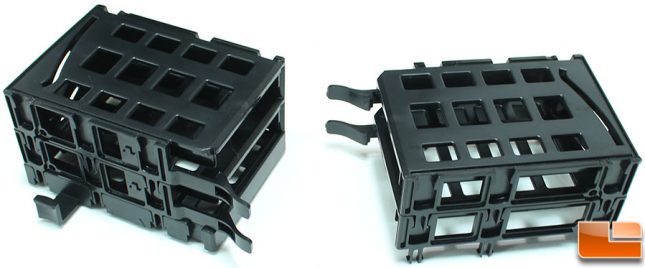
While the Air 740 supports four 2.5″ drives, you can always separate the cages and leave just what you need inside the case.
Let’s get to building a system inside the Air 740!
