Corsair Carbide Air 540 ATX Cube Case Review
Hardware Installation Inside the Air 540
Hardware installation is meant to be easy, but not every manufacturer perfects this. Mid-tower cases definitely are a bit trickier to install hardware in when compared to a full tower or larger case, so let’s see how easy it is to get your components installed in the Air 540!
If you remember from the previous page, the standoffs were preinstalled for an ATX configuration. This makes life that much easier and system builds quicker, even though installing the standoffs isn’t a difficult task by any means. One thing that they did to help make life even easier when installing the motherboard, was they installed a post for easy alignment on the center point. This just has a nub on the top of it and will keep the board in place for you.
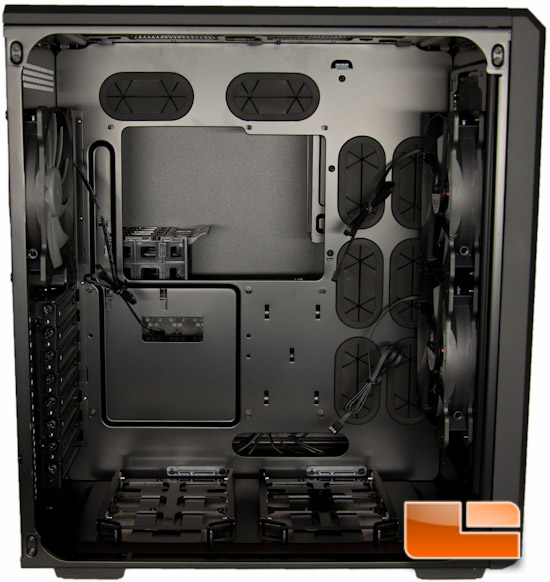
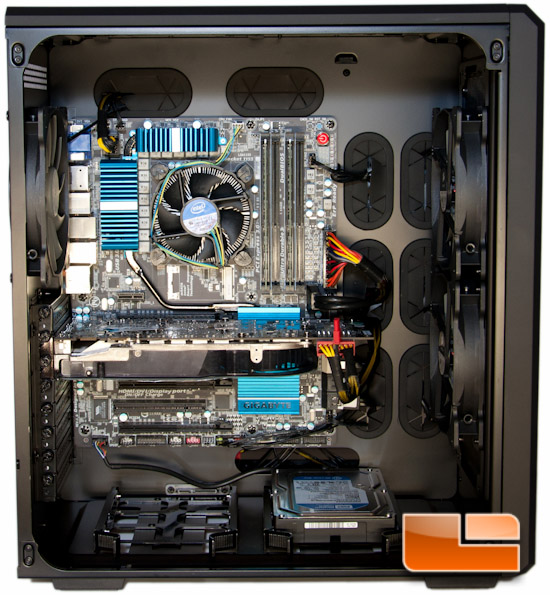
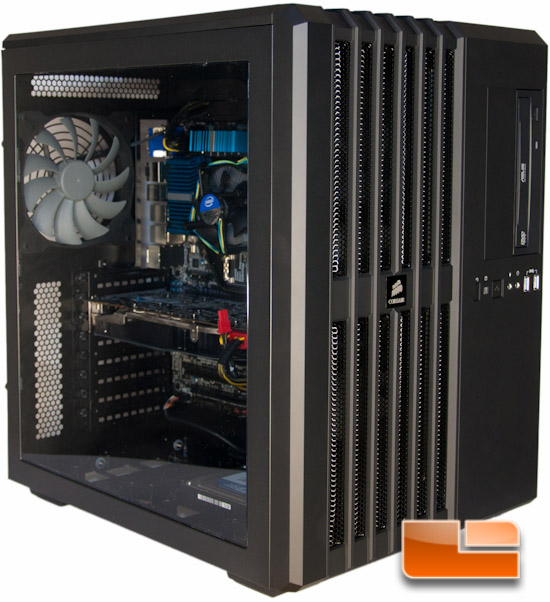
Installing the motherboard and video card were both a breeze. There is a ton of room inside this case, which assisted with making everything easy. For my CPU cooler, I currently only have the stock 1150 cooler, and this fits without issue and is plenty easy to install with tons of headroom above.
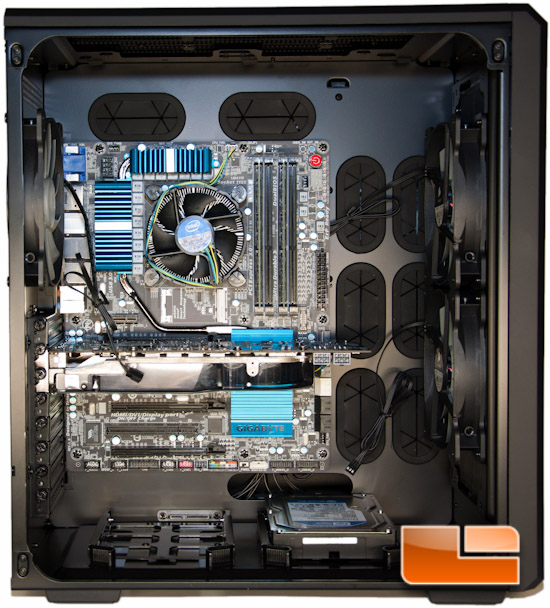
Above the motherboard, I had a fair amount of room to work with, should I want to mount a water cooler up there. I came in at 2-3/4 inches of room available before I hit the motherboard, which should be more than enough for a slim radiator and fans.
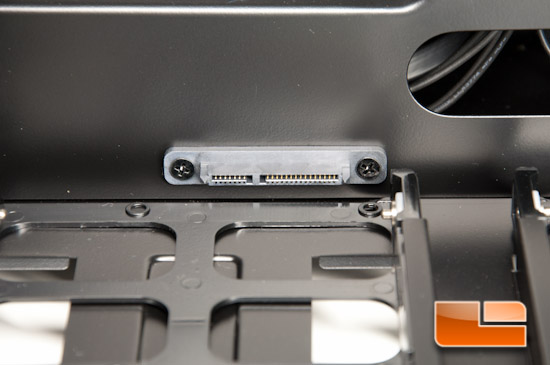
When installing the 3.5” HDD, I had zero issues getting the plastic tray to wrap around the drive. The plastic tray held the drive firmly without the need to install any screws, and slid into place with ease. I personally did not have any issues getting my drive to install, but I can see with the fixed SATA connectors, people may have some alignment woes.
Since there is no onboard fan controller with this case, I had to route the fans to my motherboard. Doing this and hiding the wires on the other side of the case was made easy thanks to the many grommet holes.
Flipping to the non-active cooling devices side is where you install your PSU, ODD’s, and SSDs. Installing my ODD’s was quite simplistic. I just had to pop the filler out from the inside and then slide my drive in. I do have to note that this was a slightly tight fit for my DVD-ROM, which in the end I noticed that the drive was all scratched up on the side. I don’t really care personally, since it isn’t seen, but it is a note worthy item for those who may.
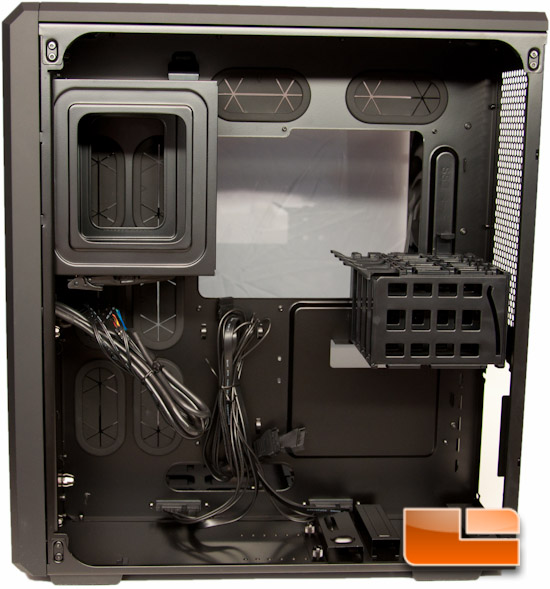
For my build, I just tested out the SSD (2.5”) tray at the back end of the case with my laptop’s HDD, and fitment was nice and easy to work with. You just slide it in, and *click* it snaps into place. I obviously had no intentions of leaving it in there, but rather it was just to see how fitment was. A tool-less 2.5” 4-slot bay will be awesome for those who like having a ton of SSDs in their system.
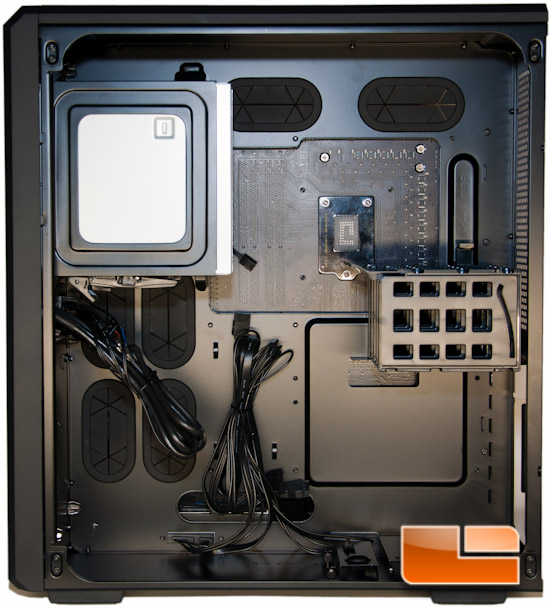
PSU mounting was also nice and easy to work with. Being that you don’t have much in the way, you have a ton of room to work with. You’re able to drop in a PSU up to 200mm in length here. On the bottom is a bracket that adjusts to your PSU length to help hold it snug. This bracket also assists in keeping PSU installation tool-less. The 2.5” SSD tool-less bay above it also assists with holding your PSU in place, so Corsair did a good job with the placement of this. Should you want to screw the PSU in place, you absolutely can via standard means, but if your PSU is held snug without those screws, I’d keep it screw-free.
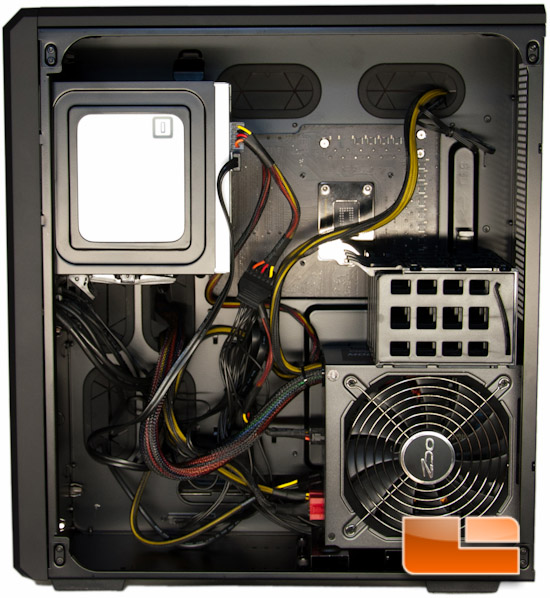
The grommet holes were placed nicely for the most part, but again, the bottom grommet is where I would have liked to see the rubber material in place. This would have provided a cleaner look and also help keep the wires in place better. The only other grommet holes that I had an issue with were the ones behind the 5.25” bay. These were quite tricky to get to, but not impossible.
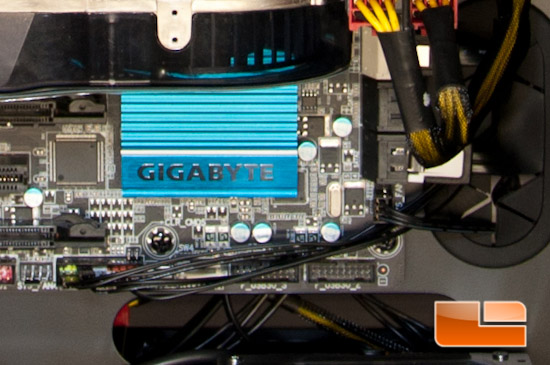
When it was time to install the I/O connectors (USB 3.0, HD AUDIO, Power Button, Reset Button, and HDD Activity), which I always do in conjunction with my PSU install, I found that the power button, reset button, and HDD activity wires were a little short. I had to drape them across my motherboard instead of hiding them in the opposite chamber. These wires should have been a good 3-4 inches longer to make installation easy and clean.
Here’s a close-up view of how I had to route the power, reset, and HDD activity wires.
When everything was ready to fire up for the first time, you could hear just a whisper of the fans. A lot of people hate screaming loud fans, so most will be pleased with these. Rated at 24 dBA at 1150 RPMs while pushing 67.8 CFM, these Corsair Air Series AF140L fans are meant to be quiet and move a good amount of air.
I’m going to wrap this review up and provide any final thoughts next!

Comments are closed.