Corsair Carbide Air 540 ATX Cube Case Review
Corsair Carbide Air 540 Exterior Impressions
Corsair’s Carbide Air 540 is not exactly a space efficient case, as it is a wide form factor case. I’d be willing to bet that your average Joe will not want something with the girth that this case has, but rather this case will be targeting your enthusiast looking for great cooling potential. When I saw this case arrive on my doorstep, I was quickly intrigued by it.
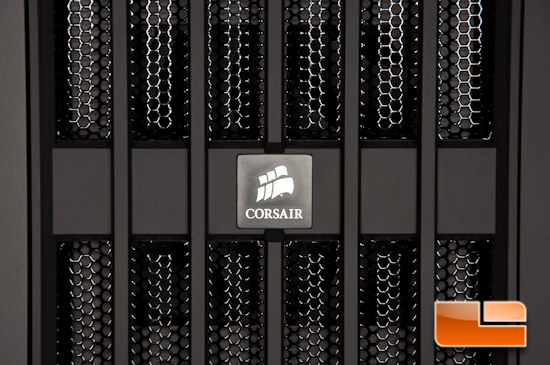
Starting with the front of the case, you can’t help but notice Corsair’s logo nicely placed in the middle of the honeycomb style metal mesh. To the right of that are the two 5.25” slots placed on their side, and below those is your I/O panel.
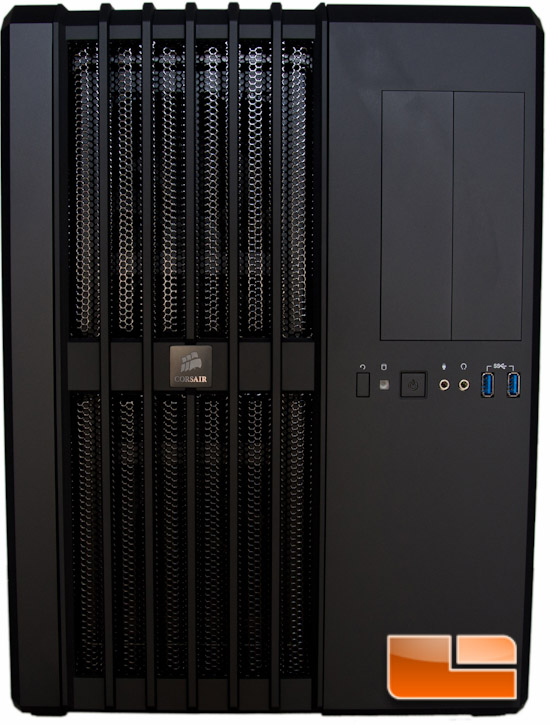
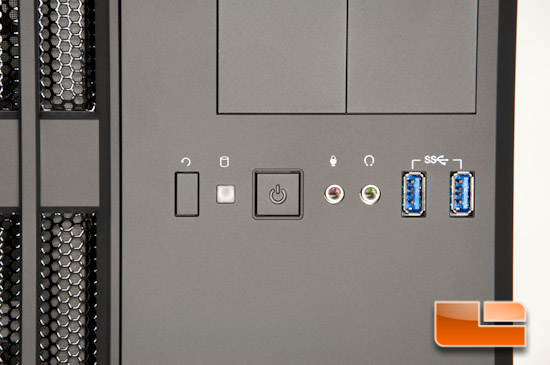
Within the I/O panel, starting left and working right, you have a reset button, HDD activity LED, power button, microphone in, headset out, and two USB 3.0 ports. It’s nice seeing a reset button included here, as you don’t find this on every case, and that really bugs me sometimes.
I’ll get to what’s behind the mesh in just a little bit, when I start pulling the case apart some.
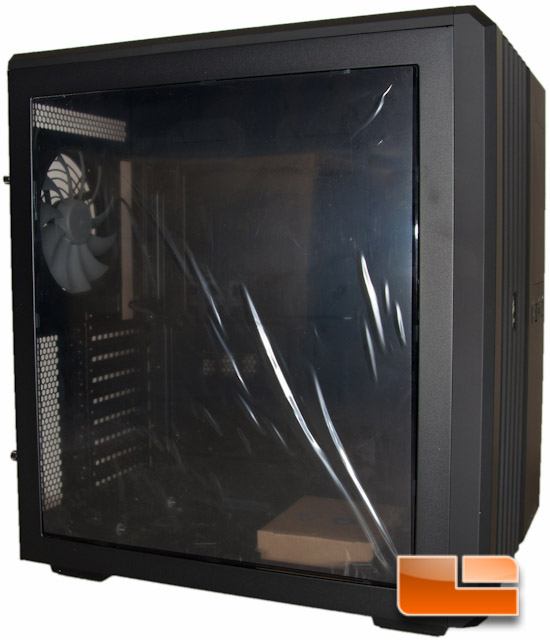
Moving over to the left hand side, you can’t help but notice the large 13” x 15” (WxH) tinted Plexiglas window. This again is covered by protective plastic from the factory when you pull it out of the box. Some may not like the slight tint because they want to show off their hardware unobstructed, but I think it looks great and adds to the aesthetic value of the case. Simply put, I feel it’s the right amount of tint without making the window pointless.
On the rear of the Air 540 you can better understand the separation of the case. Starting on the top right, there is a large 140mm Corsair Air Series AF140L 140mm exhaust fan mounted with honeycomb ventilation holes above and below it.
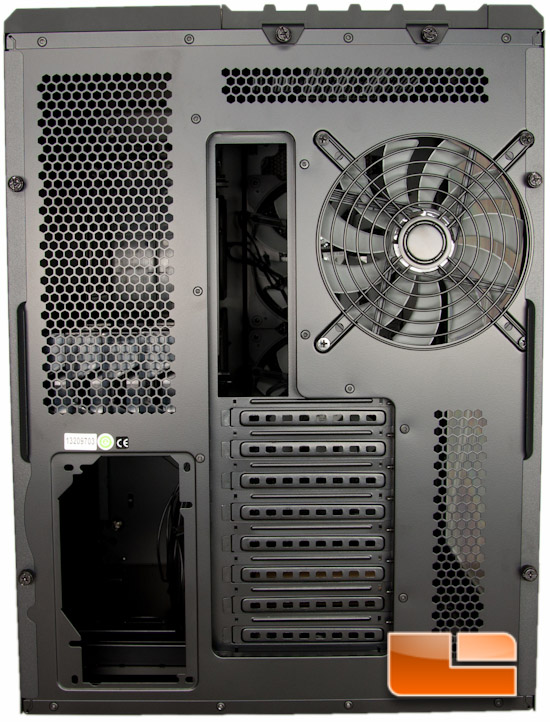
Placed to the left of the bottom ventilation holes, are 8 expansion slots. This should hopefully provide a good amount of options for adding expansion cards. With most video cards taking up 2 of these slots, doing Tri-SLI or Crossfire won’t be an issue.
The doors are held in with two thumb screws per door.
One thing to note on the doors yet, is the bump out grip point. With this grip point, you will have no troubles getting the doors off. I’ve seen some cases that don’t have this simple feature, so I am happy to see Corsair did include it.
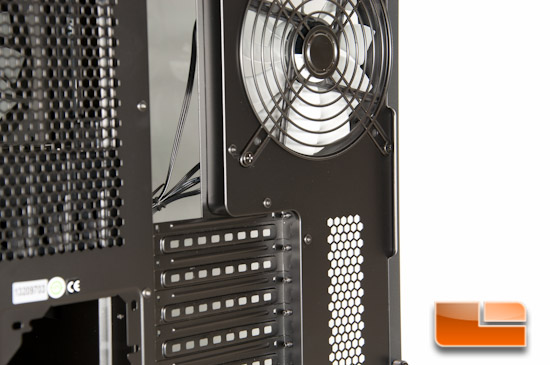
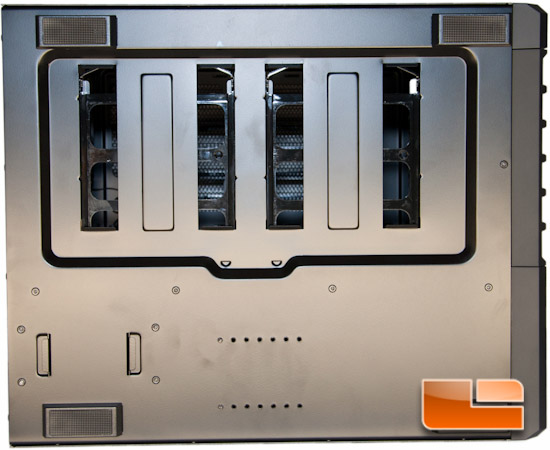
Over to the left is the other chamber. Here you can see where the PSU mounts at the bottom of the case, and above that is a large area for ventilation on that side of the case. Also in this ventilation area, is where you’ll find the four 2.5” drive slots.
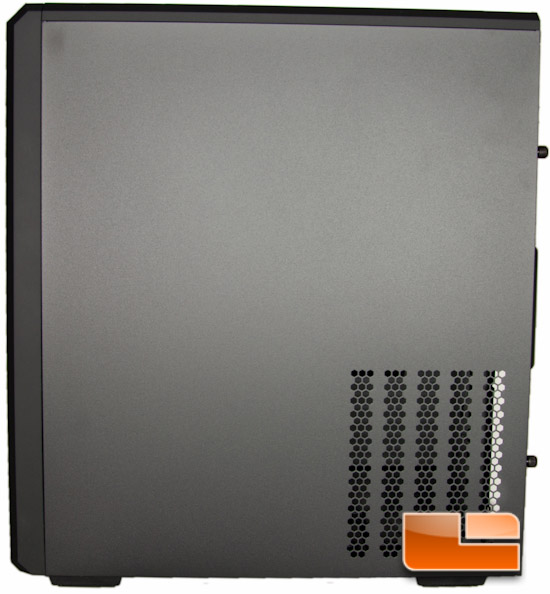
The right hand side of the case shows you pretty much nothing, as usual with ATX cases. On the bottom right hand corner is another ventilation section for the PSU. There is no active cooling on this side, as the components installed here shouldn’t need it, so they opened it up pretty good.
Alright, so the top shows you close to nothing as well, but this is the point that lets me show you the front taken apart. Up here you have the honeycomb mesh worked in nicely with the plastic panel. This panel is held in with two thumb screws, which when removed, you can pull/push this panel backwards a bit, then lift up, exposing the interior of the case.
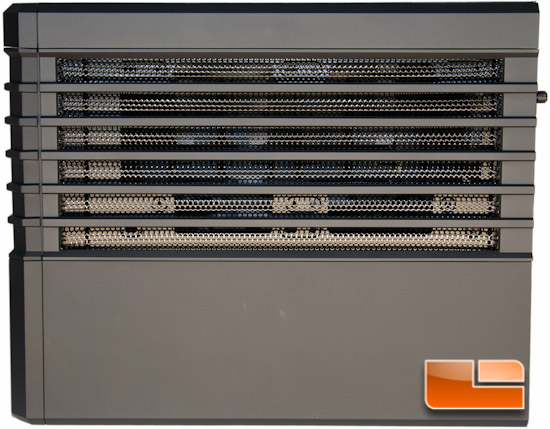
One quick look at the top with the panel removed.
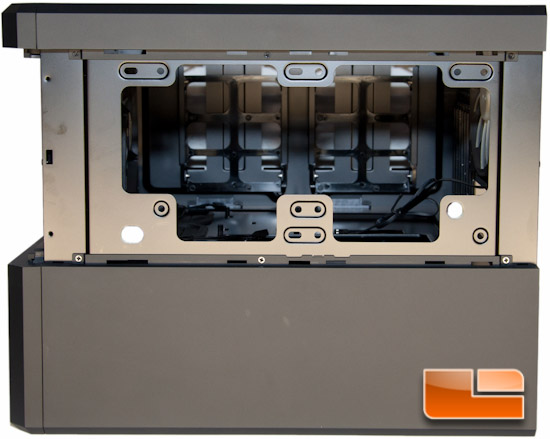
With the top panel off, the front panel will slide right up and out with ease. Everything is held in place with basically an L shaped connector. You can permanently mount this in place if you want, as there are two screw mounting points at the top, but when you put the top panel back in place, the front panel is held firmly in place.
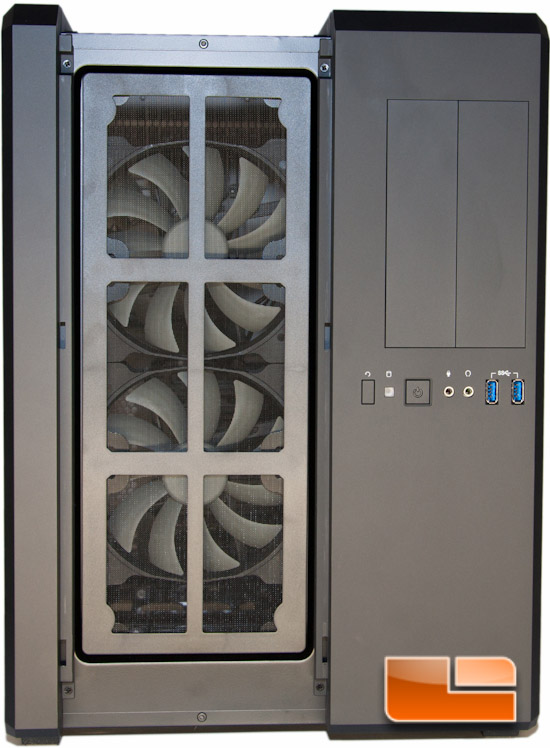
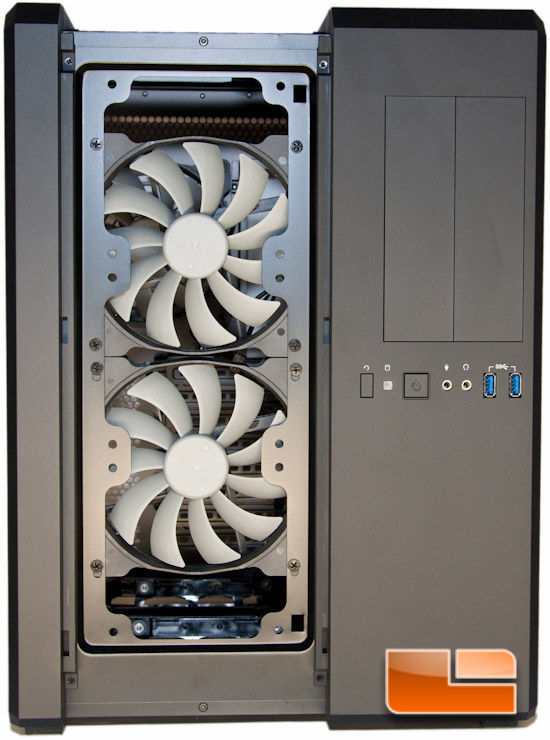
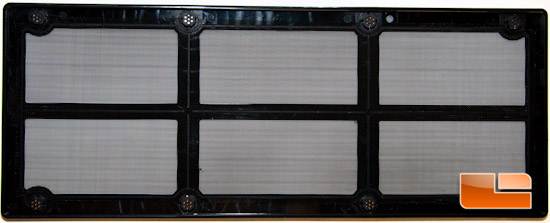
With the front panel off, you expose the front Air Series AF140L 140mm intake fans. There is an awesome magnetic dust filter in front of these, which is a genius idea for removing the filter. You can easily remove the filter if you have a flat blade (standard) screw driver to help you pry it off.
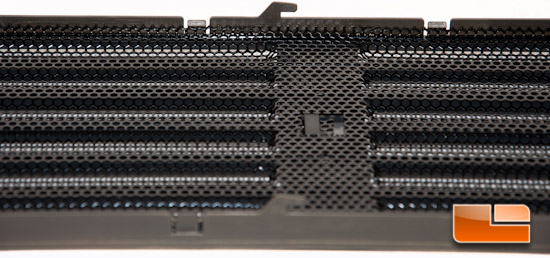
A shot of the filter removed from the front of the case.
And finally here’s all that the filter consists of.
On the bottom of the case are four slits, which is exactly where the hard drives will be mounted. These I can only assume are for ventilation, and in that case a filter would be nice to have here since it will be sitting on the ground. It does almost appear as if Corsair had intentions of putting a filter here, based on the shape of the indentation, but they did not include another filter.
Also down here are the four feet that hold this gorgeous beast off the ground a bit. They’re essentially plastic feet with rubber inserts to help prevent sliding, should you place the Air 540 on a smooth surface.
I was impressed with how lightweight this case is without hardware installed. It comes in at approximately 20 lbs, and based on how large this case is, you’d perceive it as weighing a lot more. When I first picked it up, I thought of it as a can of soda that I thought was full, but was really empty, and I lifted it up unintentionally quick. I feel this weight deception is due part to a proper combination of steel and plastic.
Next up I will pull off the two side doors and take a peek inside!

Comments are closed.