Corsair Carbide 400Q Silent Mid-Tower Case Review
Corsair Carbide 400Q Internal Impressions
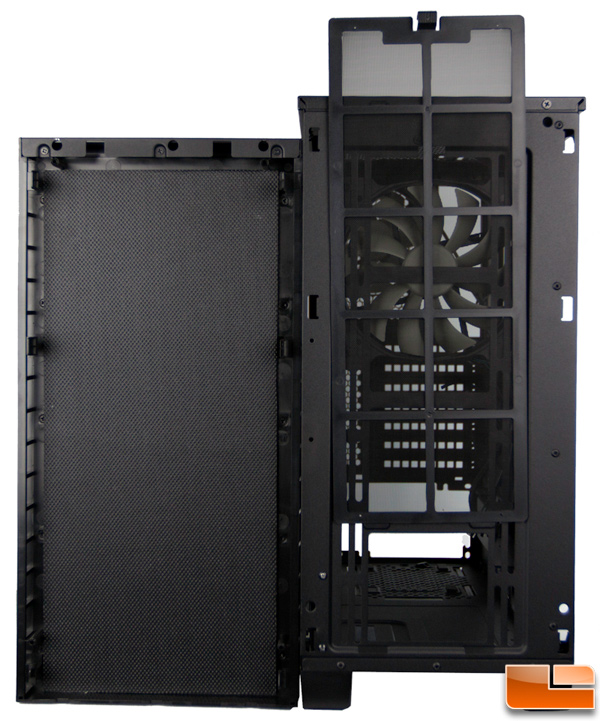
As with the 600C/Q, the front fascia is removable and hides a long dust filter.
The fascia is held into place by tabs which give the appearance of allowing the user to push them in to facilitate removal but my efforts in doing this were futile. I ended up just popping the front piece off by pulling at the bottom as stated in the accompanying instructions and partially broke one of the tabs. It didn’t end up making a difference in how it re-mounted so luck was with me there. I know there are others that used the same method and were more fortunate not to break anything so maybe I was little too Hulk-like in the removal. Unfortunately, the dust filter cannot be accessed without removal of this piece so expect some drama every time this is performed. The filter itself has magnets strategically placed on it to keep it in place and the back of the fascia is lined with the same sound-proofing material found elsewhere in the case.
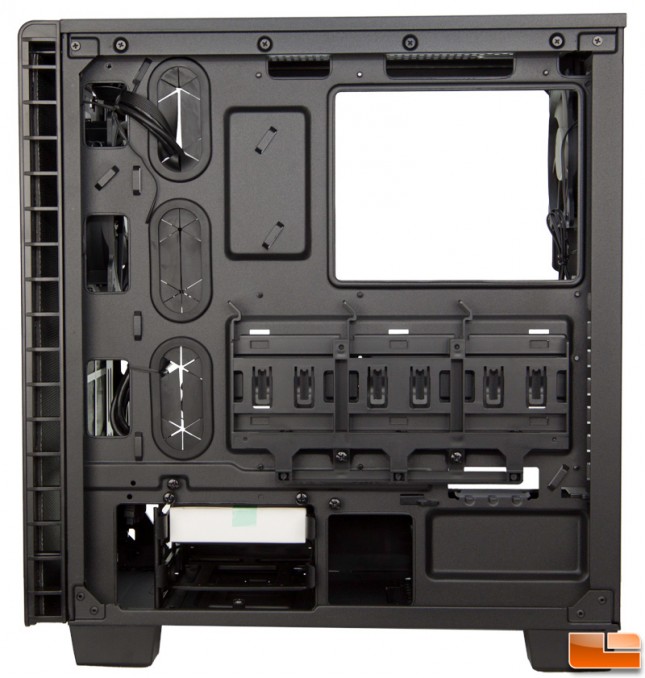
Around the back of the motherboard tray, the 2.5″ drive caddy is found across the middle and the 3.5″ drive cage is in the bottom left-hand corner. Rubber grommets adorn the cut outs for cable routing and the rolled edges are evident as well.
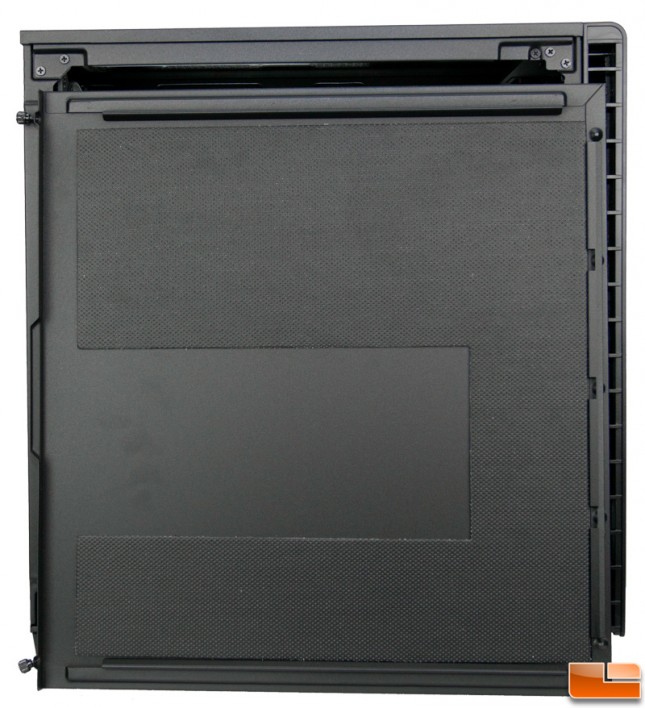
The panel that sits behind the motherboard try is lined with sound-proofing material save for the section that sits directly behind the 2.5″drive caddy. A nice feature of these panels is that the thumbscrews stay secured in the panel when its removed so they don’t get lost. It’s the little things.
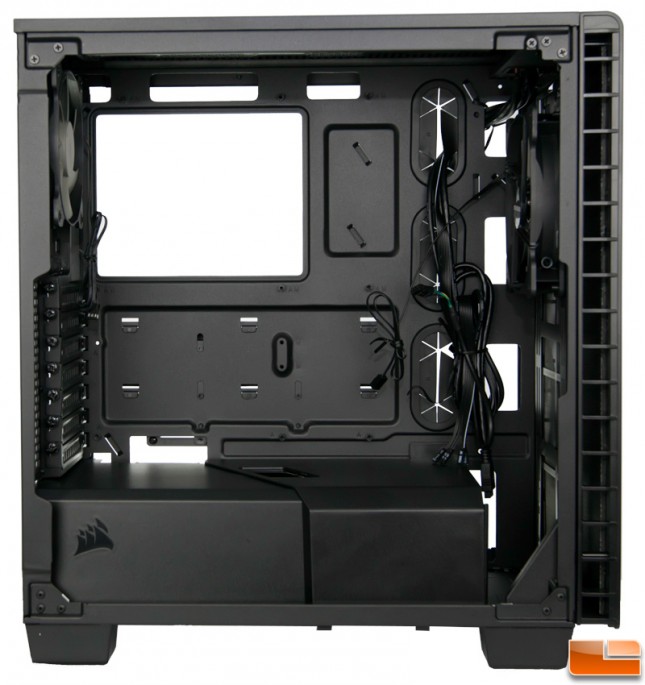
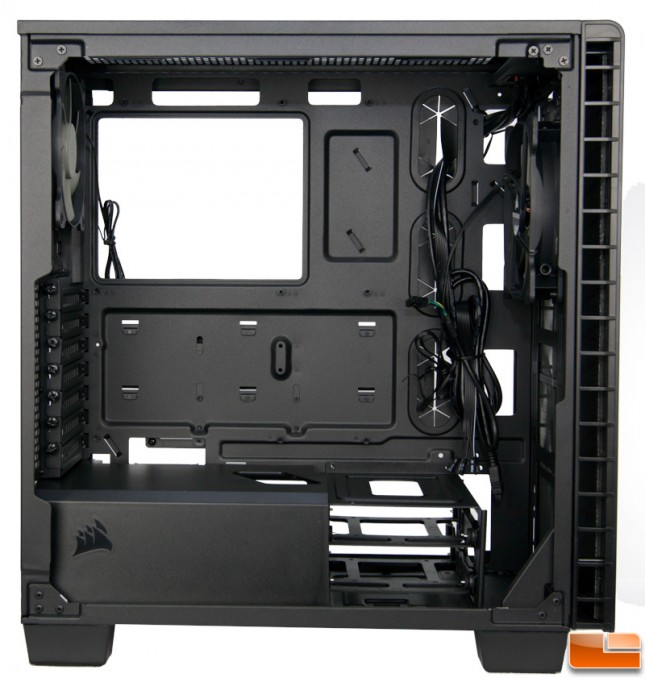
Most will immediately notice the absence of the 5.25″ drive bays and the roominess inside for such a small case. The set of plastic shroud pieces run along the bottom of the case which hide the PSU and 3.5″ drive cage. Remember these as they will come up prominently later.
Removed the “outside” shroud piece reveals the 3.5″ drive cage which is secured to the bottom with a tab and a pair of thumbscrews around the back.
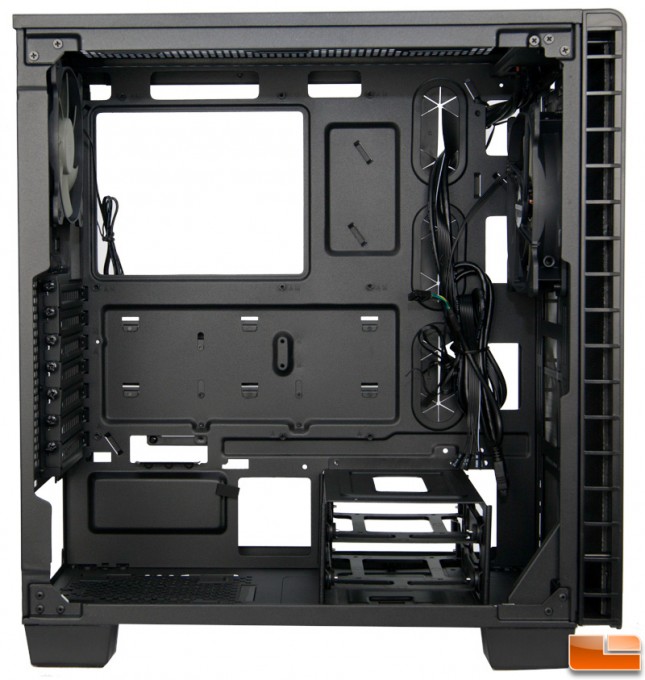
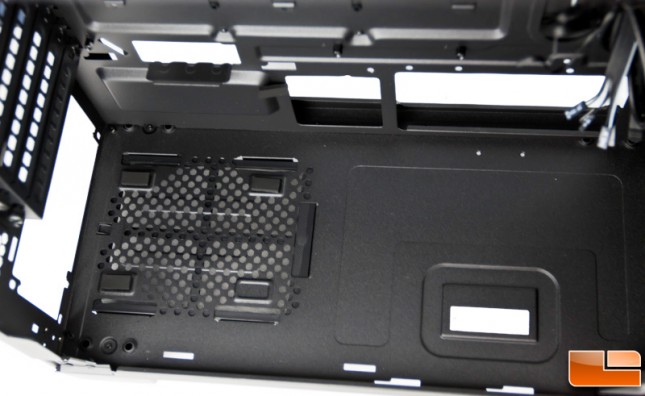
Removing the other exposes the resting place for the PSU. Note the black square hanging haphazardly in this general area. This is a rubber (or rubber-like) strip that should be stuck to the bottom for one of the corners of the PSU to rest on. I must have knocked it loose fussing with the shroud and it ended up here. I stuck it back in it’s place without a problem but didn’t realize it made an appearance in the pictures until I began editing them. Whoops!
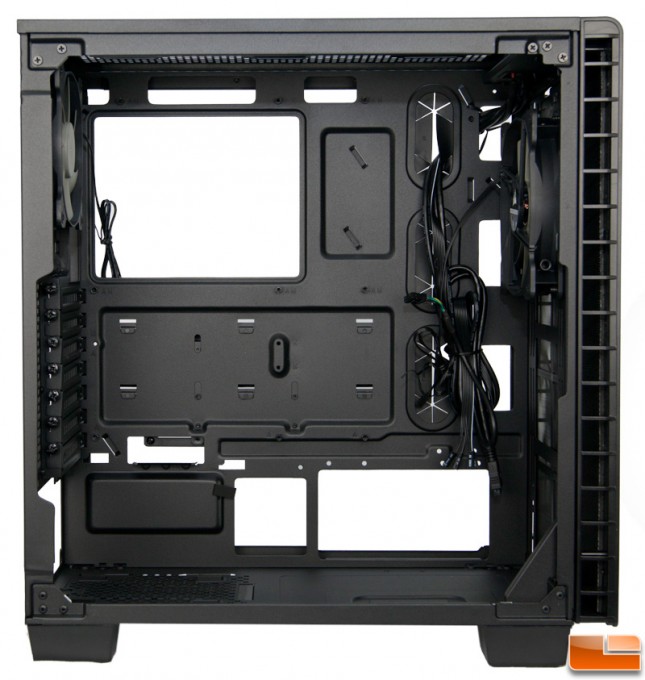
Finally, a view of the case gutted with the drive cage removed. Roomy!
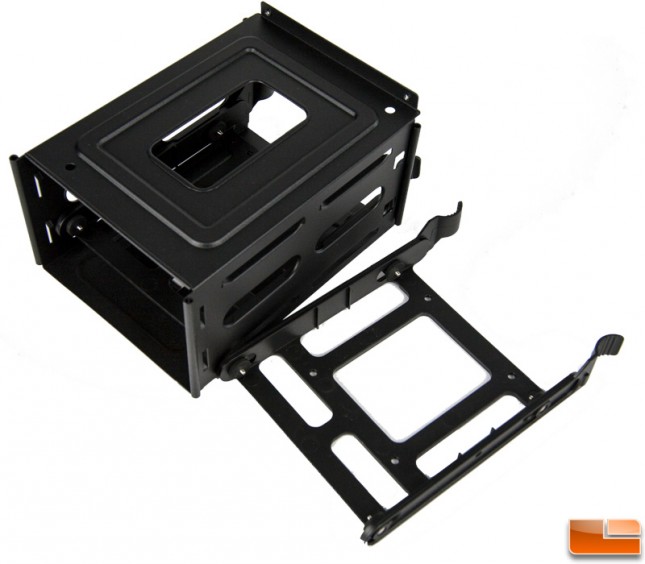
The drive cage holds dual plastic caddies that have pins with rubber spacers that plug right into the drives with some flexing of the caddy. It’s not unique to Corsair cases but it’s a feature I really like since it does not involve tiny screws that love to fall into the case and lodged in crevices, begging to be fished out. But I digress.
Here’s a nice view of the perforated bottom for the PSU fan as well as the aforementioned pesky sticky rubber piece. The hole to the right is where the tab from the bottom of the drive cage inserts. It can support PSU’s up to 190mm in length so plenty of room for the average unit.
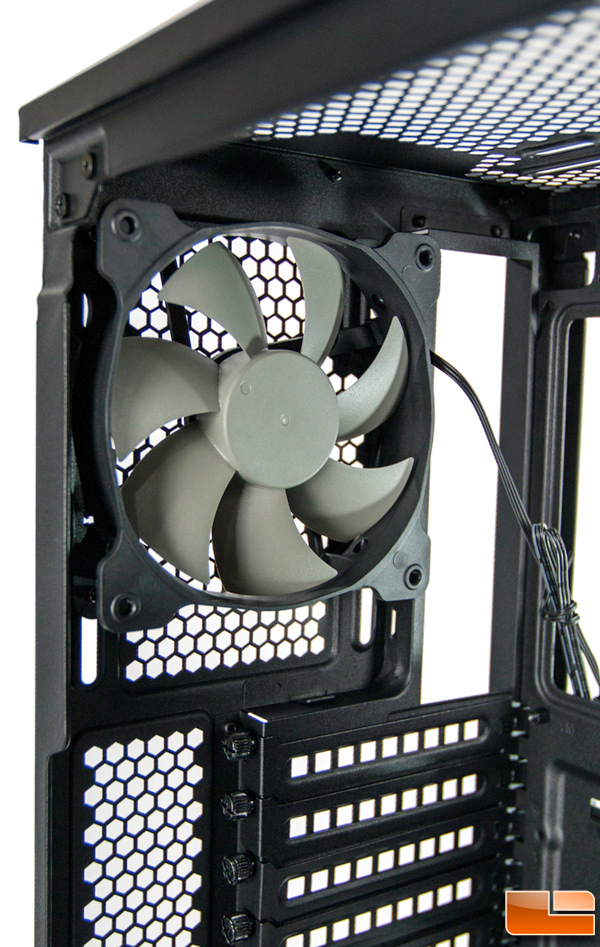
The rear exhaust fan is a 120mm AF120L model and you can see the long vertical screw mounting holes allowing variable placement of the fan which is a super nice feature. It also allows some flexibility for fitting in a small radiator up to 120mm.
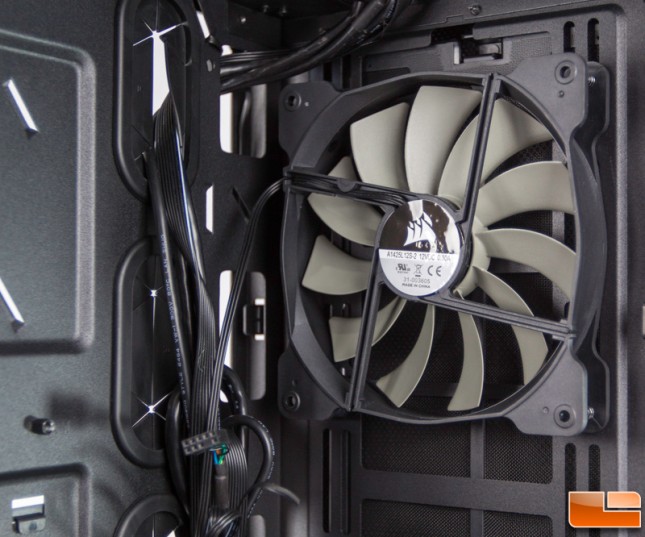
The front intake fan is a larger 140mm AF140L fan and again there are screw hole channels for vertical adjustments and a second track of these for 120mm fans should you choose to swith it out, add others or mount a radiator. In the front of the case, it can fit up to a 280/360mm radiator.

