Corsair Carbide 300R Mid-Tower Case Review
Corsair Carbide 300R Exterior Impressions
The 300R is actually one slick looking case. I have always enjoyed the appearance of a flat black finish over a flashy colored finish.
My very first impression was with how light the case is. Without hardware installed, the combination of plastic and steel has this case weighing less than 16 US pounds (~7.3kg). It doesn’t feel overly chinsey and the plastic to steel ratio feels good.
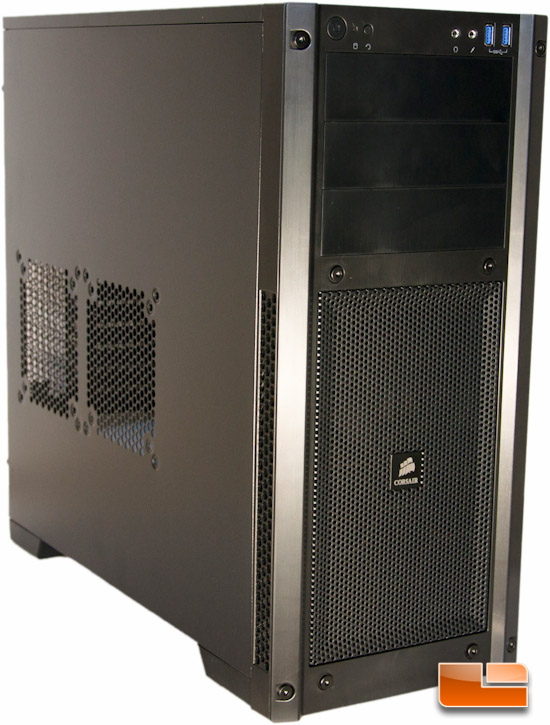
Starting off with the face of the 300R, you can see the I/O panel up top, the three 5.25” drive bays just below that, and actually hidden behind the mesh is a single intake fan, with room for a second. The hex screws are strictly aesthetic and not a part of tearing the case apart. I actually quite like these and feel it’s a nice little touch to an already pretty plain front.
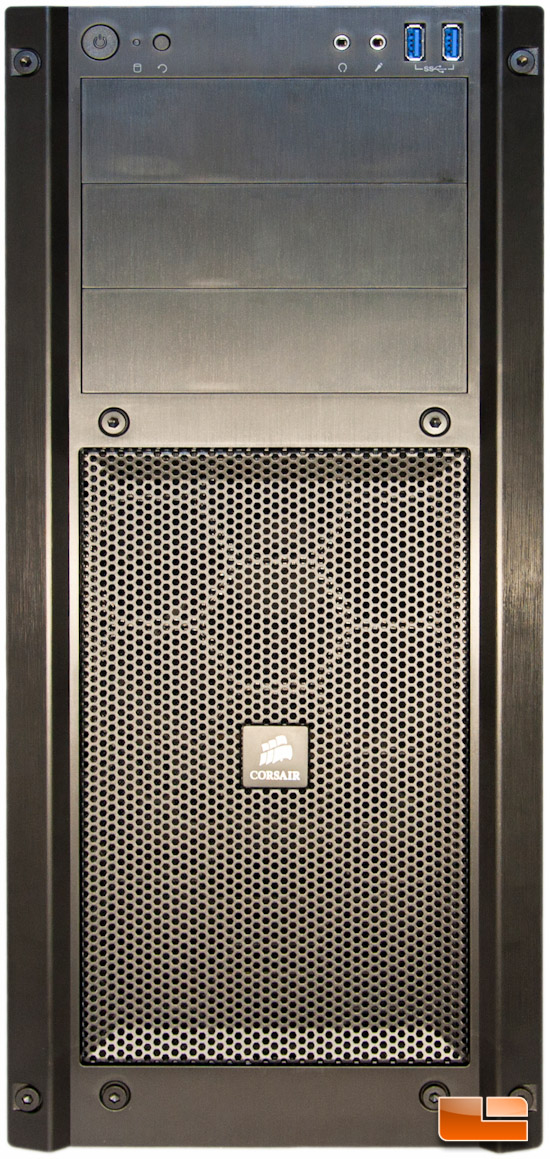
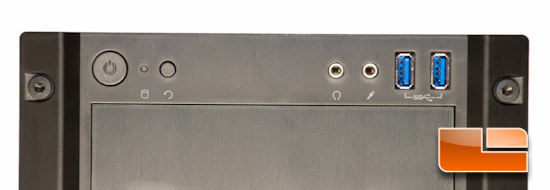
A quick run through the I/O panel, working left to right, there is a power button, HDD activity light, reset button, headphone and mic jacks, and finally two USB 3.0 ports. I am happy to see Corsair include a reset button on their case, as cases that don’t have these drive me nuts sometimes.
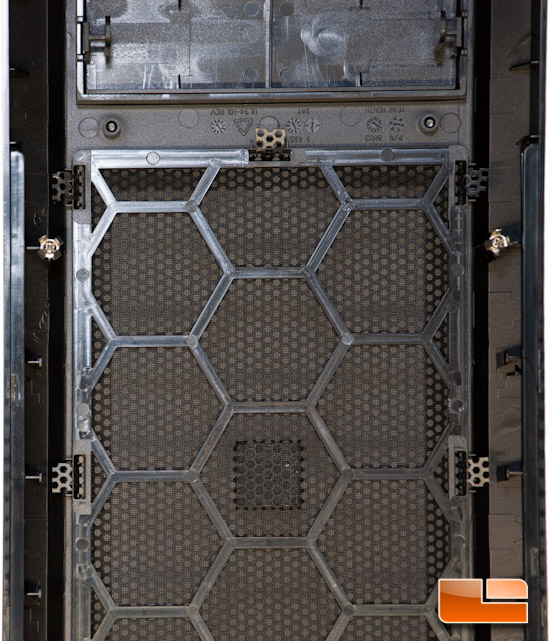
You can pull off the front panel by reaching underneath the face and pulling towards you. I’ve seen many cases over the years have methods like this, and it’s definitely simple enough to work with. As mentioned previously, under here you expose the single mounted 140mm intake fan, with room to mount another 120/140mm fan just below.
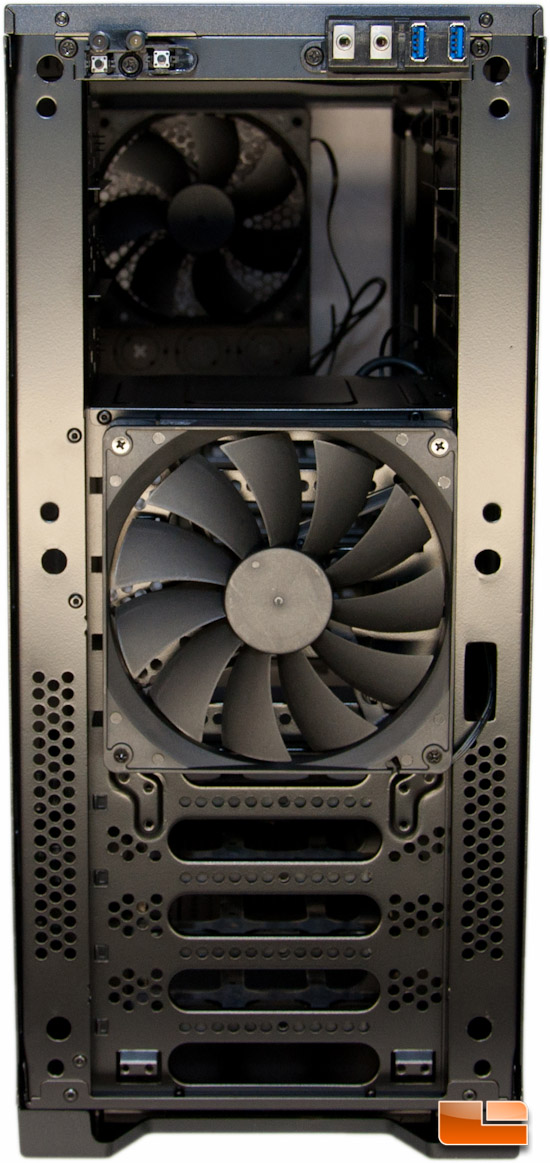
There is a filter that is mounted to the panel that you just removed, but it isn’t able to be removed from what I can tell.
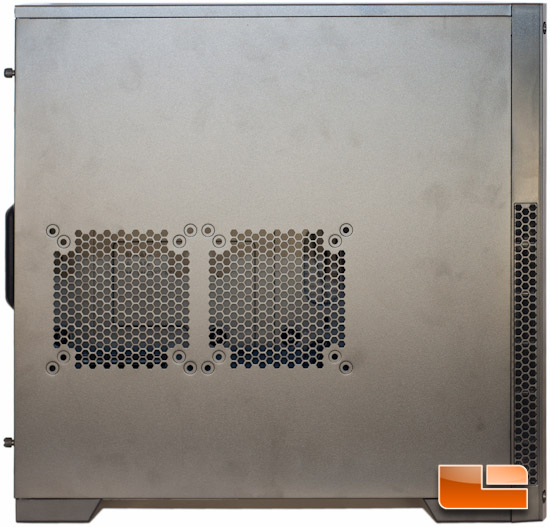
Moving over to the left hand side of the case, the very right edge has some ventilation holes, while on the left you have two mounts for 120/140mm fans. These fans will line up horizontally on the side panel to provide extra cooling to your video card(s).
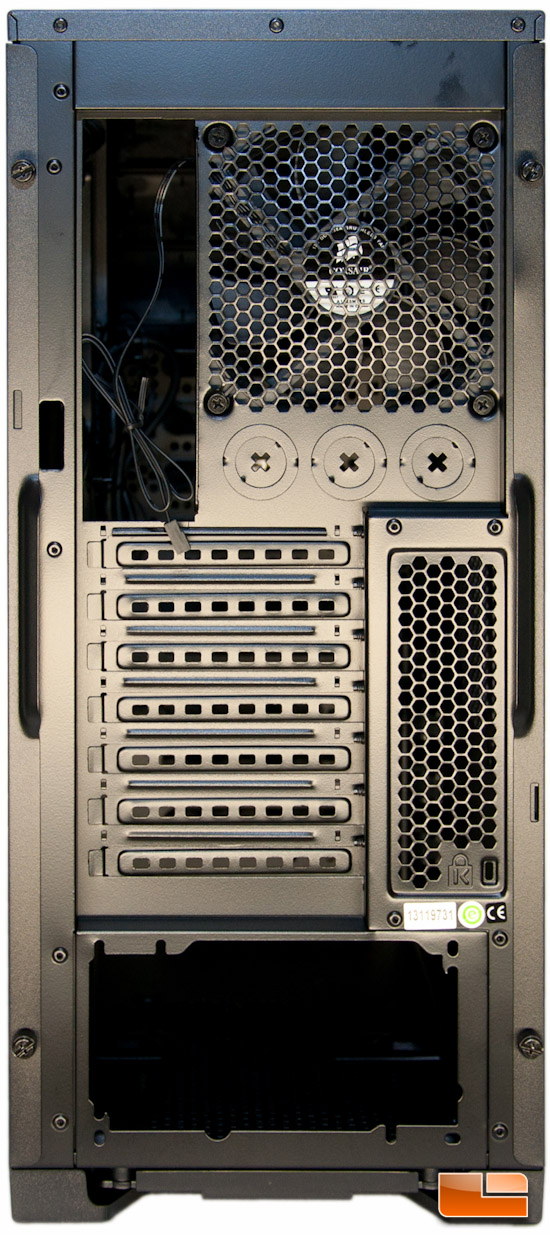
Moving to the rear, up top you catch a view of the single 120mm exhaust fan. Just below that are three knockouts for water cooling piping. I honestly would have liked to see these protected a little more with grommets. Finally this case includes room for seven (7) expansion cards.
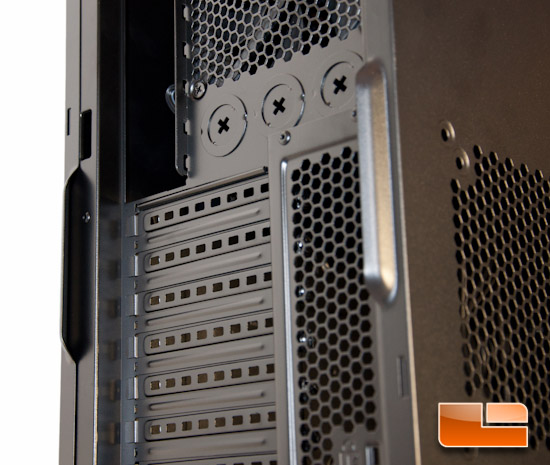
Another thing to note is the addition of grip points on the side panels. The side panels are held on with two thumb screws each on the rear, and these grip points are always a great touch when trying to remove it.
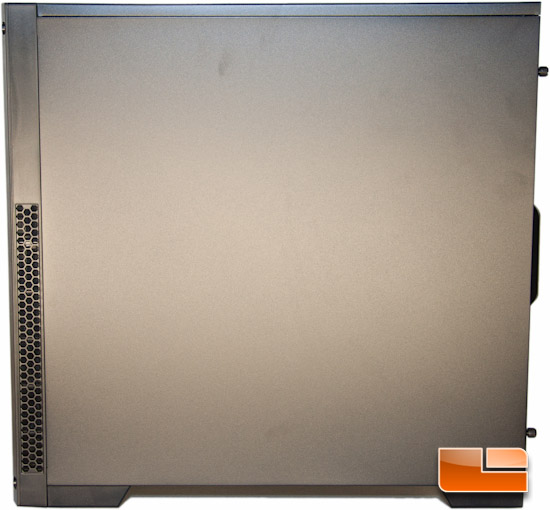
The right hand side of the case doesn’t really show you much of anything, other than the ventilation holes on the left hand side.
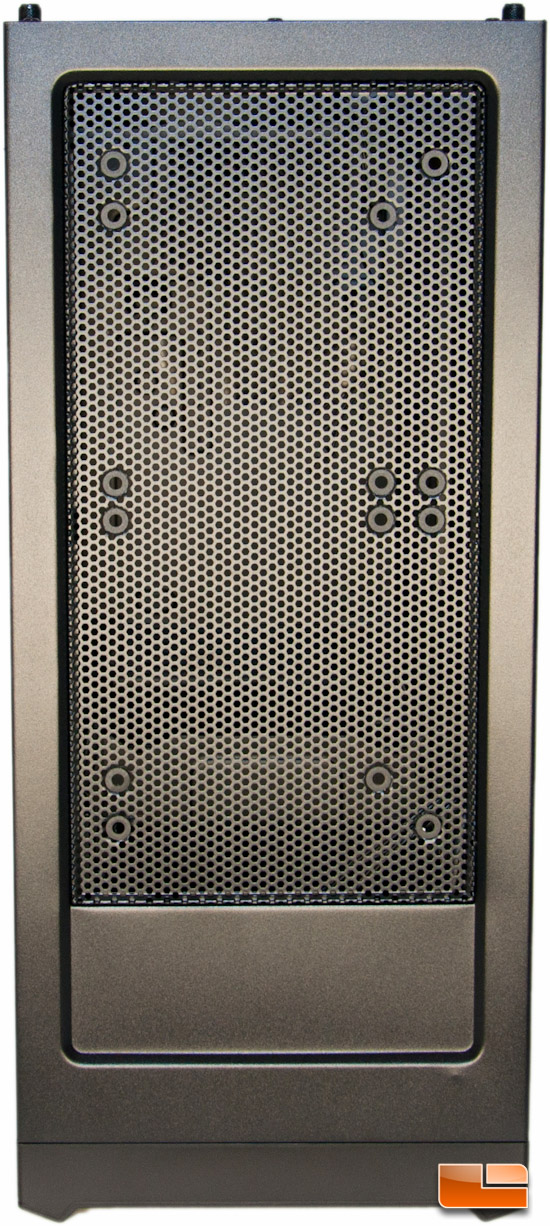
Up top we can see this is nice and open. There is room for both 120mm and 140mm fans to be mounted, with the 120mm fans being pushed towards the outside edge for easier 120/240mm radiator mounting. This area probably could use filtration, but that will be up to the user to take care of, should they want to.
Finally, looking at the bottom of the 300R, you catch a glimpse of how Corsair wanted this case to not slip and slide on smooth surfaces; there are four rubber pads for feet. At the very bottom of the below picture, is the grip point that you will put your fingers to assist you with removing the front panel.
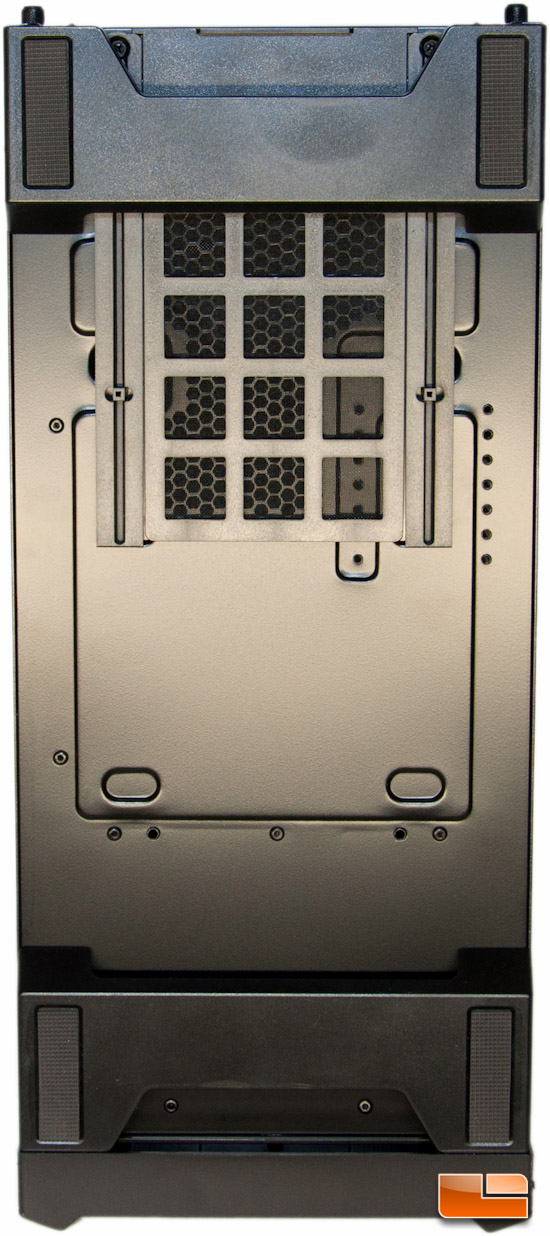
Also down here is a filter for the PSU. This filter is much easier to remove, as you just simply slide it from the back.
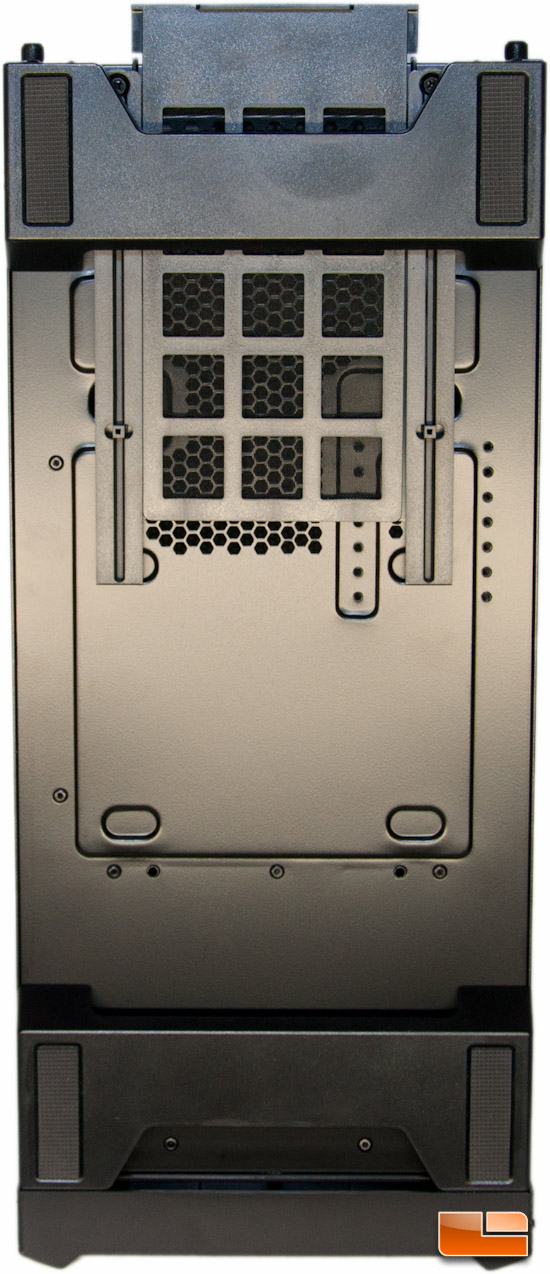
That’s about it on the outside, so next up I will take a look and see what the inside has to offer.

Comments are closed.