Cooler Master Storm Stryker Case Review
Installing Hardware into the Storm Stryker
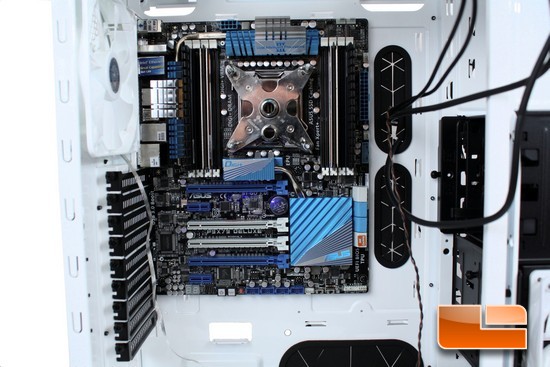
Time for me to install my personal computer into the Storm Stryker chassis, installing the motherboard went by fairly smooth, and we can start to see that this chassis has a fairly large interior.
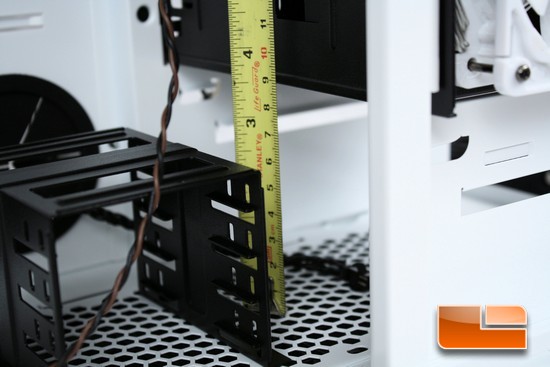
Since I was curious about a couple of things with this particular chassis I started measure the bottom front of the chassis to check for clearances to see it is tall enough to handle a dual 120mm radiator. Looking at the measurement I have roughly 3.5 of room here from the bottom of the chassis to the bottom of the 5.25 device bays. Now keep in mind this is only possible if I leave the tool-tray out of the chassis. I will also have to remove the small 2.5 HDD/SSD cage.
Form the looks of things; I could easily install a dual 120mm radiator up here, possibly a dual 140mm radiator. But unfortunately I cannot verify the fitting of a dual 140mm radiator as I do not have one currently.
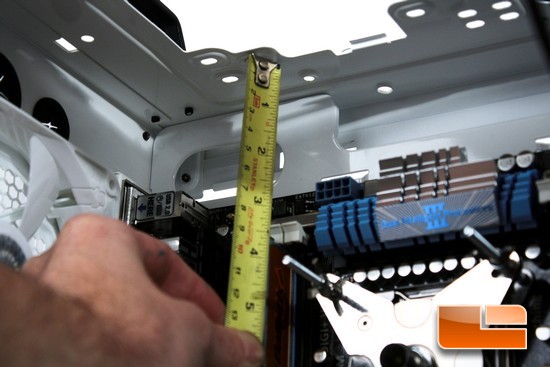
Directly above the motherboard I have roughly 2.75 of room here.
Now the bottom front of this chassis can easily handle a dual 120mm radiator, the absolute largest type of radiator you will be able to fit here a dual pass, dual row, and dual 120mm radiator here. As, the lower four in three HDD/SSD carrier will be the limiting factor (if it is being used).
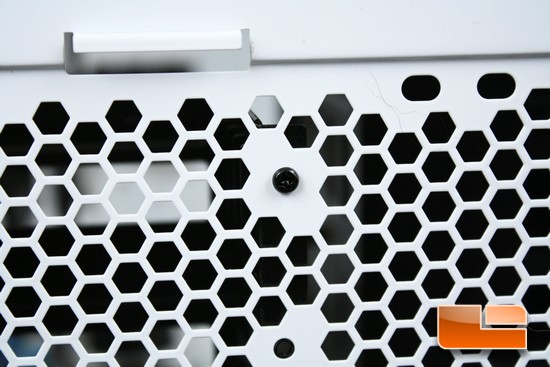
Since I am planning on installing my dual 120mm Swiftech radiator into this chassis I need to remove the 2.5 HDD/SSD cage from this chassis. There will be four small screws that secure it to this chassis.
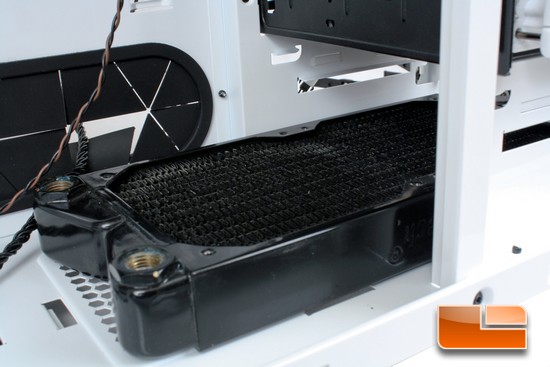
The Swiftech dual 120mm radiator fully installed into this chassis, once again you will lose the tool-tray and the extra 2.5 HDD/SSD cage if you install a radiator here.
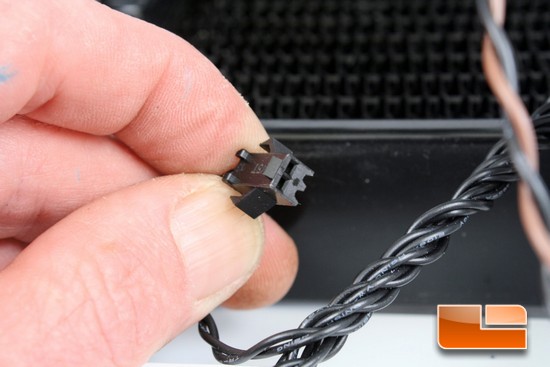
Cooler Master includes an extra LED power connector, none of the other fans use LEDs. So I am thinking we could plug in extra LEDs into this power connector so that we can turn them on or off from the front IO button.
Do Not hook this up to the motherboard, this is a powered connector.
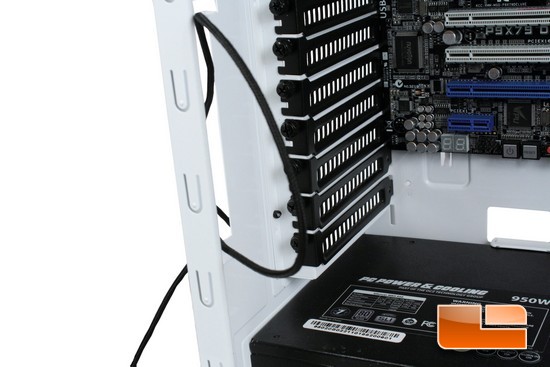
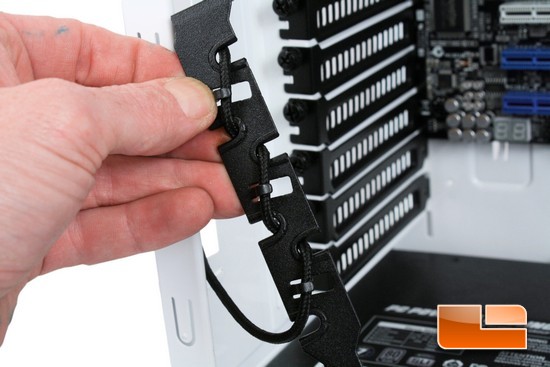
I wanted to show you how the security device works on this chassis. Run a small portion of the mouse/keyboard cable through the large cut out, and then wrap it around the modified PCI expansion bay cover.
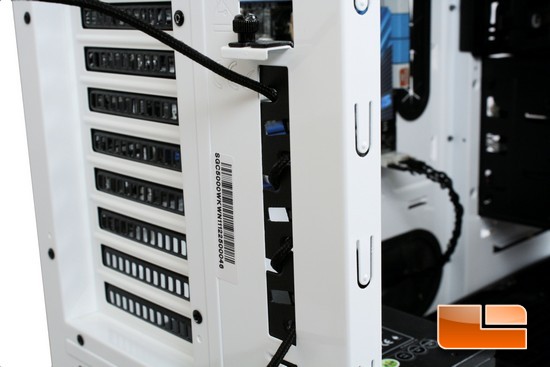
Then secure it to the chassis.
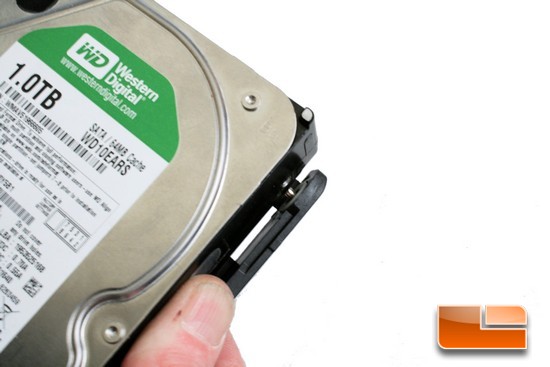
Now when installing the 3.5 HDDs, we need to slide the HDD onto one side of the pins of the individual HDD carrier, then carefully bend the opposite side away for the HDD and then lift it up into place locking onto the HDD. If you use too much pressure bending these carriers, you will break them.
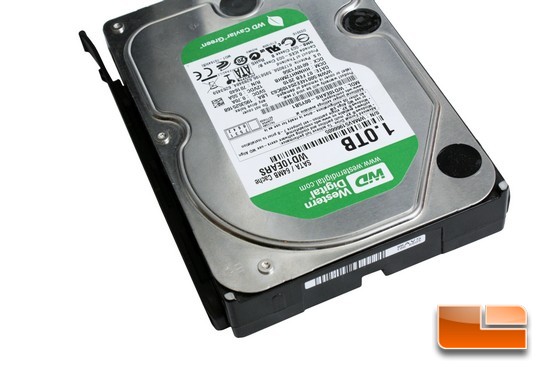
The 3.5 HDD fully installed into the individual HDD carrier.
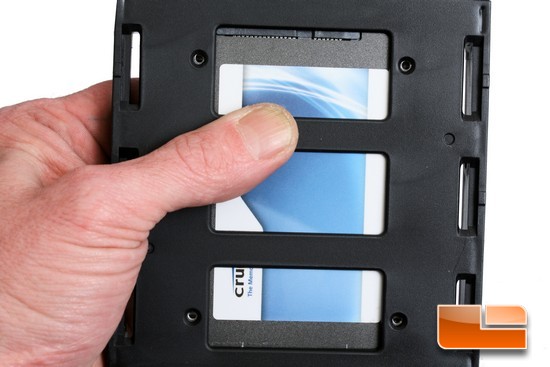
The 2.5 HDD/SSD just requires us to align up the mounting holes of the drive to the individual HDD/SSD carrier and use the appropriate screws to secure them to the carrier.
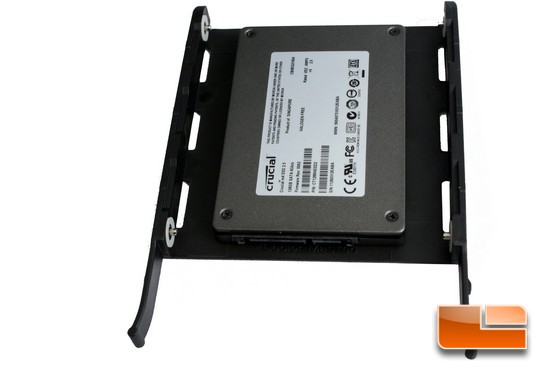
The 2.5 HDD/SSD fully installed.
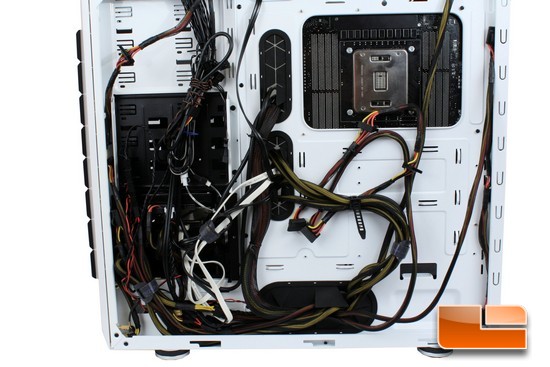
Since this review is winding coming to a close, let see how the back side of the motherboard tray looks like now that all of the hardware is installed into the Storm Stryker chassis.
Replacing the right side panel was not hard, as the extruded part of the side panel did make more than enough room to keep the power cables from closing up the chassis. But would have made it easier, would have had the side panels swing open and close, instead of the traditional slide locking way. This is more of a personal taste as it will improve the overall use of this chassis.
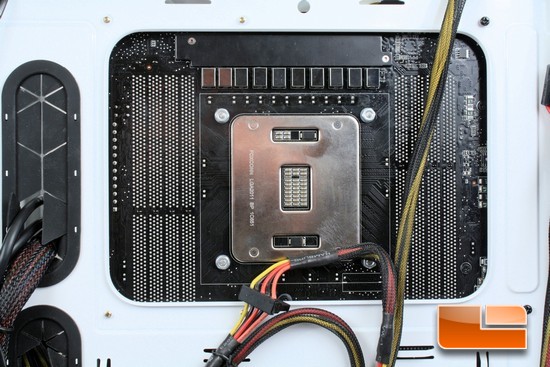
Looking at the CPU cutout on the motherboard tray, just as I figured this CPU cutout is large enough to accommodate just about any motherboard and motherboard configuration.
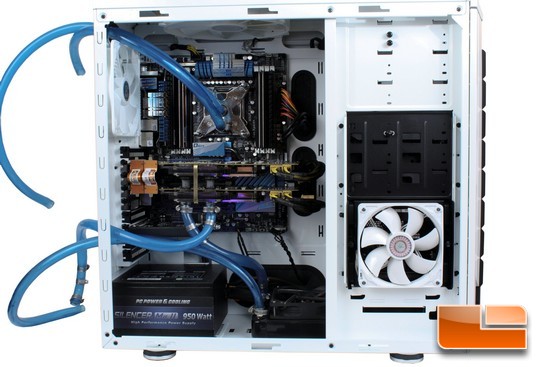
What everything looks once I get all of my wires tucked away and the entire computer components fully installed into the Storm Stryker.
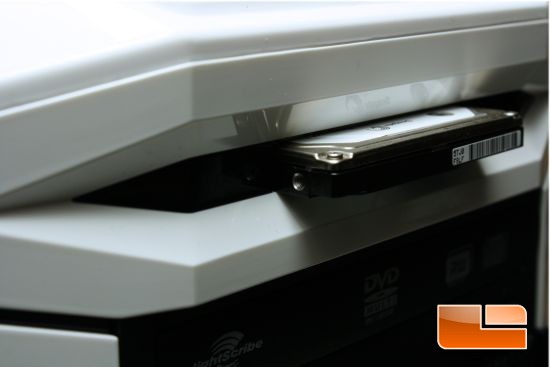
Looking at the use of the X-Dock that is incorporated in with the Storm Stryker chassis; I am using a 2.5 HDD from a laptop for my demonstration, as 2.5 laptop HDDs and SSDs have a lot of similarities in both mounting and in their size.
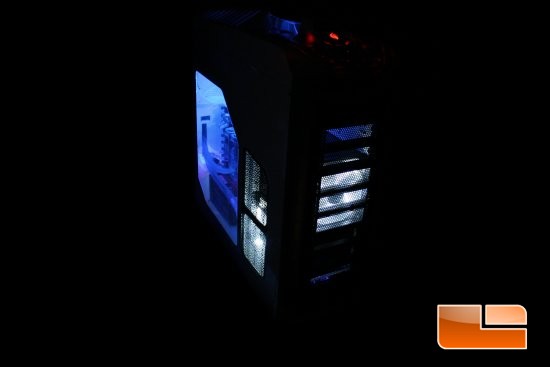
Night time shot of the Cooler Master Storm Stryker.
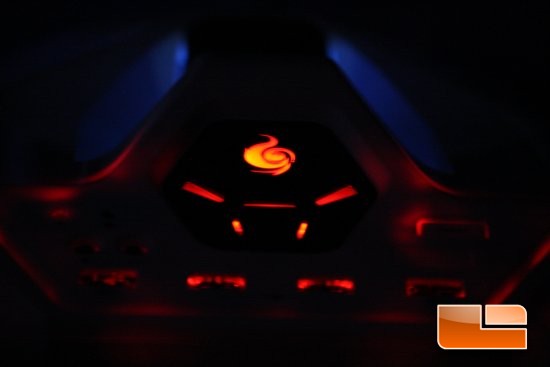
Here is an close up picture of the top front of the Storm Stryker chassis while it is running. This chassis looks rather intimidating once we get up close and personal with it.

Comments are closed.