Cooler Master Storm Stryker Case Review
Storm Stryker Exteriror Thoughts
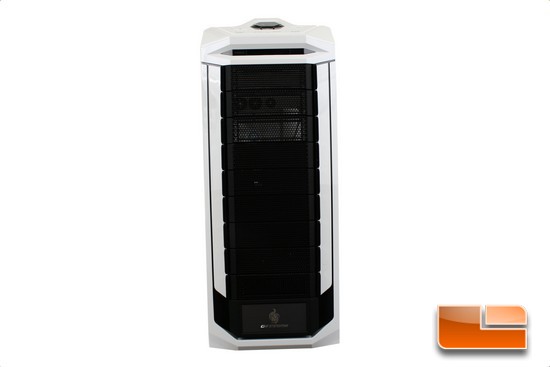
Time to look at the exterior of the Storm Stryker chassis; Cooler Master gives us up to 9 5.25 bays and one of these bays can be used for a 3.5 floppy drive.
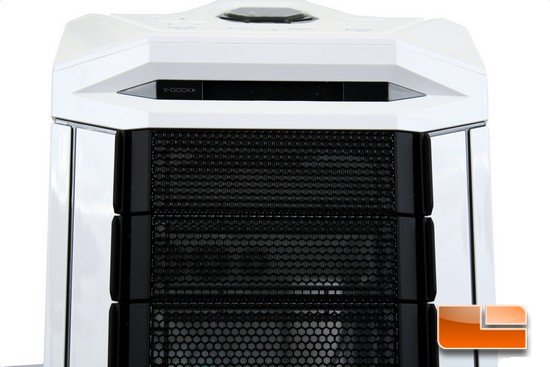
The 5.25 bay covers utilize a fine metal mesh covering that will help in increased circulation, while keeping large particles from entering this chassis. On the backside of the 5.25 bay covers Cooler Master inserts a smaller mesh material to reduce these particles to micro sized. Right above the 5.25 bays is Cooler Masters very own X-Dock feature, this docking bay is for those of us who have portable 2.5 HDD/SSDs and allows us to hook these smaller drives directly to this chassis without the need of an adapter.
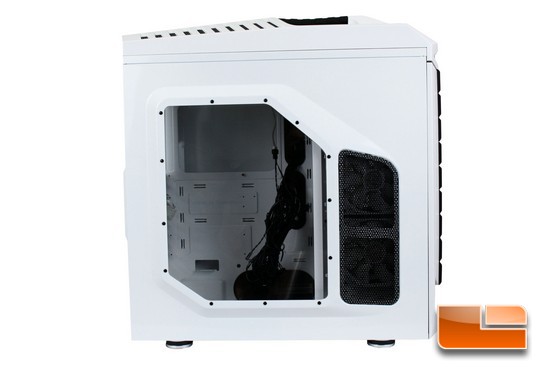
Turning the chassis 90 to the right brings us to the left side panel. Cooler Master places a large side panel window; as well as, a large filtered ventilation port towards the front of the left side panel.
A word of note that both of these side panels protrude outwards by a significant amount, this will allow for more room behind the motherboard tray to hide PSU power cables, as well as give this chassis an intimidating look to it.
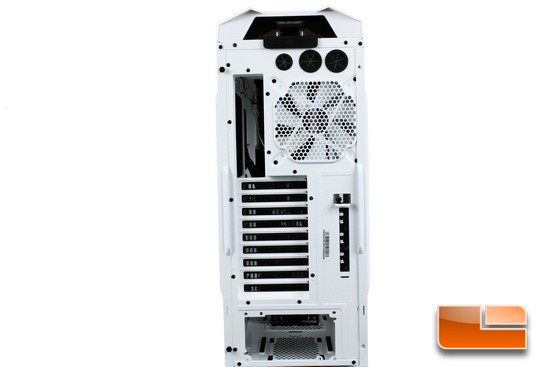
Time to look at the backside of this chassis, as we can see the Storm Stryker chassis follows a standard ATX layout design.
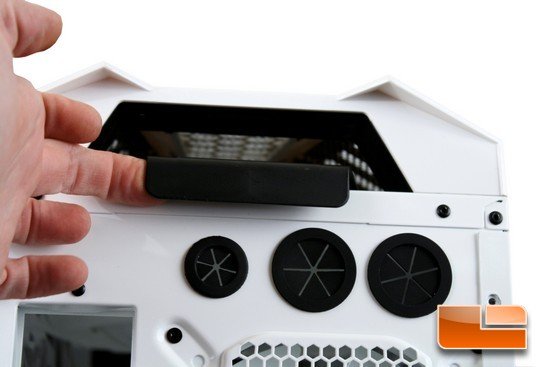
At the very top of this chassis, Cooler Master includes a fine mesh filter that can easily be removed.
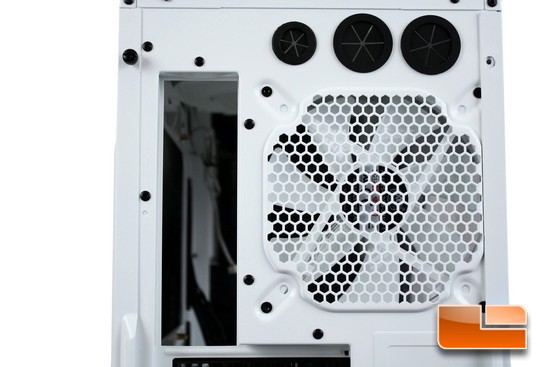
Cooler Master includes 3 water cooling access ports; right below these access ports is a 140mm rear exhaust fan (We can also install a 120mm fan here if we want to).
What got me scratching my head on this chassis currently is the water cooling access ports. Two of these ports are fairly large and can accommodate the larger 3/4 sized hoses, while the third one is much smaller. And why is there only 3, and not 4?
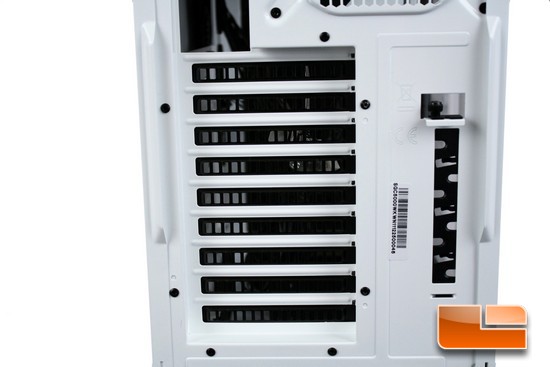
Making our way down on the backside of this chassis, the Storm Stryker can utilize motherboards that are of the e-ATX design (Extended ATX) of motherboards that have 9 PCI expansion ports. To the right of the PCI expansion bays, is another Cooler Master unique feature that we can use to secure our mouse/keyboards to the chassis, to keep these two peripherals from growing legs and wandering off during lan parties, as they so often do at times.
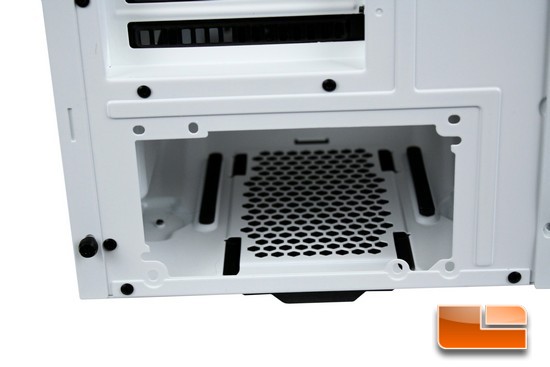
To finish up the backside of the chassis brings us to the rear PSU mounting. Cooler Master uses multiple mounting holes so that we can use a multitude of different PSUs, and configurations with this chassis.
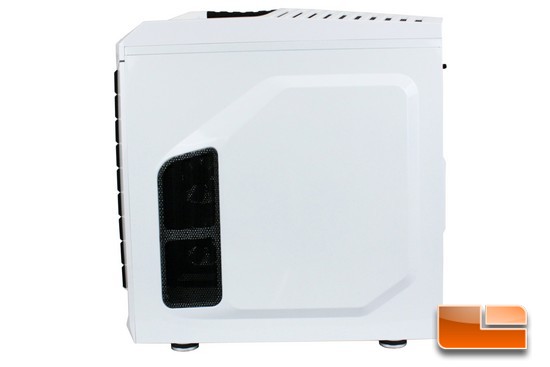
Rotating the chassis to right once again brings us to the right side panel. This side panel has the same design as the left side panel, except this side panel does not have a side window.
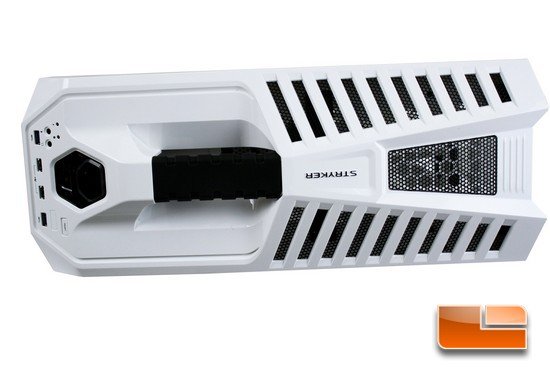
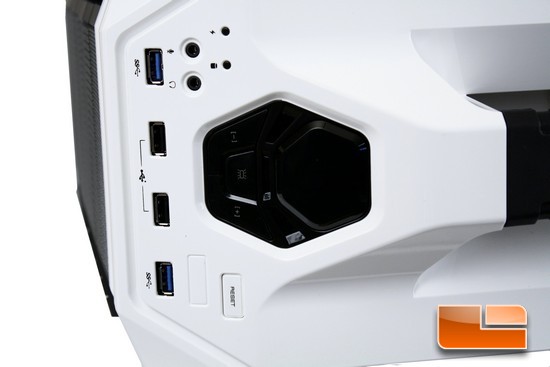
Starting from the front, Cooler Master includes two USB 3.0 ports (1 on each side), 2 USB 2 ports (Center), a Reset button (Bottom lower of the picture), on the other side of the chassis is where the front audio output, and mic input, and the HDD/Power indicator LEDs. And right in the center of the to front of this chassis is where the very large on/off button is located, a LED on/off button, and a fan controller.
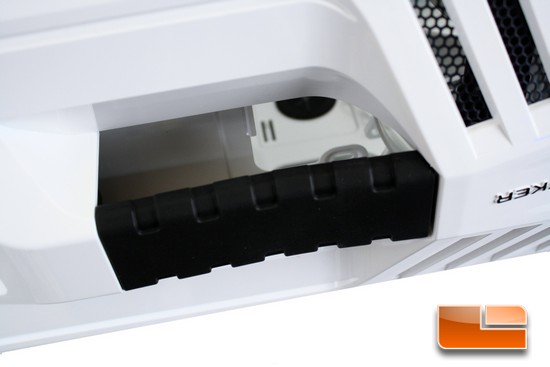
Right behind all of the front IO ports of this chassis Cooler Master includes a carrying handle. Cooler Master puts a rubber coating over this carrying handle so that our hands wont get damaged while we carry this chassis from one lan party to the next.
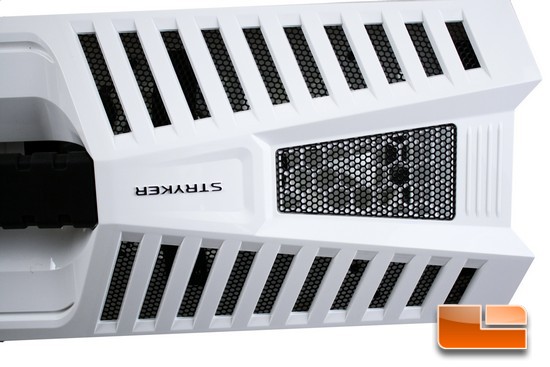
The entire back portion of the upper bezel has been vented and covered with a fine metal mesh to keep large objects from entering the chassis, while keeping ventilation at its highest.
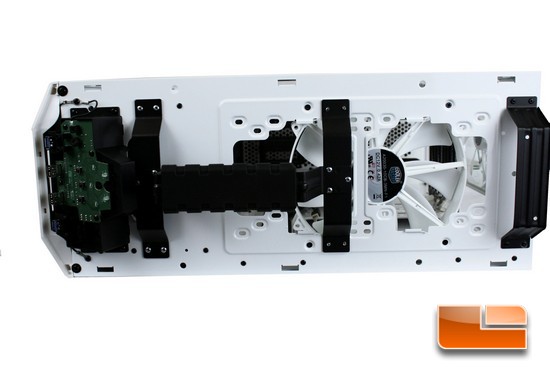
Removing the upper Bezel required that both side panels be removed and 4 small clips be pushed back and the top bezel removed. Up towards the front of the chassis since the upper bezel been removed we can see the control circuitry that Cooler Master uses on the Storm Stryker chassis, and we also a get better look at how Cooler Master incorporates the carrying handle.
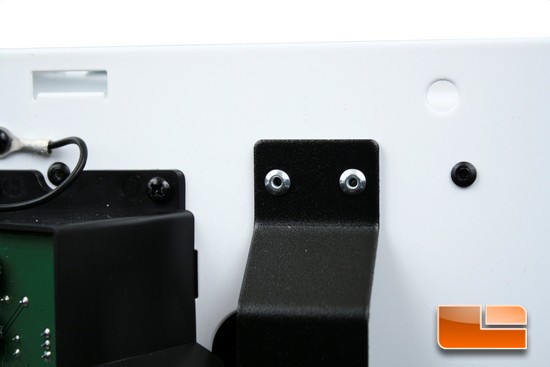
The carrying handle is directly secured to the top of chassis main frame, by the use of pop rivets.
While these will provide the necessary strength to keep this handle firmly attached to the chassis, I would have personally liked to have seen this carrying handle secured using bolts with nuts. Again this is more of a personal preference not a necessity and will vary from one person to the next.
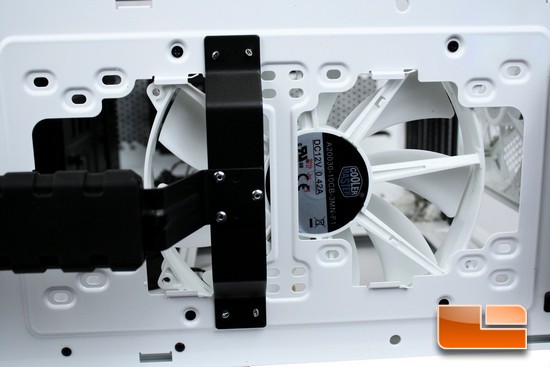
The top of the chassis can mount not only a single 200mm fan; it can also mount two 140/120mm fans here.
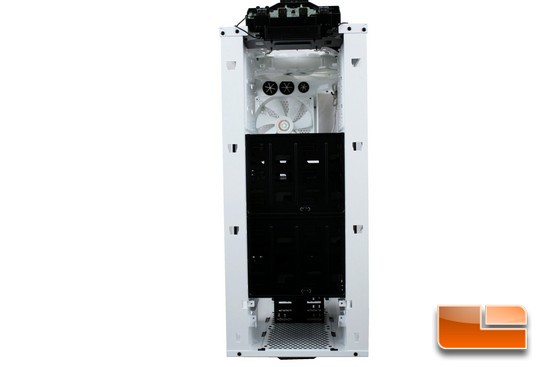
What the front of the Storm Stryker chassis looks like from the front with out the front bezel. The lower six 5.25 bays uses two of Cooler Masters unique feature four in three HDD/SSD carriers.
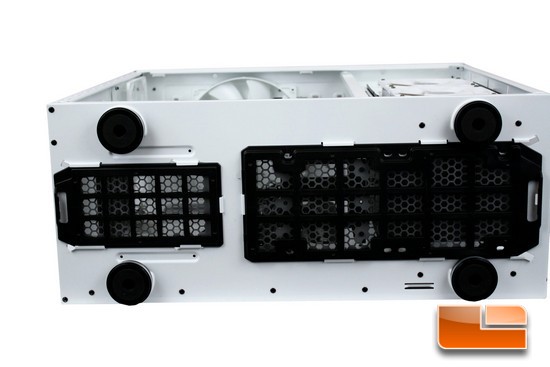
Looking at the bottom of the Storm Stryker chassis.
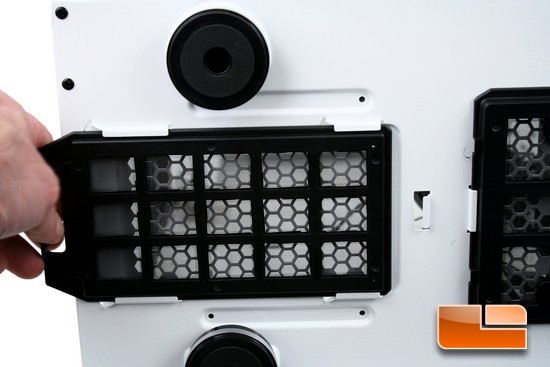
Cooler Master ensures that the PSU filter is easily removable for if and when we need to clean it.
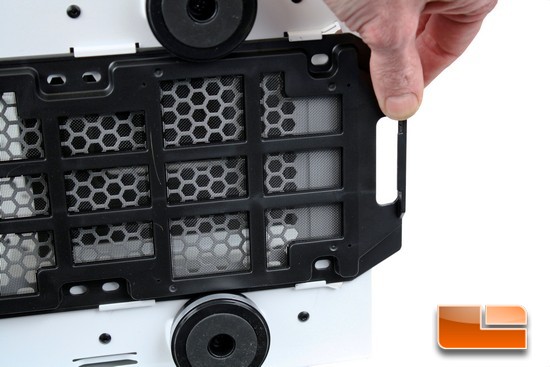
The front fan filter is also easily removable for if and when it may need to be cleaned.
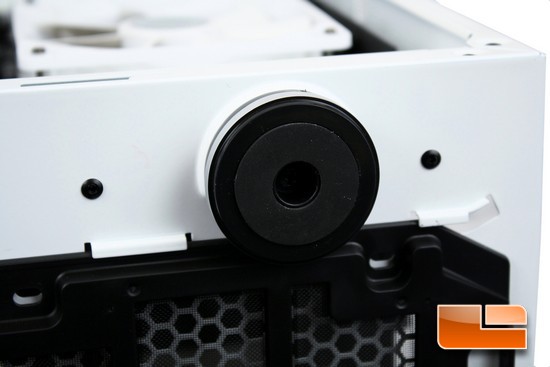
Looking at the feet of this chassis, Cooler Master uses an aluminum/plastic type of feet with a rubber bottom insert to keep us from scratching our surfaces which we may be placing this chassis on.
I did not include a picture of the front bottom of this chassis, but from the looks of it appears we can install another two 120mm fans here for better ventilation. Hmm, which has me wondering on what else could I possibly install here, as well as the top of the chassis?

Comments are closed.