Cooler Master Storm Sniper Black Mid-Tower Case Review
Inside the Sniper Continued
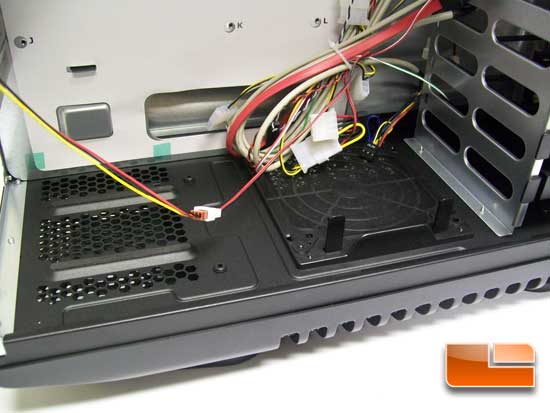
In the bottom of the case we have the PSU mount area and a space for a lower 120mm or 140mm fan. The 140mm will snap in place; the 120mm will require removal of the bottom panel to gain access to the mount screws.
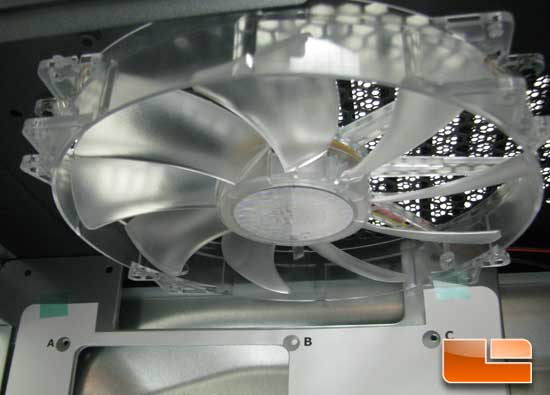
At the top of the case we have the top 200mm fan. This can be swapped out for two 120mm fans or 120x240mm radiator.
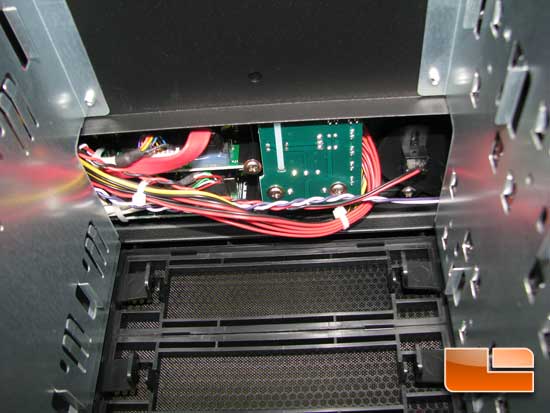
Up and to the front we can get a glimpse of the front panel wiring crammed in behind the bezel.
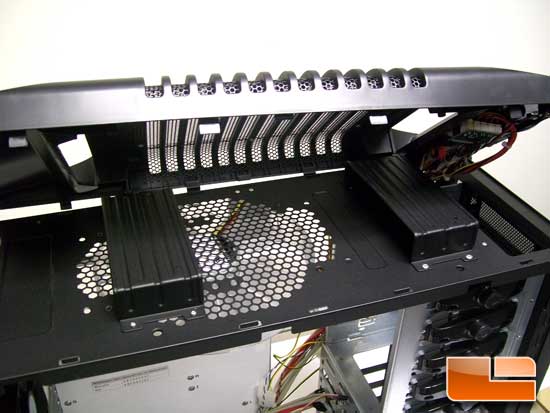
The top panel of the Sniper just snaps into place. The tabs feel fairly strong, but its still a plastic tab. So taking this off and on a lot may not be a good idea. It does have to come off in order to get to the fan mount screws. Now, you water cooling guys are wondering if you can get a radiator in this space. I doubt it – there is only about an inch of clearance, and you will lose the handy dandy handles for carrying the case around.
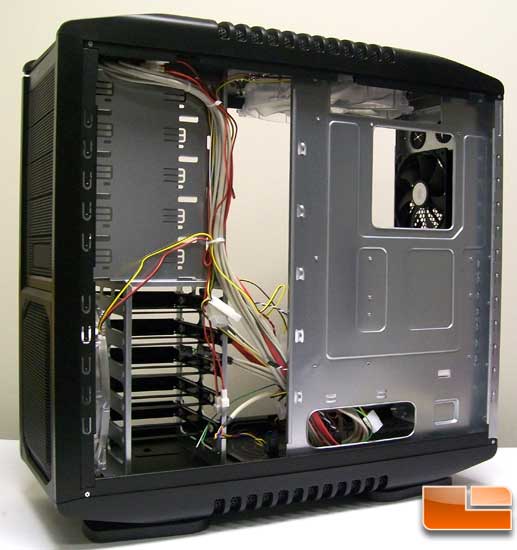
Moving around to the right side of the case we can see the back of the motherboard tray and the drive cages. There are plenty of places to route wires and hide cable.
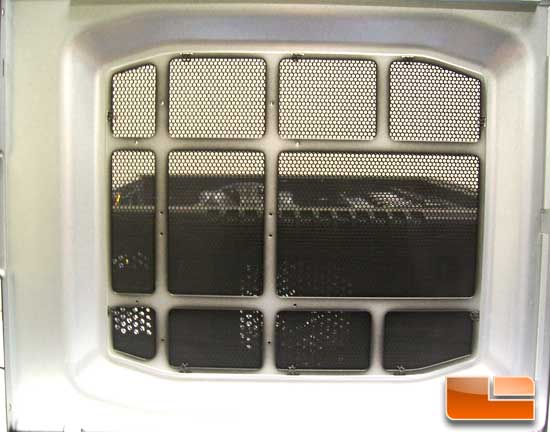
I almost forgot the side panel. On the inside of the side panel are mounting holes for either another 200mm fan or a pair of 120mm fans. Cooler Master also states in the manual that doing this will limit your head room for your CPU cooler. The manual also says that the cooler must not exceed 7 inches in height; thats a tall cooler, the Cooler Master V8 is 6.3 inches tall and its the tallest I have used to date. What they dont say in the manual is if that 7 inch dimension is without the side fans or without.

Comments are closed.