Cooler Master Silencio 652S Mid Tower Chassis Review
Cooler Master Silencio 652S Hardware Installation
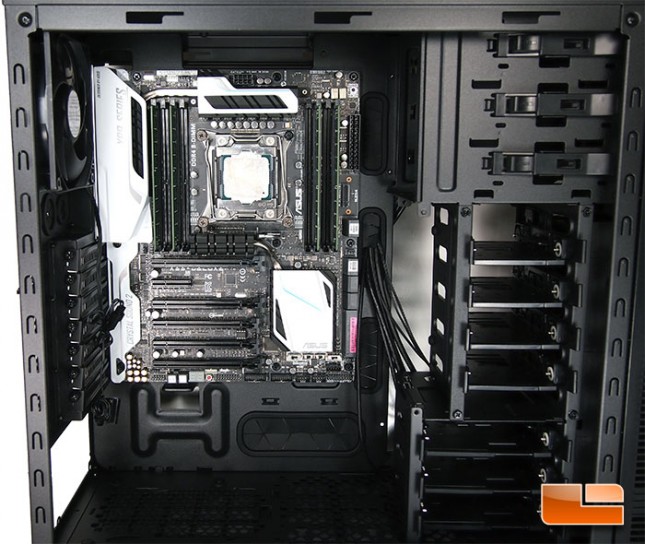
When it comes to installing the hardware into the Cooler Master Silencio 652S, there’s no surprise that it went nice and easy. The first piece of equipment to be installed was the motherboard. All of the standoffs lined up without any issues.
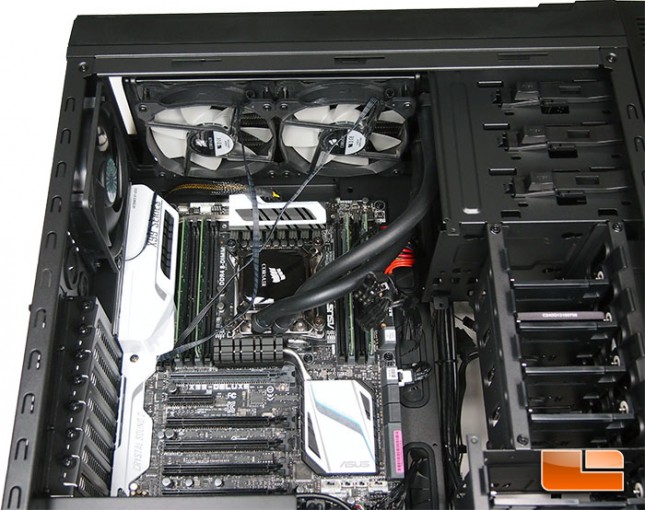
Once the ASUS X99-Deluxe motherboard was installed, I mounted the Corsair H100i water cooler. It fits well, but I learned that that orientation wouldn’t allow for my LG BluRay drive to fit in the top spot.
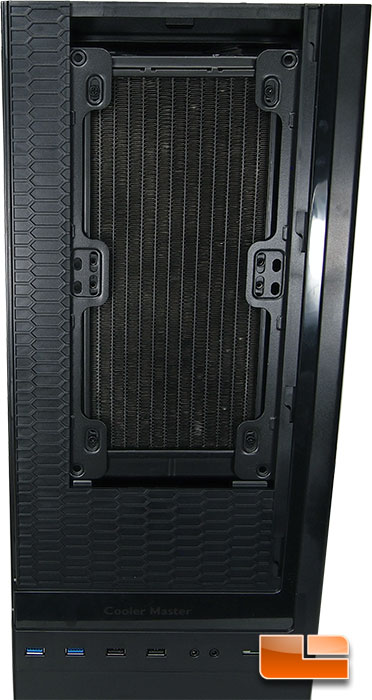
Mounting the Corsair H100i was really easy to do once the top panel and
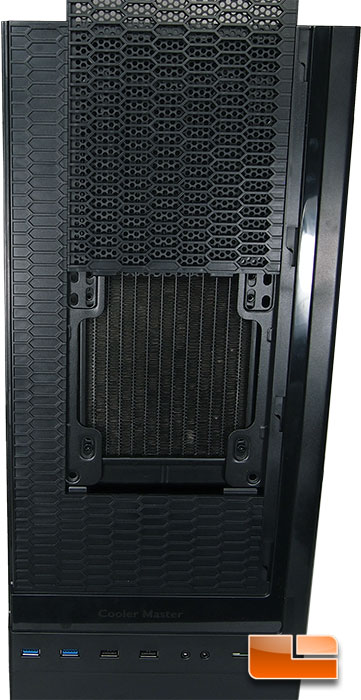
Once the radiator was installed I slid the cover back into place all was golden in the world.
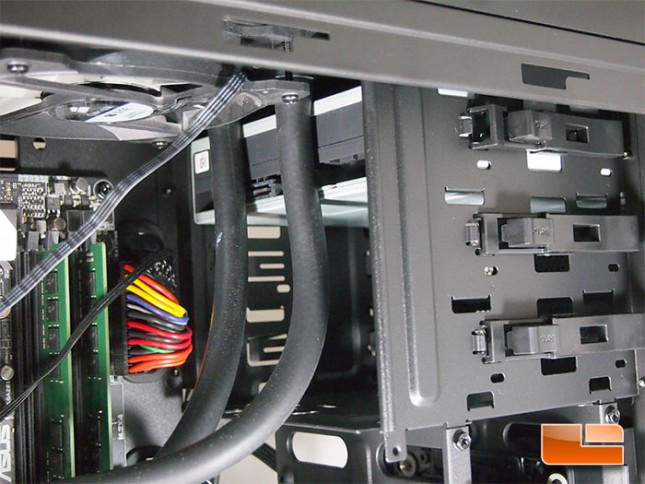
Perhaps I spoke a little to soon, the water lines on the Corsair H100i were blocking the drive from sliding in all the way.
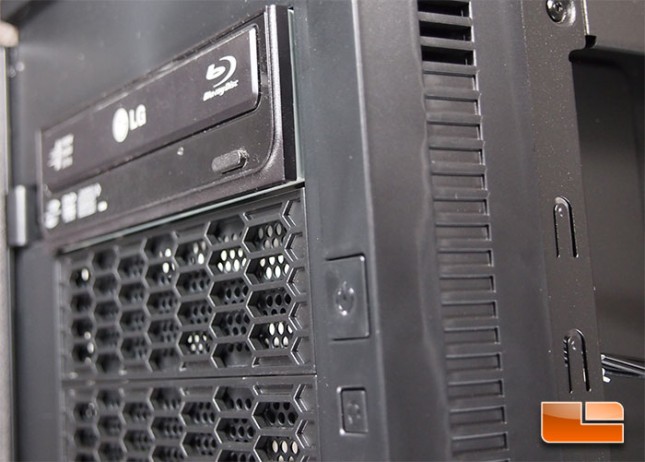
I could drop the drive down to one of the lower bays and I would have plenty of room. The LG BluRay drive (CH08LS10) measures 7.5″ long, which is a bit longer than some. This certainly isn’t a deal breaker for me as there are a couple of work around I could to use an optical drive. For now though, I think I’m going to leave it out.
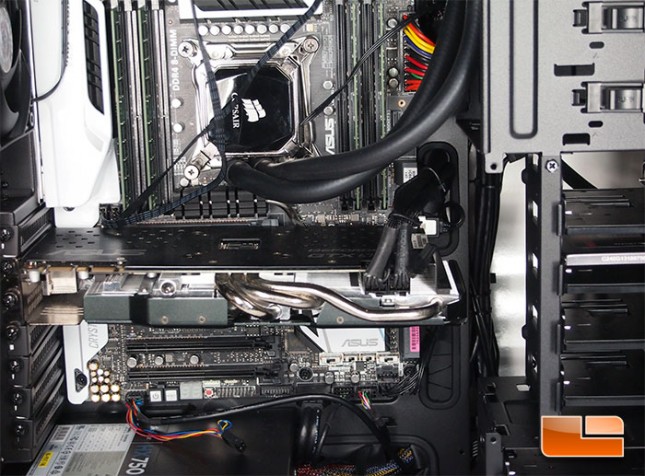
One the system was wired up, I popped in the ASUS GeForce GTX 670 Direct CUII graphics card. The ASUS GFX card measures 10.5″ long, and there is still another 1.5″ of room between it and the drive cages.
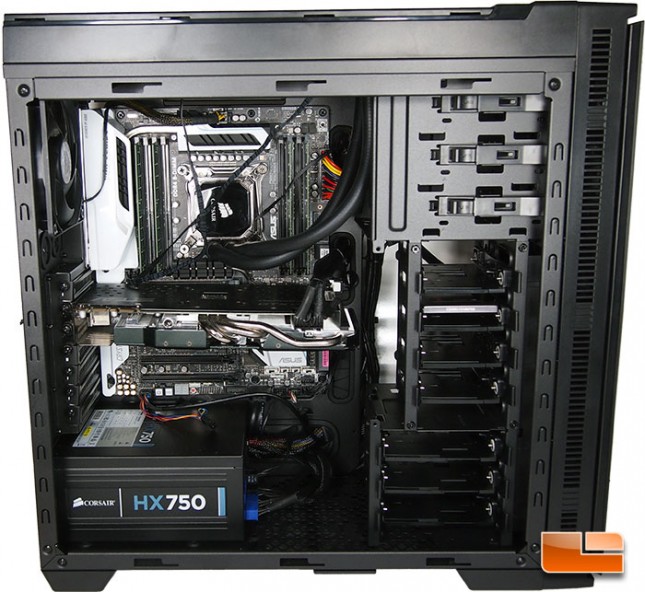
Now that everything is installed into the Cooler Master Silencio 652S chassis, it looks great. The wires were able to be run so everything looks nice and neat. The only part I think I would change is a couple of extension cables for the fans on the Corsiar H100i water cooler so I could route those wires a little better.
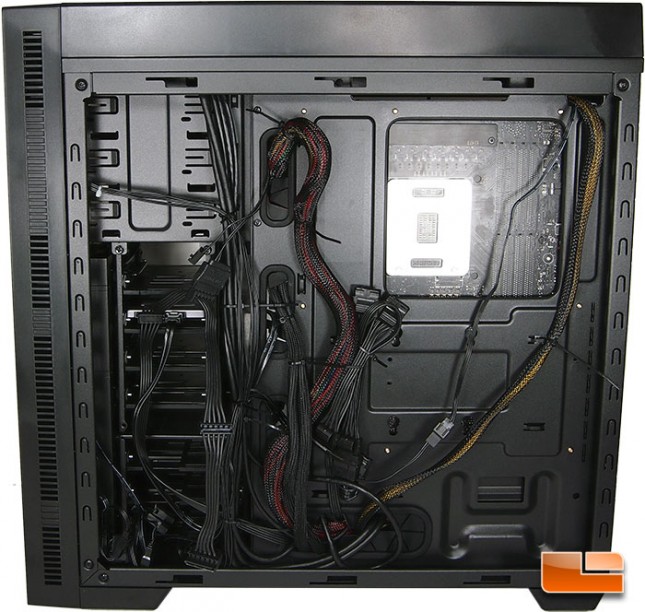
While the main compartment of the Cooler Master Silencio 652S is nice and tidy, the back is a little bit more of a mess. Fortunately that doesn’t matter to much as it won’t effect the air flow inside the Silencio 652S.
