Cooler Master Nepton 280L AIO CPU Cooler Review
Installing the Nepton 280L AIO Liquid CPU Cooler
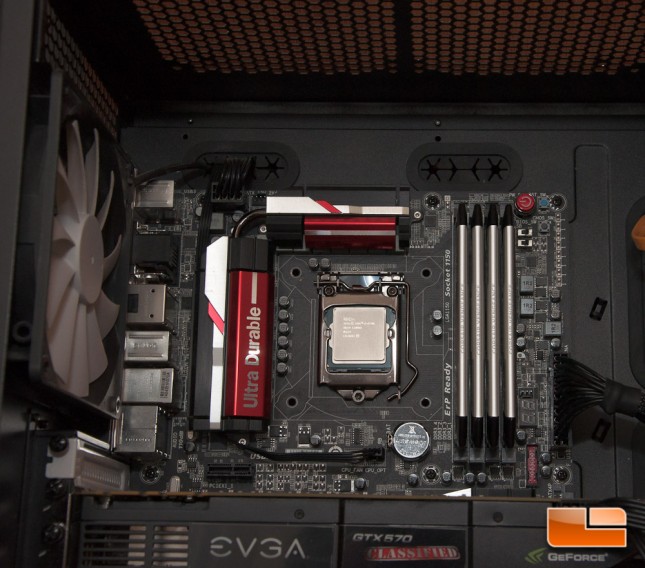
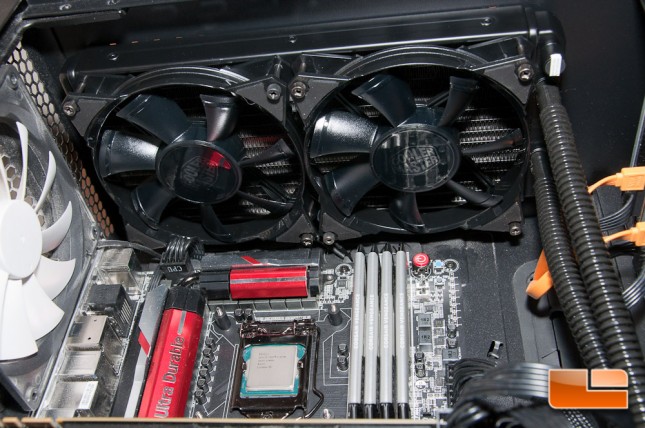
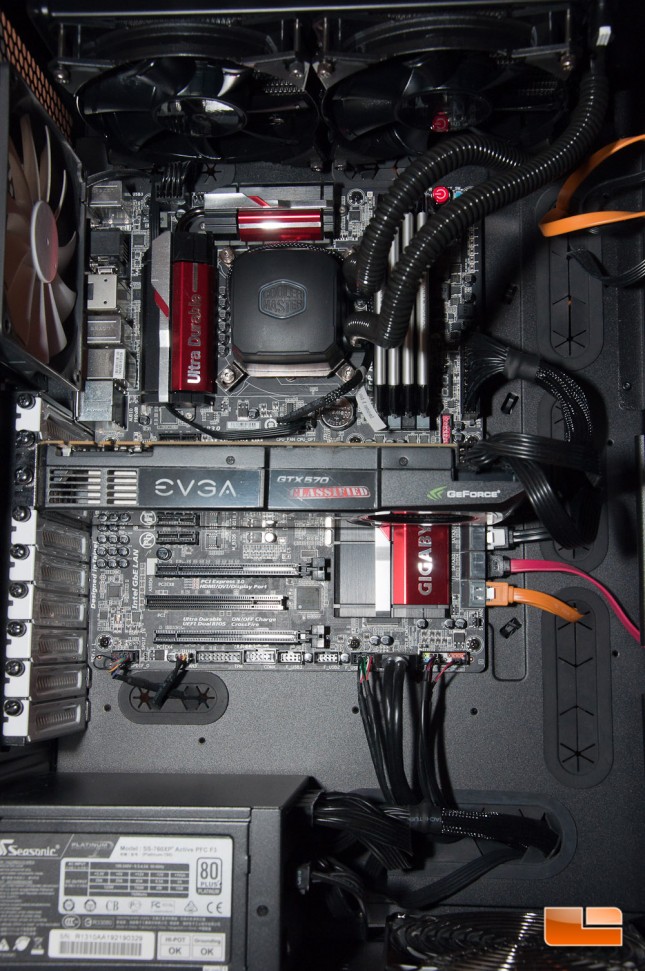
Installing a water cooler inside a computer case is rather simple, but when you purchase a 280mm radiator, you absolutely need to make sure that your case can support it. Many cases out there will only handle up to 240mm, but manufacturers are realizing that larger coolers do exist and design them to accommodate these larger coolers as well. With the fans installed, the Nepton 280L measures roughly 2.5″ thick, so you will want to make sure you have enough clearance up top or where ever you choose to mount the radiator; otherwise you’ll end up clashing with your motherboard. I will be using a Fractal Design Define XL R2 Chassis and will have plenty of room to work with.
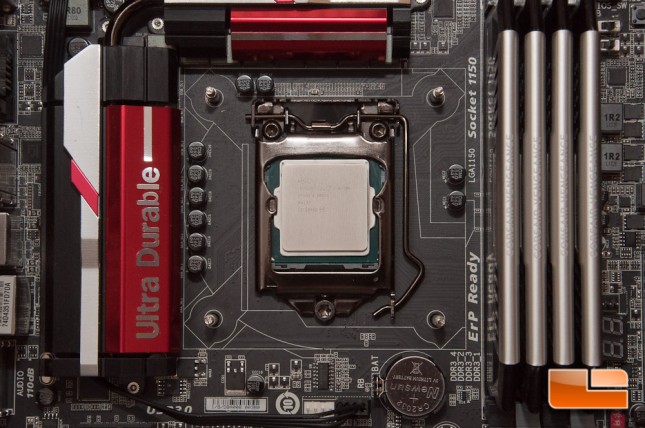
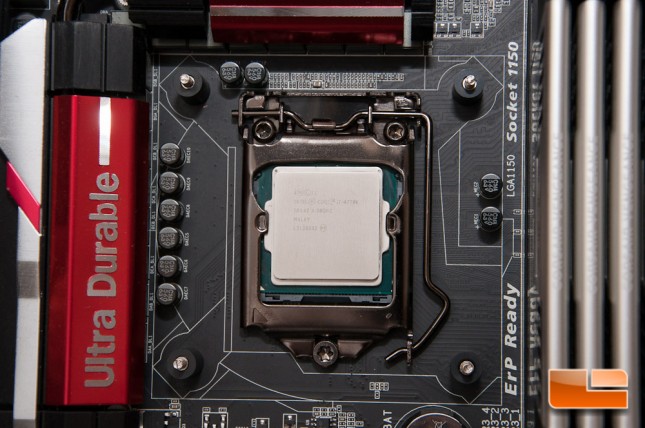
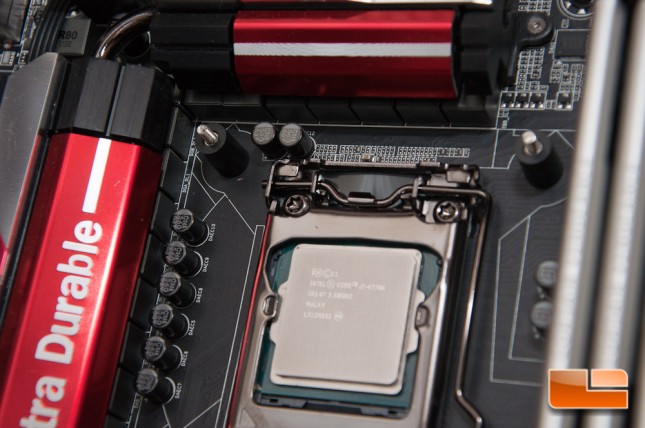
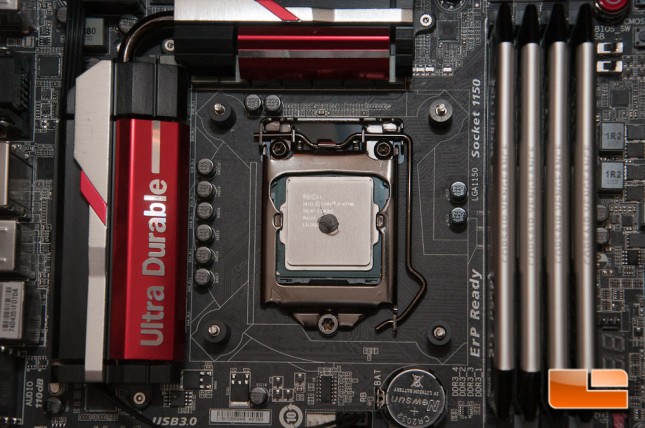
Obviously when you start off installing a new cooler, you’ll want to clean up your CPU with the purest rubbing alcohol that you can find, using a lint-free cloth.
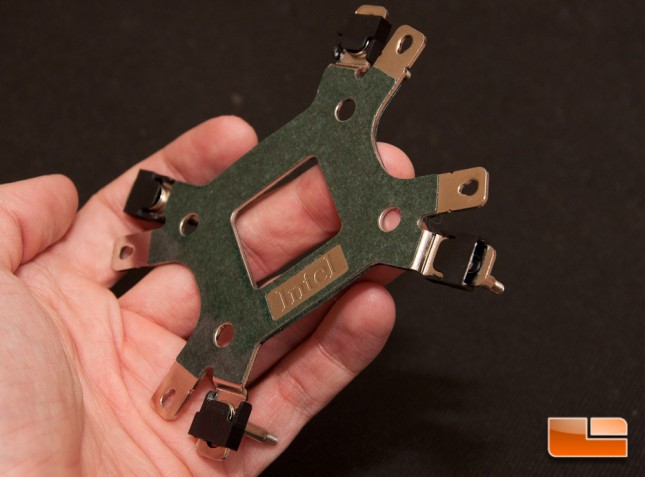
Since this cooler is very versatile, you will need to find the back plate and mounting plate that works for your CPU. In my case, I have an LGA1155 CPU, so I installed the mounting bracket to the block with the provided hardware.
As far as the back plate goes, I’ll use the holes designed for this socket on the Intel specific back plate. You will have to slip a pin into the holes and slide a clip on the plate to hold these pins in place.
You can then slide it into the holes on your motherboard…
After this was in, I used the four spacers to basically hold it in place with friction. This was plenty good enough for me, as I wasn’t planning on permanently fixing the back plate to my motherboard. The plate can still slip out of its holes, so don’t rely on friction solely when you’re ready to put the block down.
One more view of the spacers:
Next up, I mounted the radiator to the top of my case. The included screws made the install a breeze and I had no fitment issues. They proved to be just the right length.
Now that the radiator is secured, I used a pea-sized drop of the included thermal paste on my CPU and let the pressure from screwing down the block to spread it out. This has been one of the many tried and true methods and I stick to it for every review. The paste isn’t runny by any means, so you don’t have to really take any caution if you have to shift your case to get the back plate in place.
Screwing down the block was the only slightly annoying part of this whole install. I found it annoying because the thumb screws are pretty small, and if you want to start them with anything other than your fingers, you have to use a Standard screwdriver and not a Phillips. I despise Standard heads strictly because you can slip a lot easier. So obviously do a crisscross pattern when tightening these down for even pressure and spreading of the thermal paste.
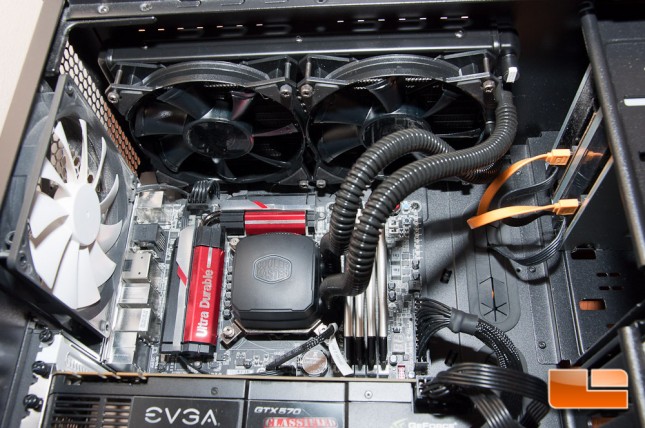
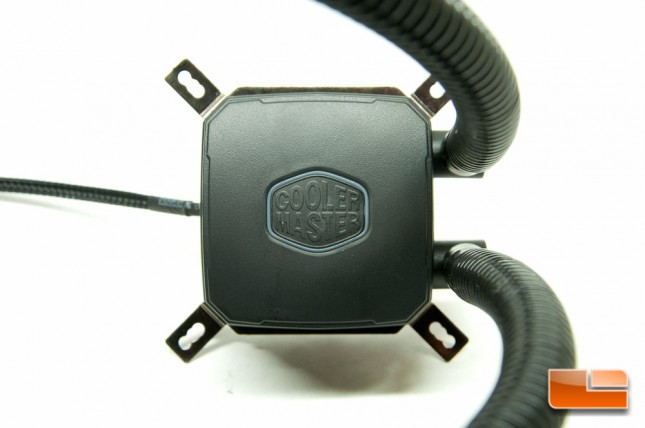
I opted to keep the “Cooler Master” logo straight up, which contorted the tubes a bit – this will not affect performance. They’re definitely very long, so it can accommodate a much larger case than what I’m working with.
You just need to finish up with installing the connectors for the pump and fans, which I used the CPU and CPU_OPT headers. The fans can hook up to a single header thanks to the included cable.
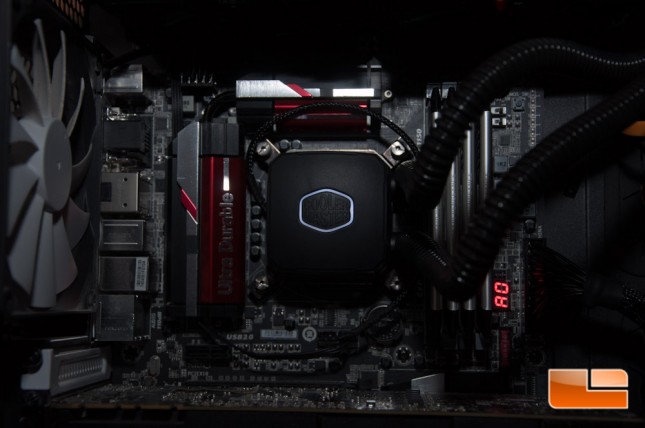
After everything was secured, I fired up the system and was greeted by a pleasantly lit Cooler Master logo on the block. This will strictly be white and there are no color changes available.
The fans are actually quite noisy when the system is under load and I think it may bother some people. For me, I think if you were to throw on a quality headset, you would barely even notice the noise while you’re racking up your frag count. If you’re doing some video encoding and wanting to listen to music on your speakers, then you may have an issue.
Pump wise, I did not notice any odd/extra noise coming from the pump, which is great.
Lets move onto the testing, as we know thats what everyone is here for. Well compare it to the various liquid CPU coolers that weve tested in the past and see how well it works with an overclock to 4.3GHz on a i7-4770k. Before we get into the tests, click the next page to see what weve got in our system.

