Cooler Master Nepton 280L AIO CPU Cooler Review
Nepton 280L Packaging and What’s In The Box?
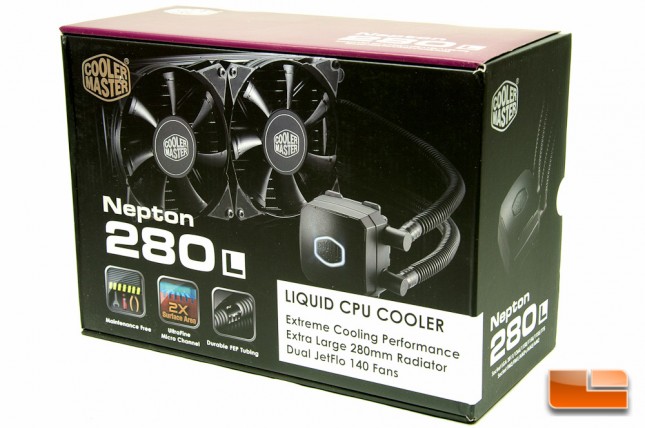
Cooler Master tends to do a really nice job with their product packaging, and the Nepton 280L continues on that trend. The box is covered with nice shades of purple and black throughout.
The top (or front – if you will) features a shot of the Nepton 280L itself, along with information that this is indeed a high performance cooling solution, utilizing a 280mm design with dual JetFlo 140 fans.
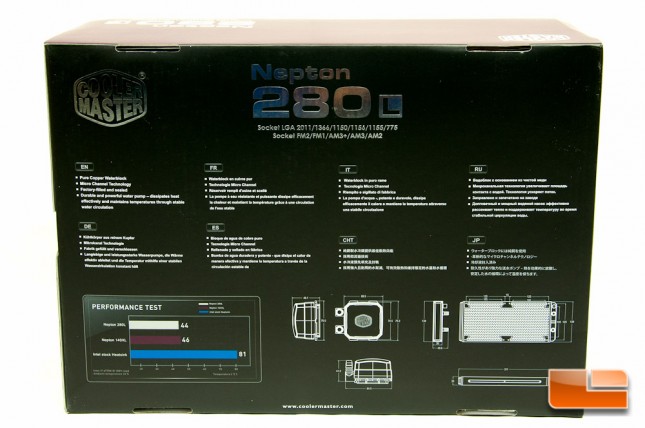
The rear of the packaging gives you a few key features, shows off a performance test comparing the Nepton series coolers to the stock Intel HSF.
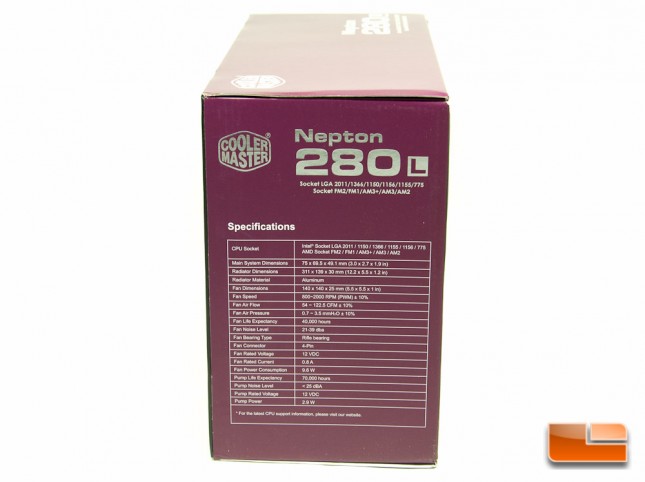
On the left you’ll find all of the technical specifications of this cooler, plus the mention that it works with a large array of Intel and AMD processors.
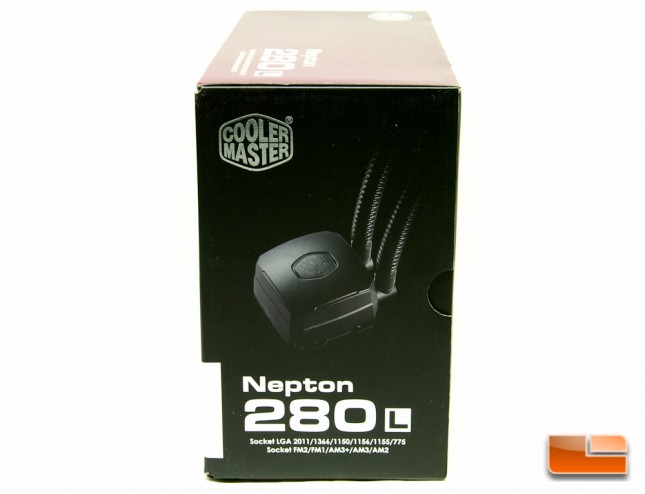
Finally, the right side pictures a standalone shot of the pump/block, plus the mention of compatibility once again.
There is nothing else but repetitive information to find on the rest of the packaging.
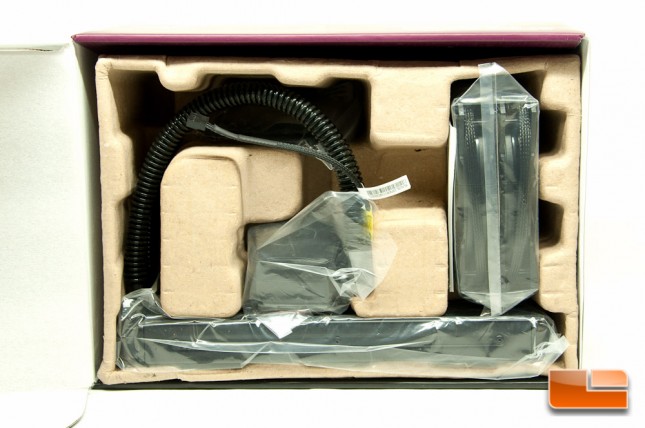
Popping open the box, the Nepton 280L is in traditional egg carton packaging, with all of the parts being sectioned off and protected.
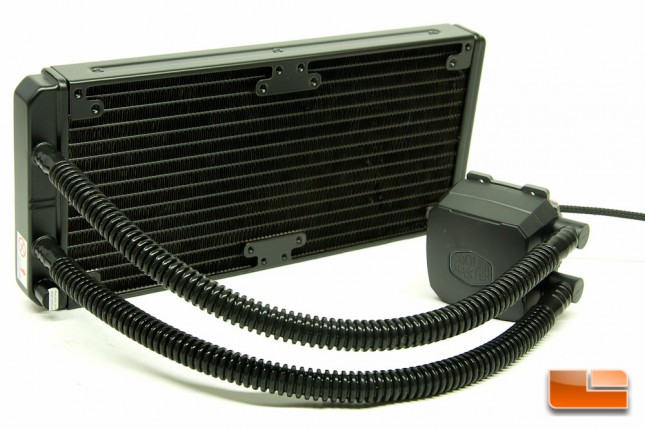
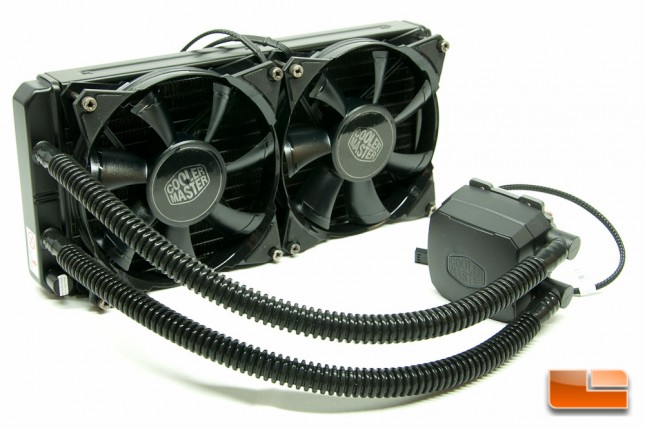
In this next shot, the Nepton 280L was removed from the box and any packaging materials were removed. The fans are not pre-installed, but that is not a big deal.
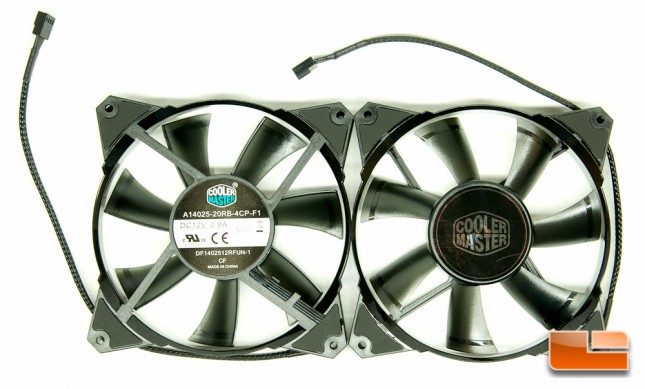
The fans again are of the JetFlo series, these being 140mm in size to fit the 280mm radiator nicely. We previously had a good experience with installing the Jetflo 120 fans on the Cooler Master Glacer 240L, so we’re hoping these fans actually being included will continue to impress us. There are rubber pads at the mounting points, which will help provide a little vibration reduction.
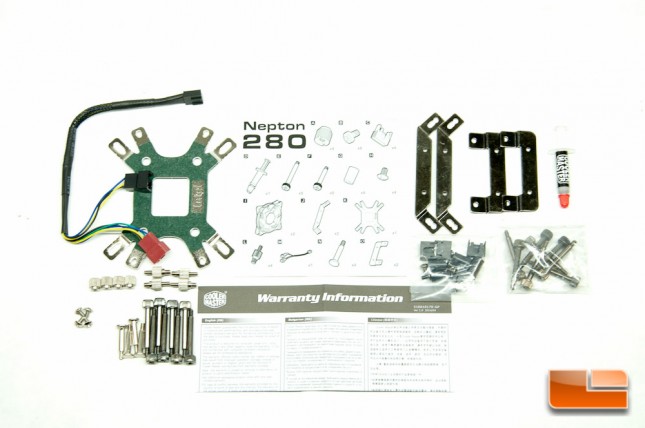
Also included inside the box is all of the hardware that you will need to install this on an Intel or AMD application, plus enough screws for a push/pull configuration. Most coolers don’t include those extra screws, as most users won’t end up utilizing them, so I was happy to see the gesture of them being included.
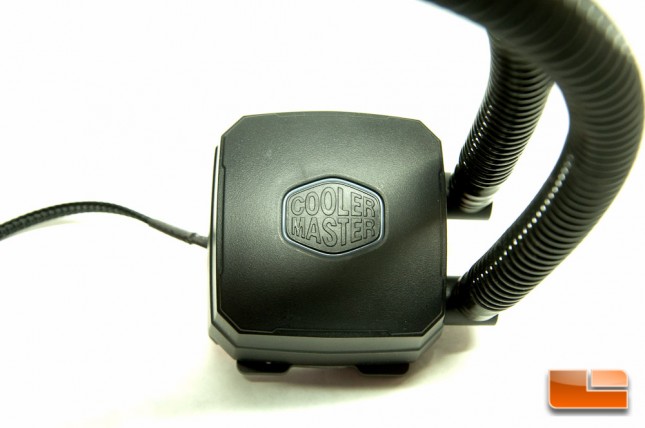
Starting off looking at the pump/block, you can’t help but notice the somewhat cheap plastic shroud. Yes, pretty much every AIO cooler’s block will have plastic housing, but this one feels a little cheap for some reason. It’s not so cheap that it’s going to break, but I think it feels cheap just because of how it is integrated and sitting on the block compared to others. This is quite minor, however. Finally, the block will end up hooking up to a 4-pin header to provide power for the pump.
You also can’t help but notice the FEP tubing that connects the pump to the radiator. It feels and looks a little cheap solely because it’s so flexible, and the corrugated look, however understand that this solution will provide a much easier installation and combats evaporation much better than traditional rubber tubing. Also this style tubing is far more kink resistant than the standard rubber tubing that you’ll find on most coolers out there.
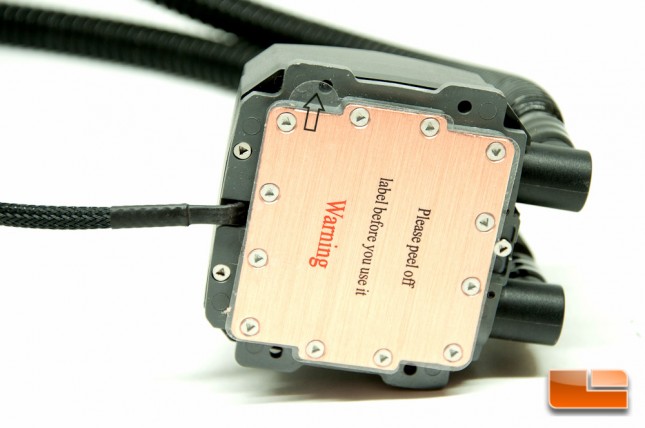
Looking at the bottom of the block, it is covered by a protective plastic sticker from the factory.
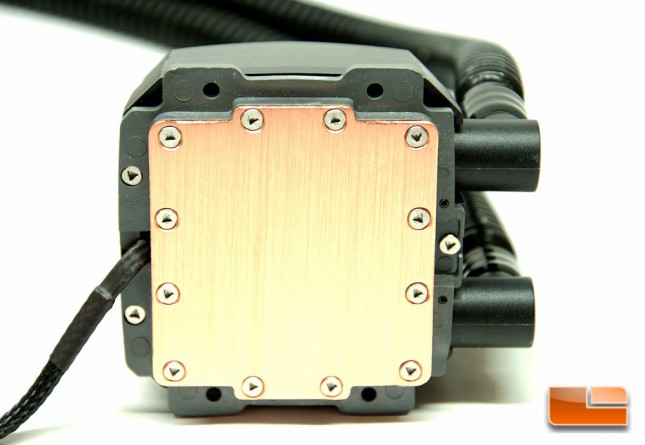
Remove that sticker and you can see the nice copper base. Also note the dual holes on the top and bottom; these are for installing the mounting brackets for your Intel or AMD CPU.
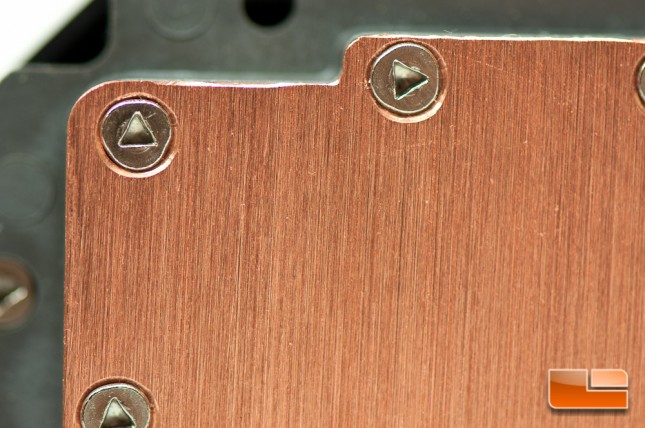
Pulling your eyes in a lot closer to the block, you can’t help but realize that the bottom isn’t a smooth finish. In contrast, the bottom is actually quite rough feeling. Cooler Master could have stood to polish this off a bit more, however this is the design they chose.
Installing the fans was a breeze. The screws that are included are actually thumb screws, but you won’t be able to tighten them down properly with just your thumbs. Both the fans and pump will utilize a 4-pin fan header on your motherboard and Cooler Master includes a cable to allow single header utilization for both fans.
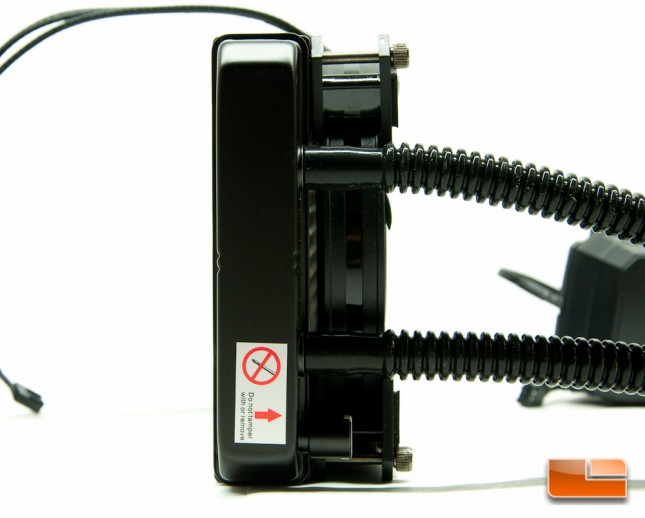
It’s a fun fact to note that the fans and radiator are nearly identical in thickness. The screws add a little extra bulk, making the total clearance room approximately 2.5 inches. If these were a standard screw, it could have been cut down to approximately 2.2 to 2.3 inches.
This wraps up the introduction to the cooler and the packaging, so lets move on and see how easy this cooler is to install!

