BitFenix Ronin Mid-Tower Case Review
Ronin Internal Impressions
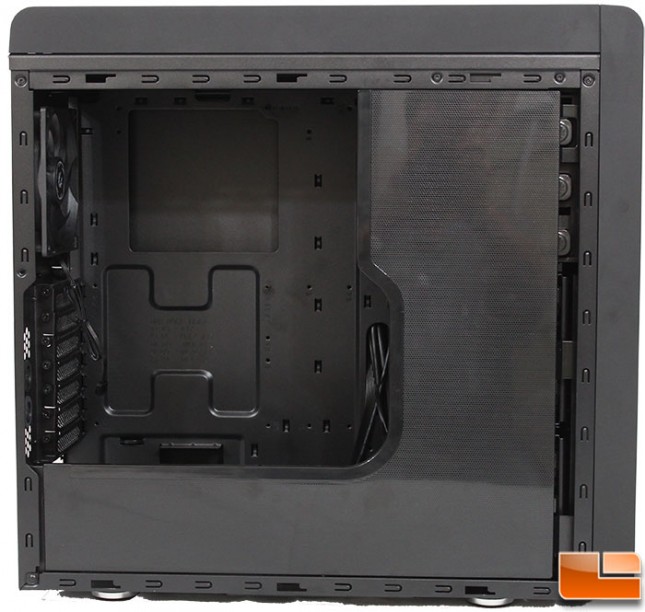
With the side panel removed, we can see the interior of the case. However, the Stealth Cover hides some important components. What we can see is that the interior has been painted to match the exterior. The Stealth Cover has a carbon fiber look to it, however that doesn’t show up very well in the pictures.
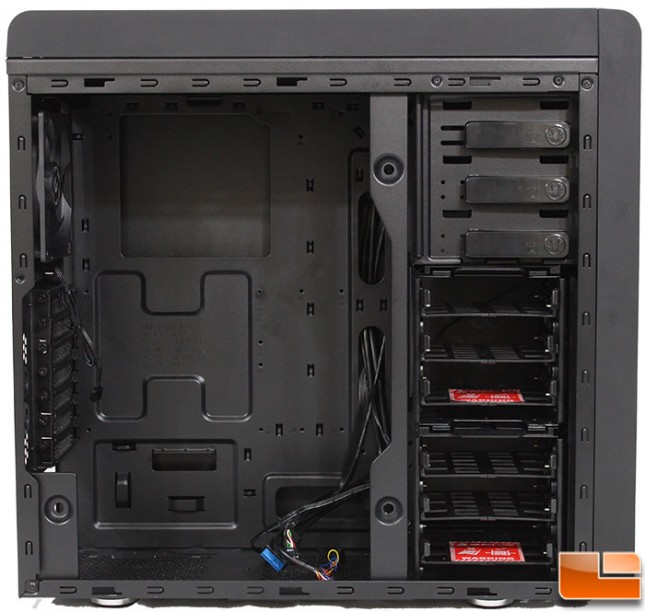
Removing the Stealth Cover is done by pulling in specific spots. I would be careful when removing the cover, I felt like it was going to break, so I collapsed the locks from the inside before pulling too hard. Nothing major, just a word of caution. Once removed, we can see the three 5.25″ tool-less drive bays, and the six 3.5″ drive trays.
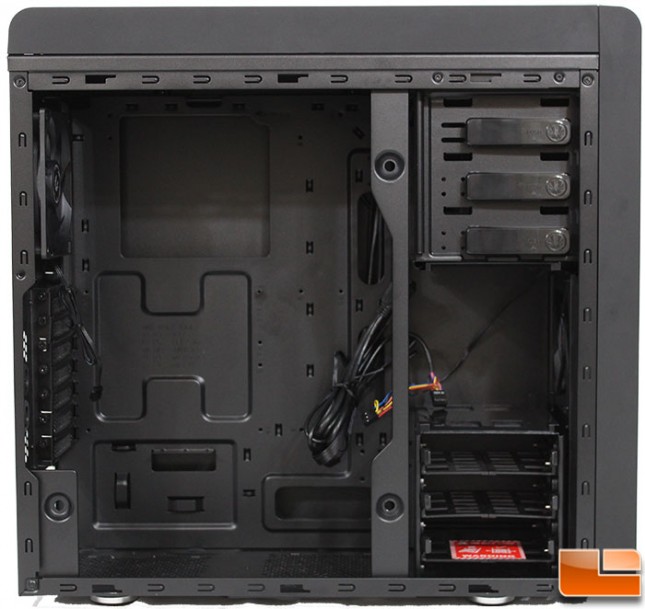
To provide for maximum space for the extremely long video cards, Bitfenix has opted to allow the removal of the middle 3.5″ drive cage. By removing the Flexcage, the maximum video card size can go from 12″ to 16.5″.
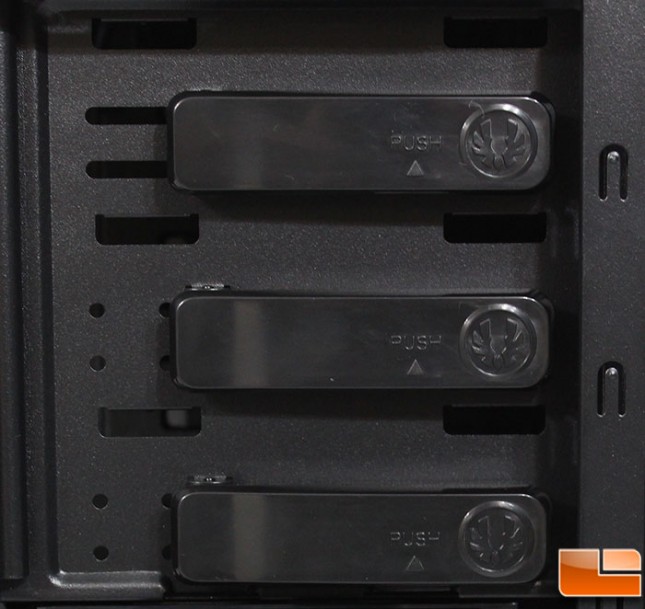
The 5.25″ drive bays are tool-less implementing a simple locking mechanism. Pressing in the right spot will release the latch, to close, simply press it back close and it should latch, securing your devices.
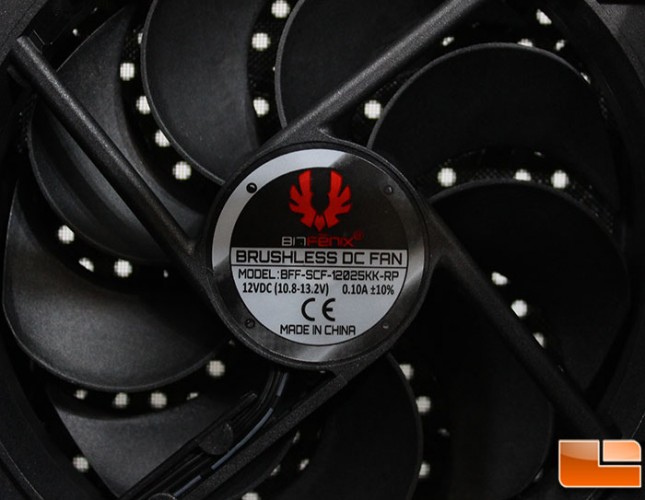
The front intake fan is the Bitfenix Spectre fan, model BFF-SCF-12025KK-RP. It is rated for 1,000RPM, and provides 43.5CFM; noise level is low at less than 20dBA.
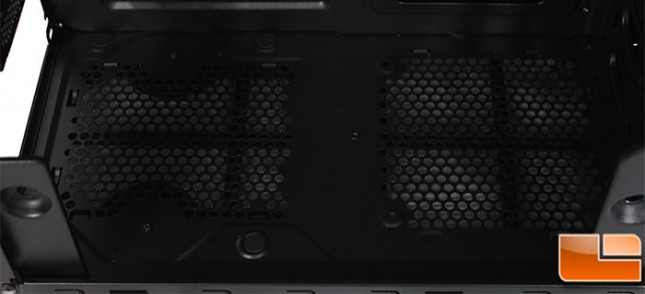
The Ronin has a bottom mounted power supply, which has become very common. Like most cases, Bitfenix has installed rubber feet to alleviate vibration noise. There is a large vented area below the power supply to provide outside air to the power supply. On the bottom of the case is also a spot to install a 120mm fan.
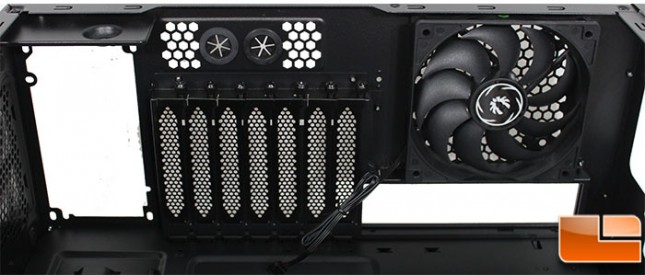
Nothing surprising about the back panel, the expansion port covers are held in place by thumbscrews, and directly above them are two liquid cooling ports if you have an external liquid cooling system. A 120mm rear exhaust fan is installed by default, it is a no frills model with no LED’s. This Spectre fan is the same model as the front intake fan, BFF-SCF-12025KK-RP.
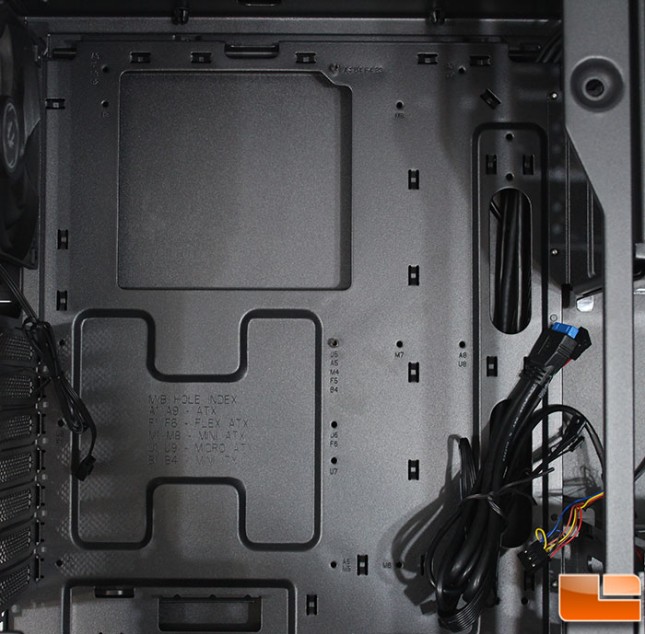
Taking a close look at the motherboard tray, we find the usual suspects. A large hole in the motherboard tray to allow installation of CPU coolers that need access to the back of the motherboard. The motherboard mounting holes are labeled to make installation easier. Also, making things easier a couple of the motherboard risers are pre-installed, these are notched to go into the mounting holes to make sure it is properly aligned. At the top of the motherboard tray, there are three cable routing holes, two are meant for the motherboard AUX power, while the third is used by the front panel I/O cables.
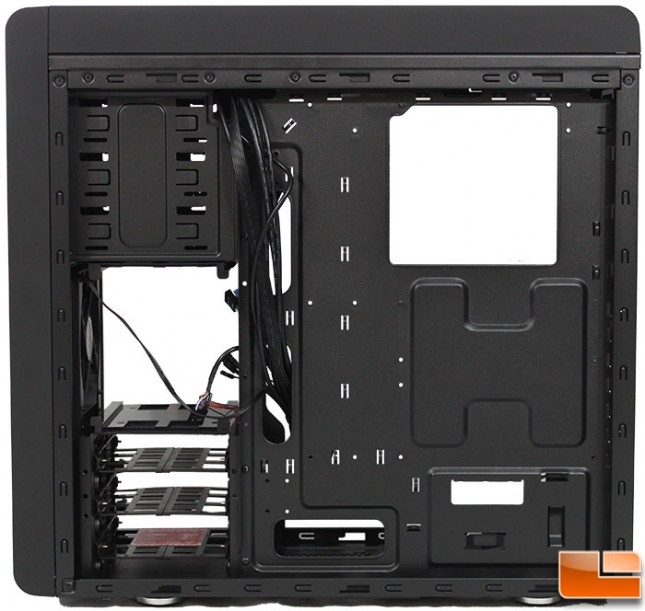
With the right side panel removed, the back of the motherboard tray is pretty uneventful. There is a large raised H area where Bitfenix could have put a SSD mount. Instead, the only thing to really see here is the 22 cable tie locations, there is no reason not to secure your cables and keep things clean.
